Time On and Time Off – Data Route
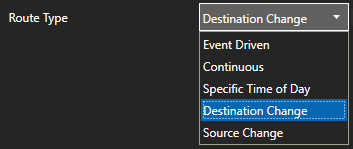
To define a time on or time off conditions use the Data Route feature with a Route Type of Destination Change
Step 1 – Configure Data Route
Start the Configure OAS application and select Configure-Data Route.
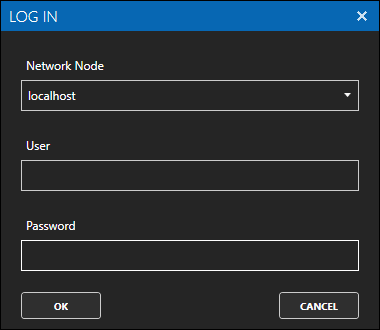
If prompted enter the Admin user and password defined in the security setup and select OK.
Step 2 – Define Route Execution
Enter a unique Route Name to identify the routing configuration.
Specify the Route Type as Destination Change.
Step 3 – Define Tags to Set
Select the Tags tab of the data route to setup each destination tag and the source value that will be written to the tag.
Select the ADD button to add a destination tag and variable to write to.
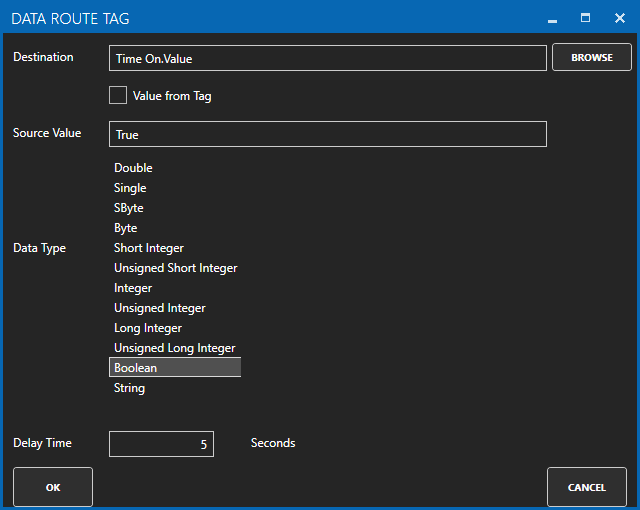
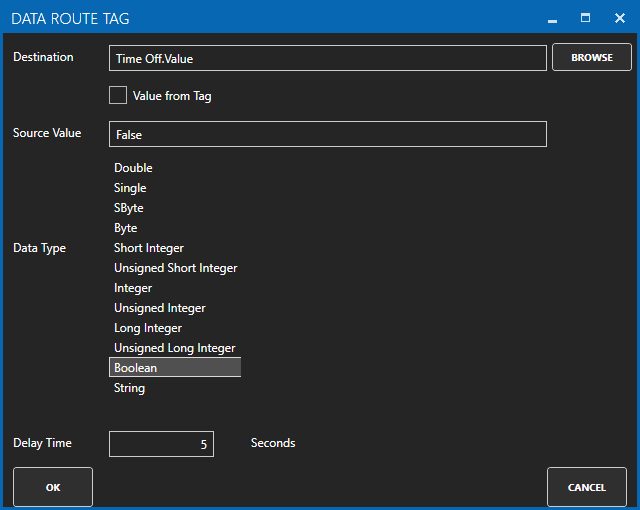
Browse for the tag and variable on the local or remote OAS Engine to reset after a time delay.
Define the Source Value as True for time on delay and False for time off delay and Data Type as Boolean.
Specify a Delay Time to wait after the execution is triggered to write the value to the tag.
Continue to define additional tags using the ADD button.
CSV Import / Export
Optionally use the CSV Export button to export the existing list to a CSV file, then modify with Excel, then save and close Excel to use the CSV Import button to import the modified list of tags.
Select the ADD GROUP button to add the route to the data route configuration.
The data route is now active and will execute based on the Route Type selected.
The data route can be disabled by unchecking the Route Active property under the Common tab or controlled dynamically with enabling the property Activate Route with Tag.
Step 4 – Save Configuration
Select the Save button on the toolbar at the top.
If this is the first time saving you will be prompted to make this the default configuration to load when the OAS Engine restarts.
This can be changed under Configure-Options-Default Files.


