Getting Started – REST API
The following guide demonstrates how to connect to the OAS REST API.
To see how to use the OAS Platform with an external REST API view the Moving Data to an External REST API Use Case.
- 00:00 – Introduction
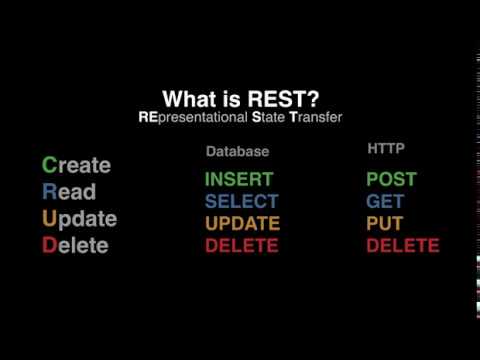
- 00:12 – What is REST API?
- 00:48 – What CRUD stands for?
- 00:52 – Database Terms for CRUD
- 01:00 – HTTP Parallel Methods
- 01:11 – Examples – Resources URLs
- 03:29 – What JSON stands for?
- 04:01 – Example – Difference between XML – JSON
- 04:22 – When to use OAS REST API
- 05:21 – REST Client Example Code
- 06:03 – Before using REST API
- 08:55 – REST Client Sample Code
- 10:03 – JavaScript
- 11:10 – Set HTTP Status
- 11:35 – Add Virtual Directory
- 12:12 – Sample Rest API Client
- 13:14 – Create a Tag List to Monitor
- 15:30 – Visual Studio
- 17:45 – Postman Application
- 21:08 – More Information
Step 1
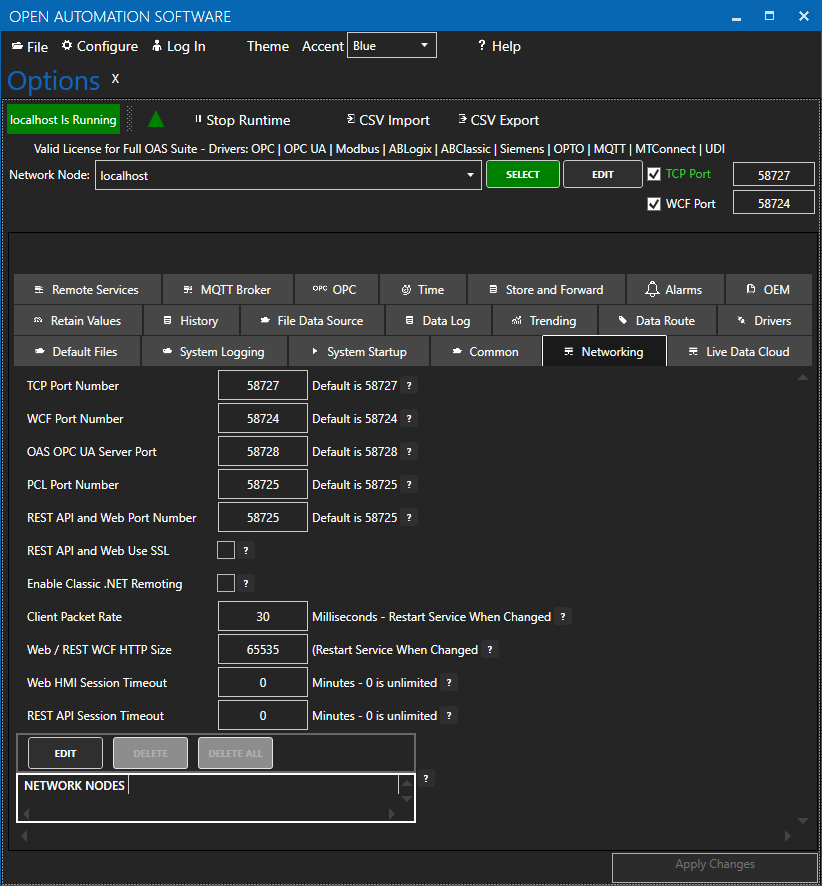
To use the OAS REST API you must make sure that the OAS HTTP service is listening on the correct port. This is done within the OAS Configuration application.
Open the OAS Configuration application and select Configure > Options, then select the network node (localhost if working on the local machine) and click Select.
Under the Networking tab, locate the field for REST API/WebHMI Port Number. The default is 58725 but can be changed. If you are accessing the server from a remote client, you will also need to make sure your machine and/or company firewalls allow TCP traffic on the selected port.
Using SSL with REST API is fully supported.
Read more about Configuring OAS to use SSL for Web and REST API products.
NOTE: Making any changes to the port numbers in this section of the configuration app will temporarily restart server processes and may cause a brief interruption in data processing.
Step 2
Install Postman
Navigate to https://restapi.openautomationsoftware.com to open the REST API online documentation.
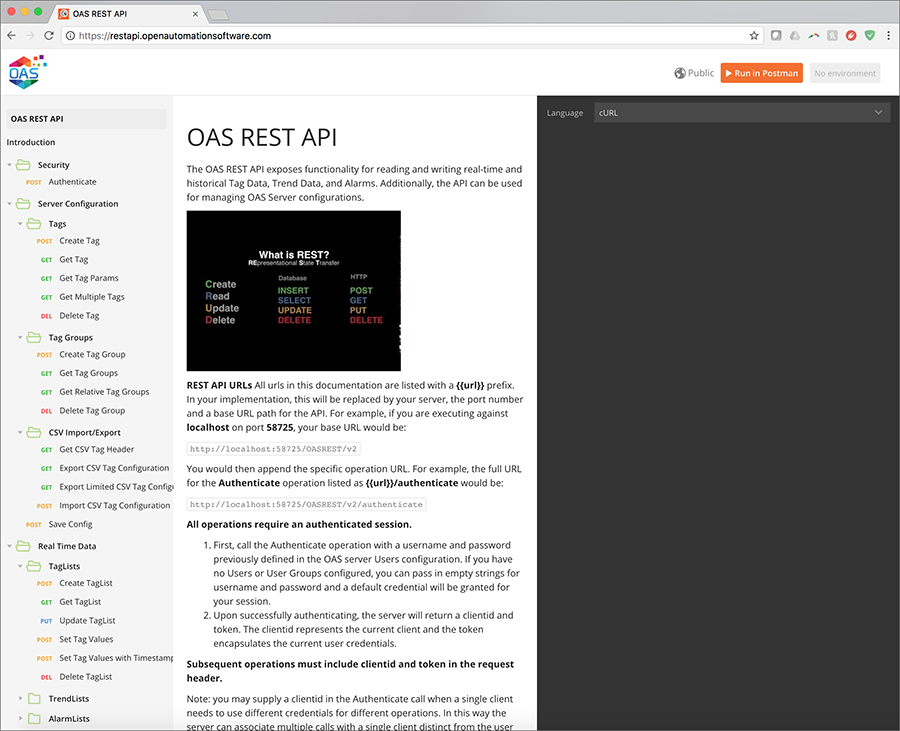
This documentation illustrates all of the operations available to any REST API client and can be tested using the Postman application client. In the upper right corner of the documentation, you will see a button to Run in Postman, which will install the API documentation into the Postman client for direct execution against any OAS server. Additionally, the documentation can be configured to display code samples in multiple languages including cURL, jQuery, and NodeJS. Feel free to browse the documentation at any time and to refer back to it while developing your applications.
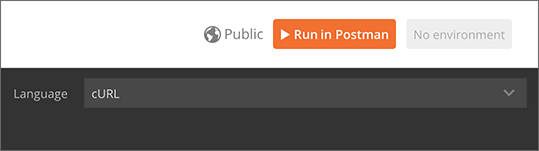
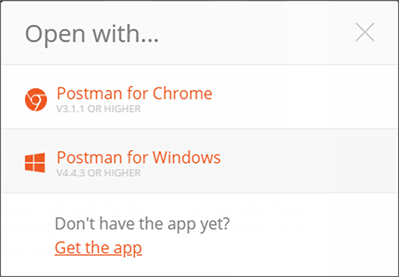
Clicking Run in Postman will pop up a dialog box to import the REST API into an existing installation of Postman, or you can choose to install the app for the first time. Postman is available for Windows and Mac desktops as well as in a Chrome extension.
Step 3
Test your API installation
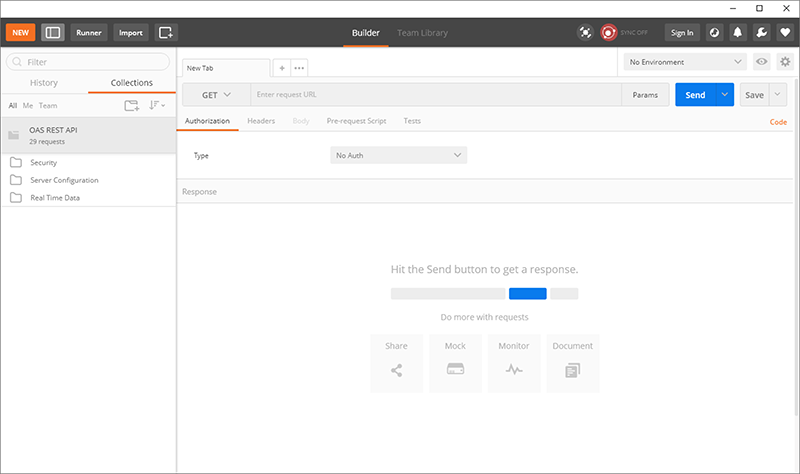
Once installed and the API has been downloaded into the app, you will see the following interface, with all operations on the left, organized identically to the online documentation:
The first operation to execute is the Authenticate call, which will generate a REST API session and returns a clientid and token to be used in all subsequent calls to the OAS server.
In the list of operations, expand and select Authenticate and you will see the following on the right side of the app:
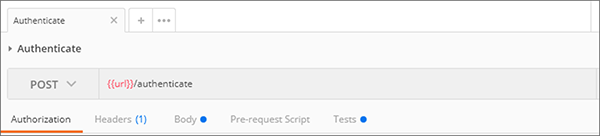
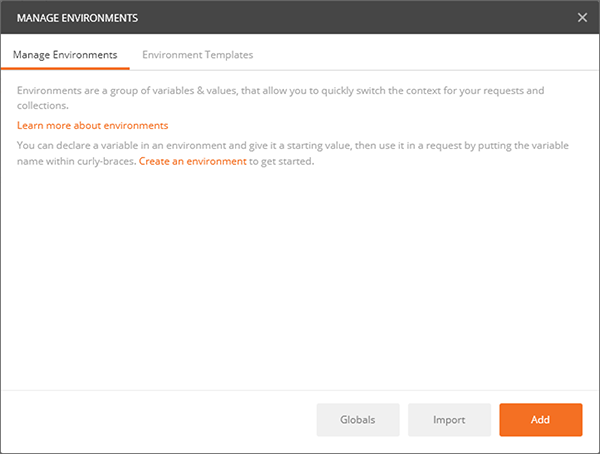
This shows that the Authenticate operation is executed as an HTTP POST against the /authenticate URL appended to the base {{url}}. This base URL is defined in your Environment here. Select Manage Environments to add new fields:
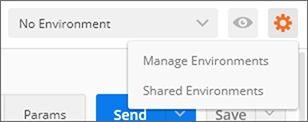
Add your server to the Environments list
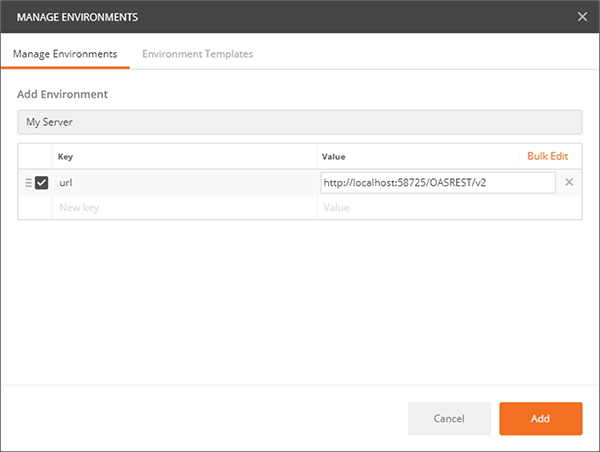
Click ADD to create a new Environment which will hold environment variables:
Add a name for your environment, then add a key of url with a value of http://localhost:58725/OASREST/v2 and click ADD to create the new environment. You can also use your OAS server’s IP address instead of localhost, if you are connecting to it from a remote workstation.
Next, return to execute the the Authenticate operation.
Now under the Environments dropdown, select your new Environment. You should see the {{url}} turn orange, indicating that the environment variable is being used.

You can now click SEND to execute the post against your server. If successful, you should see a response body similar to the one below, containing the clientid and token fields.
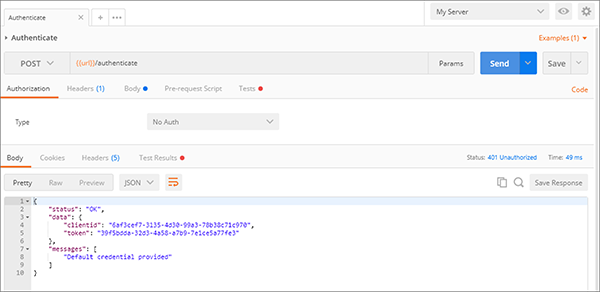
You can then use these fields in the header of all other operations using the Postman app to test your server.
Step 4
Accessing Tag Values
Once authenticated, you are now able to use the clientid and token in HTTP headers to make calls to configure Tags, access real time and historical Tag data, and even real time and historical Alarm and Trend data. When referencing Tags in any call, you it is assumed that you are accessing them on the OAS server being called in the REST API. However, you can also access remote Tags on any OAS server networked with the target server. Read more about the proper syntax for accessing Tags and Tag Variables.
Remote Access
OAS servers can communicate with each other and pass along tag data. This allows for distributed network load as well as placing OAS servers behind firewalls so they cannot be accessed directly. This allows you to securely issue REST API calls against one server and read/write data within a remote OAS server that cannot be reached directly from the REST API client. This same concept applies whether you are calling the OAS REST API or using the .NET Data Connector for programmatic Tag access and configuration.
- Main OAS Engine : the server handling the REST API calls
- Remote OAS Engine : the server housing the tag data or configuration you would like to access

REST API URL
Set the url to OAS Engine that the REST API will be hosted from. This is the URL to the Main OAS Engine whether you are accessing tag data on the Main OAS Engine or on a Remote OAS Engine.
Localhost URL : will only work when accessing the Main OAS Engine on the same machine as the client.
http://localhost:58725/OASREST/v2
Explicit URL : use the IP Address or domain name of the Main OAS Engine, allowing you to access it from a remote client. This will also work on the same machine and is the best option for code flexibility.
http://192.168.0.1:58725/OASREST/v2
Tag Access
Main OAS Engine Tag – accessing tag data on the Main OAS Engine only requires referencing the tag path.
{
    "tags": [
      {"path":"TagName.Value"}
    ]
}
Remote OAS Engine Tag – To monitor real time data from Remote OAS Engines reference the tag path in the form \\<Remote OAS address>\<Tag Path>. Note in the example below that backslash characters are escaped within strings, changing \ to \\ and \\ to \\\\.
Basic Networking – Static IP or domain name
{
    "tags": [
      {"path":"\\\\192.168.0.2\\TagName.Value"},
      {"path":"\\\\192.168.0.3\\TagName.Value"},
      {"path":"\\\\myserver.com\\TagName.Value"}
    ]
}
Live Data Cloud Networking – Dynamic IP
Once you have registered named Live Data Cloud nodes on an OAS server, you can reference them in the form RemoteSCADAHosting.<Node Name>.<Tag Path>.
{
    "tags": [
      {"path":"RemoteSCADAHosting.LiveDataCloudNode01.TagName.Value"},
      {"path":"RemoteSCADAHosting.LiveDataCloudNode02.TagName.Value"},
      {"path":"RemoteSCADAHosting.LiveDataCloudNode03.TagName.Value"}
    ]
}
Remote Configuration Calls
To execute REST API Tag Configuration calls against Remote OAS Engines, you can use the networknode parameter to reference a static IP or domain name, or the ldc parameter to reference a Live Data Cloud node name. The example below demonstrates calls to the CSV Tag configuration calls using each of these methods.
Basic Networking – Static IP or domain name
http://192.168.0.1:58725/OASREST/v2/csvtags?columns=Tag,Value - Data Type,Value - Value,Last Column&networknode=192.168.0.2
Live Data Cloud Networking – Dynamic IP
http://192.168.0.1:58725/OASREST/v2/csvtags?columns=Tag,Value - Data Type,Value - Value,Last Column&ldc=LiveDataCloudNode01
Remote Security
Because your authentication call is always against the Main OAS Engine, that same credential will be passed to any networked OAS Engine when referencing remote Tags. So it is critical to make sure the same credential (username/password) exists on all networked OAS Engines and has been granted the appropriate access level for the command being executed.