Getting Started – .NET Alarm
The following resources will provide you information to integrate the .NET Alarm control into a Visual Studio project targeting .NET Framework.
The .NET Alarm windows can also be accessed in the prebuilt Trends and Alarms Dashboard that can be used directly for local and remote deployment.
If you do not have a copy of Visual Studio you can download a free version of Visual Studio Community (formerly Visual Basic Express or C# Express) from visualstudio.microsoft.com/vs/community. You can choose whether to use Visual Basic or C#, but if you have no experience with either language, Visual Basic is easier for new developers. No programming is required to use .NET Alarm.
The following steps can be used to add an alarm window to a C#, C++, or Visual Basic.NET application. All properties are programmatically accessible.
The following example demonstrates the alarm window with no code required. You can use Visual Studio 2019 with WPF applications and Visual Studio 2022 with WinForm applications.
Alarm Properties
The descriptions of each property of the alarm control can be viewed when selecting the property.
Step 1: Create New Project
Start Visual Studio and select File->New->Project to create a new C# or VB project for Windows Forms App (.NET Framework).

When prompted choose C# or Visual Basic as language to target Windows Desktop applications.

Choose Windows Forms App (.NET Framework) as the new project type for C# or Visual Basic.

Set the Project name, Location, and the Framework of 4.6.2 or greater.
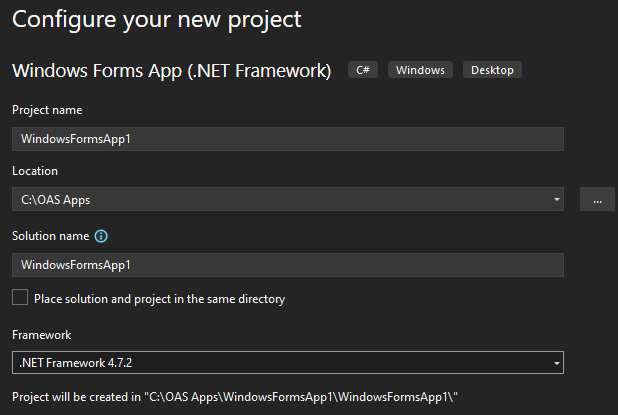
Select Create in the lower right corner.

Step 2: Add OPCAlarmControl to Form
Select View-Toolbox to select controls from the Open Automation Software group.
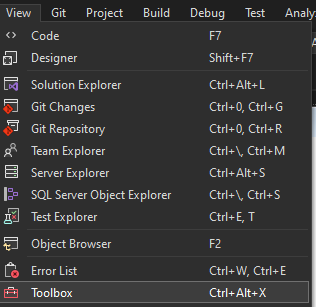
From the Toolbox if OPCAlarmControl components are not available right click in the Toolbox and select Choose Items.
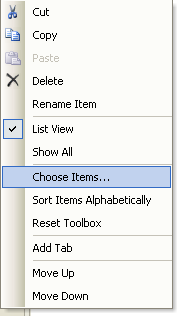
NOTE: If you have installed Visual Studio after Open Automation Software you can either right click on the Toolbox and select Choose Items to include the OPCControls.dll assembly from C:\Program Files\Open Automation Software\OAS\Controls\NetFramework\OPCControls\ or uninstall Open Automation Software and reinstall to register the OPCControls.dll assembly with Visual Studio.
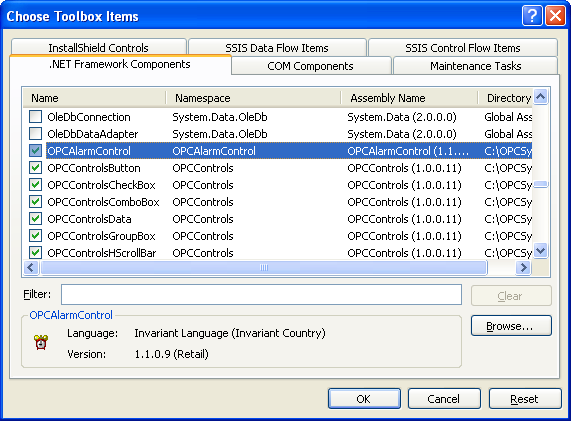
From the .NET Framework Components select the OPCAlarmControl component and then select OK.
Step 3: Add OPCAlarmControl to Form
Add the OPCAlarmControl or OPCWPFAlarm component onto the Form or Window.

Resize both the form and alarm window to the desired size.
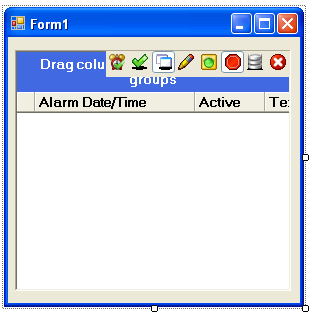
Right click on the alarm window and select Properties.
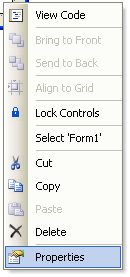
Set the Anchor property to Top, Bottom, Left, Right.

Step 4: Define Alarm Properties
Expand the AlarmFilter property and set the desired filter settings for the alarm window.
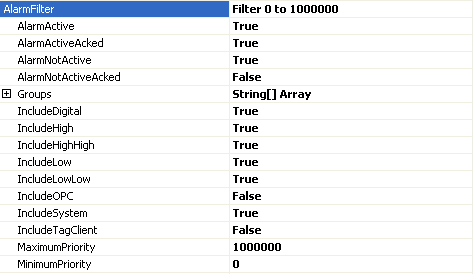
Step 5: Networking Alarms
To define remote OAS Engines to interface with select the AlarmNetworkNodes property and click on the small grey square with the 3 dots at the right.

Select all network nodes you wish to receive alarms from to this alarm window.
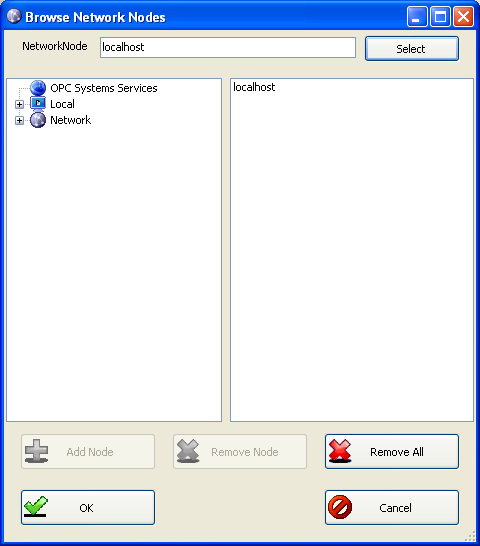
NOTE: If you want the application to be deployed across a network to remote PCs select the Network Node or enter an IP Address in the NetworkNode field and use the Select button to include the network node or IP Address of the OAS Engine source.
Step 6: Retain Runtime Changes to File
If you desire for the operator’s changes to the alarm window during runtime to remain set the ConfgiurationFile property to a valid file path. Make sure each system the application will run on that the directory path is valid.

Note: If you set this property to a file make sure you deploy the file with the application in the directory you specify.
Leave this property blank if you wish to have the default properties set during configuration remain on the application restarting.
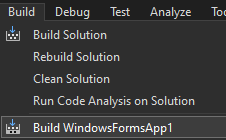
Step 7: Build Project
Set the compile mode on the Visual Studio toolbar to Release.

Select Build from the VS menu and select to build the application.
Step 8: Run Project
Use Windows Explorer to browse for the application located in the bin\Release directory and run the application.
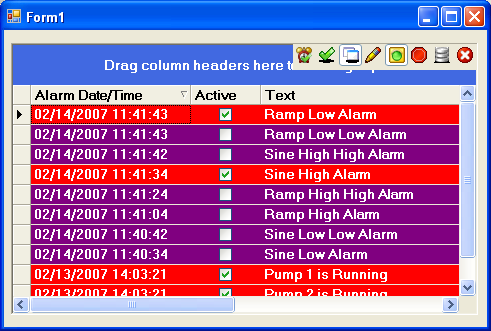
Step 8: Deploy Application
To deploy the application to remote nodes first make sure the AlarmNetworkNodes selection as described in Step 9 is set to a Network Node or IP Address. Then simply copy the files in the bin\Release directory to the target systems or follow the Smart Client deployment section in this help file to deploy your application using Click Once Deployment.
To deploy the application simply copy the files in the bin\Release directory to the target systems, or follow the Smart Client Deployment guide using Click Once Deployment. The remote system that will run the application should have the .NET Framework version installed that the application targets.
