Getting Started OPC DA
Open Automation Software Tags can be defined to connect to Classic OPC Data Access 2.xx and 3.0 Servers with the built in OPC Interface.

The following steps can be used to setup communications with Classic Data Access OPC Servers.
Step 1 – Configure OPC DA Tags

Start Configure OAS application from the program group Open Automation Software.
Select Configure-Tags.

NOTE: To configure remote OAS Engines enter the IP Address or node name in the Network Node field and click on Select.

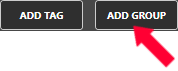
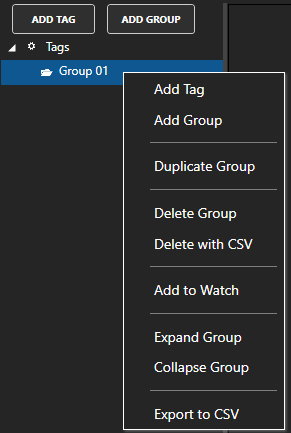
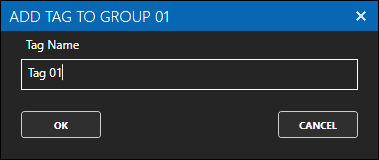
Select Add Group to add a group to place tags in.
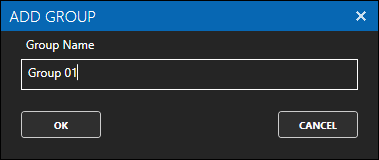
NOTE: You can add organizational Groups as many levels deep as you prefer and add tags to groups. To do this first add a Group to the root level, then right click on the Group in the right window to add additional Groups or Tags.
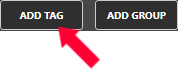
Select Add Tag to add a tag to the group selected.
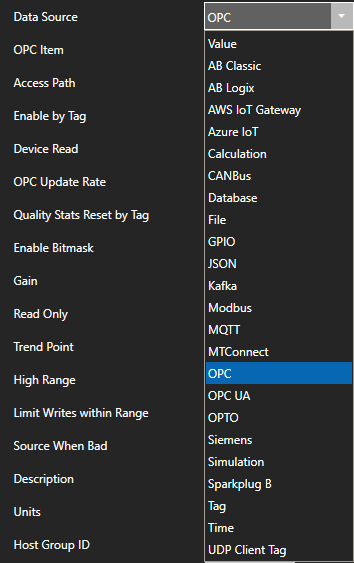
Change the Data Source Tag property to OPC.
Use the Browse button to the right of the OPC Item to browse OPC Servers for the desired OPC Item.

Select Local, the desired OPC Server, branch within the OPC Server, and OPC Item and click OK.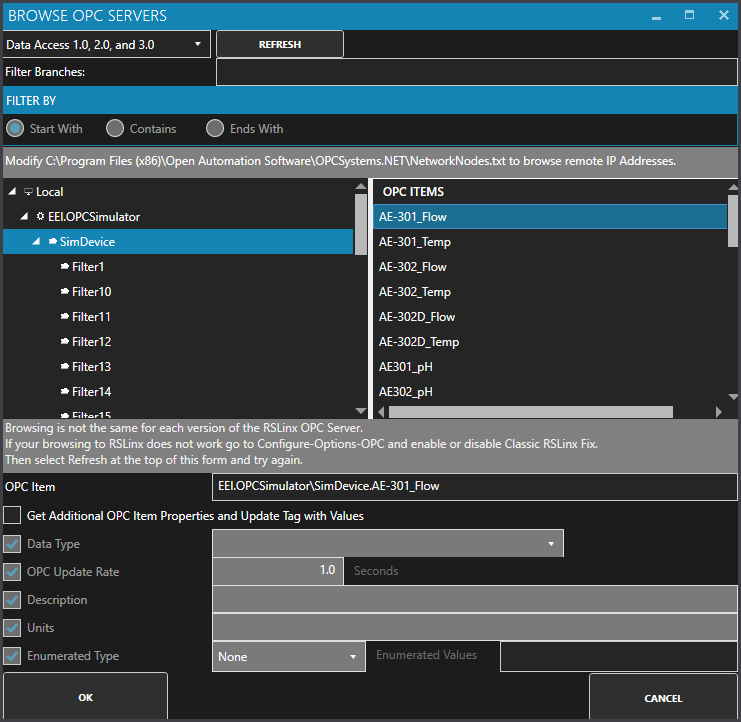
Note: If you wish to browse remote OPC servers via IP address see Networking OPC Data.
Specify the desired OPC Update Rate for the Tag.

To disable communications to the device you can use Enable by Tag to control when communications is active. Leave this property disabled to establish communications at all times.

The Device Read property can be used to disable continuous polling and request data on event from the transition from false to true of a value of a Boolean tag. Leave this property disabled to establish communications at all times.

Select Apply Changes in the lower right to activate the communications for the OPC Item.

The value from OPC Server for the OPC Item selected will appear in the current Value field.

NOTE: If the data quality is ![]() view the article Troubleshooting OPC Communications.
view the article Troubleshooting OPC Communications.
Step 2 – Define Multiple OPC Tags
To define multiple tags use one of the following optional methods.
- Use One Click OPC to automatically create tags from all OPC Items from a selected OPC Server or branch within an OPC Server. Then selectively delete the groups and tags that are not required.
- Use CSV Export and CSV Import on the toolbar together with Microsoft Excel to add or modify tags.
- Programmatically define Tags using the free to use OASConfig component with the SetTagProperties method.
- Programmatically define Tags with the OAS REST API.
Optionally define a secondary failover OPC Server if the primary OPC Servers fails under Configure-Options-OPC.

Step 3 – Save OPC DA Tags
Select the Save button on the toolbar at the top.

Enter a file name to be saved in C:\ProgramData\OpenAutomationSoftware\ConfigFiles directory on Windows or ConfigFiles subdirectory on Linux.
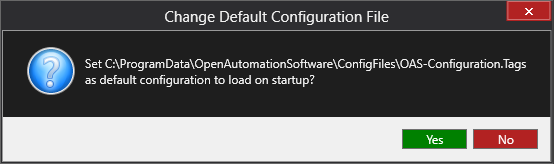
When prompted to set the file as the default configuration to load on startup select Yes.
The tags defined are now ready for use in all OAS features like Data Logging, Data Route, and Open UIEngine.