Getting started: OAS REST API and native iOS
Step 1
To read and write data between a native iOS app and OAS, you can use the OAS REST API. As a first step, register the HTTP listener with the OAS Service Control Manager under the section labeled “HTML HMI Registration”.
Define the exclusive Node Name and Port Number that is to be supported. The Node Name should be the registered domain name, IP address, or network node name that all clients will connect to from their browsers. If you are unsure of which node name to use, localhost will work in most cases.

NOTE: Before clicking “Register”, be sure to stop all services. If services are running, the Service Control app will prompt you to stop them.
Step 2
Start up all services, and be sure to include the Framework 4.5 Service as this houses the listener specific to the REST API.
Step 3
Test your API Service from your iOS device.
You will now ensure that your iPhone or iPad can communicate with OAS via the REST API. In this example, the OAS host is located at 192.168.0.101 on the local network, but you will have to replace this with the OAS host node on your network. The base URL you will use to connect to the REST API is http://{{node}}:{{port}}/OASREST/v2. Each operation performed against the REST API will use the specific operation name prepended with the base {{url}}. The first operation to complete is authentication. All sessions with the REST API must be authenticated. You can adjust the {{url}} in the following snippet and test authentication. In Xcode, create a new single-view iOS application, and choose Swift as the language. Add the following code to MainViewController.swift:
Authenticate Session (Swift):
import requests
import json

### base url is http://{{node}}:{{port}}/OASREST/v2/
url = 'http://192.168.0.101:58725/OASREST/v2'  # {{url}}
op = '/authenticate'                           # {{operation}}
data = '''{"username":"", "password":""}'''
headers = {'Content-Type':'application/json'}

### Authentication is completed via a POST request
response = requests.request("POST", url+op, data=data,
                             headers=headers)

print(response.text)

### Upon success, store your clientid and token for the remainder of the session
json_data = json.loads(response.text)
clientid = json_data["data"]["clientid"]
token = json_data["data"]["token"]
If this code is executed without error, the response will include a clientid and token. These will be included in the header for all other operations.
{
  "status":"OK",
  "data":{"clientid":"531041fa-e601-49d7-a02a-cf13f12eae28",
          "token":"919a303c-4537-4658-b4bf-242fc44e6493"},
  "messages":["Default credential provided"]
}
Here are some Python examples of basic HTTP requests you might wish to make via the REST API after having completed authentication. For additional information, see our REST API documentation.
Create a Tag (Python 3):
### code continues from above
### Create a Tag
headers.update({"clientid":clientid})
headers.update({"token":token})
operation = '/tags'
data = '''
{
   "path":"SomeDummyTag",
   "parameters": {
        "Value": {
            "DataType":"Double",
            "ParameterSource":"Value",
            "Value":"262.262"
        }
    }
}
'''
response = requests.request('POST', url+operation, data=data, headers=headers)
print(response.text)
Successful tag creation results in the following response from the OAS server:
{"status":"OK","messages":["CREATE COMPLETE"]}
Read a Tag (Python 3):
Reading a tag is accomplished with a GET request, using a simple query including the path to the Tag.
### Read a Tag
### operation = '/tags'
querystring= {'path':'SomeDummyTag'}
response = requests.request('GET', url+operation, params=querystring, headers=headers)
print(response.text)
A possible response from the OAS server:
[{"path":"SomeDummyTag","value":"262.262","quality":true,"type":"Float","timestamp":1521742596474}]
Update a Tag (Python 3):
Updating a tag is accomplished with a PUT request, using a payload including the path to the Tag, and the parameter(s) to be updated.
### Update a tag
### operation = '/tags'
data = '''
{
    "path":"SomeDummyTag",
    "parameters": {
        "Value": {
            "Value":"54.59"
        }
    }
}
'''
response = requests.request('PUT', url+operation, data=data, headers=headers)
print(response.text)
Update confirmation from the OAS server:
{"status":"OK","messages":["UPDATE COMPLETE"]}
Step 4
Write tag data from Raspberry Pi to OAS.
Now that you’ve established connectivity with the REST API, you can complete a Python script to write data from your device. Here is an example script which detects when a button is pushed, and forwards that data into OAS as a discrete tag value. An LED on the breadboard (see figure) indicates the current value, and the OAS server is polled at a frequency of 1 Hz to reflect the current state.
import RPi.GPIO as GPIO
import time
import requests
import json

### Define a function to toggle the state of PiBit
### (You will likely prefer to inject all dependencies in production code)
def toggleBit(state):
    data = '''{"path":"PiBit",
               "parameters":{
                   "Value":{
                       "Value":"'''+str(not state)+'''"
    }}}'''
    requests.request('PUT', url+operation, data=data, headers=headers)
    return not state

### read state of Boolean Tag
def readBooleanTag(tagName):
    querystring = {'path':tagName}
    response = requests.request('GET', url+operation, params=querystring, headers=headers)
    json_response = json.loads(response.text)
    test = json_response[0]["value"]
    return test == "True"

### Write a callback function to execute on event detection
def callback(input_pin):
    print("Input on pin",input_pin)
    current_state = GPIO.input(40)
    toggleBit(current_state)
    GPIO.output(40, not current_state)

### Authenticate session
url = 'http://192.168.0.101:58725/OASREST/v2'
operation = '/authenticate'
data = '''
{
    "username":"",
    "password":""
}
'''
headers = {"Content-Type":"application/json"}
response = requests.request('POST', url+operation, data=data, headers=headers)

### Update headers with clientid and token
json_data = json.loads(response.text)
clientid = json_data["data"]["clientid"]
token = json_data["data"]["token"]
headers.update({"clientid":clientid})
headers.update({"token":token})


### Create a tag to store a boolean
operation = '/tags'
data = '''
{
    "path":"PiBit",
    "parameters": {
         "Value": {
             "DataType":"Discrete",
             "ParameterSource":"Value",
             "Value":"False"
         }
    }
}
'''
response = requests.request('POST', url+operation, data=data, headers=headers)

### Setup Raspberry Pi IO board
GPIO.setmode(GPIO.BOARD)
GPIO.setup(36, GPIO.IN, pull_up_down=GPIO.PUD_UP)
GPIO.setup(40, GPIO.OUT)
GPIO.output(40, False)

### Detect when input voltage drops, and poll server for current state
GPIO.add_event_detect(36, GPIO.FALLING, callback=cb, bouncetime=100)
try:
    while True:
        time.sleep(1)
        print(readBooleanTag("PiBit"))
except KeyboardInterrupt:
    print("\nExiting\n")
    GPIO.cleanup()
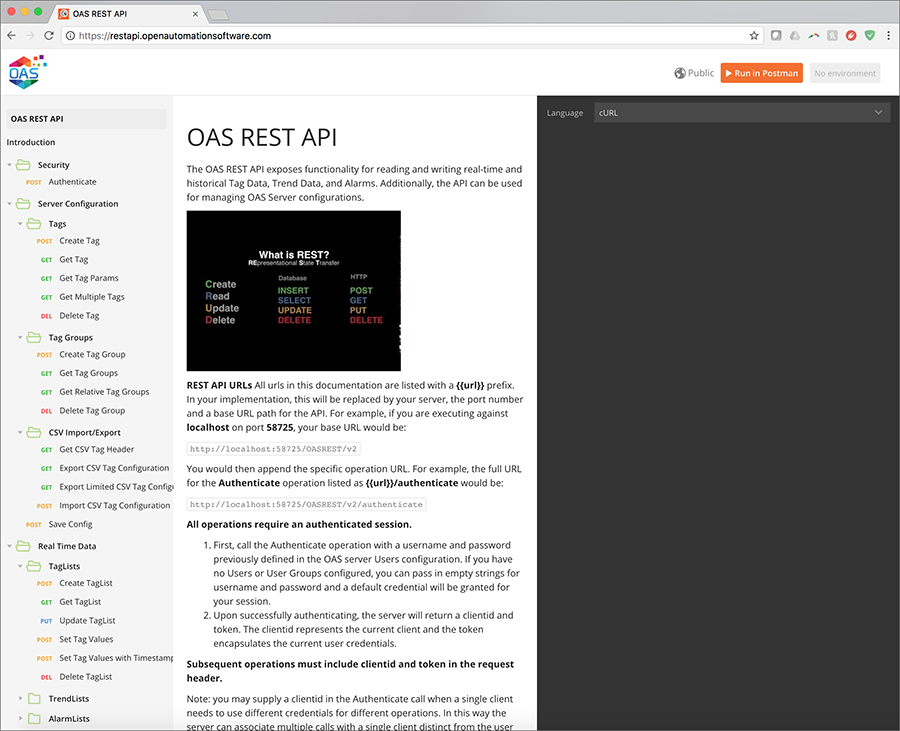
For further help with the REST API, navigate to https://restapi.openautomationsoftware.com to open the REST API online documentation.