Getting Started – OPC Client
Step 1 – Check OPC Client License

After installing Open Automation Software verify you have a license of OPC Client on all OAS Engines that you want to interface with.
Start Configure OAS application from the program group Open Automation Software.
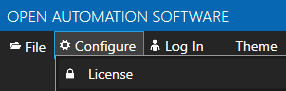
Use the Configure OAS application and go to Configure-License.
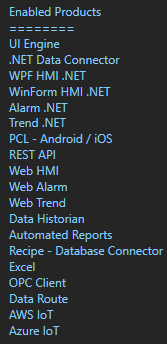
Check all OAS Engines that the OPC Client product appears in the Enabled Products list.
Step 2 – Installation and Setup
From each system with a Classic OPC DA Client, install either the full installation of Open Automation Software or the Custom installation with OPC Client Connector – OPCClient.NET. The Classic OPC DA OPC Server OPCSystems.NET requires the .NET Framework 3.5 to be installed in the operating system before installation.
NOTE: When networking third-party OPC Clients to remote OAS Services, always install the OPCSystems.NET OPC Server on the same computers as the OPC Client. You will not need a license on the OPC Client PCs, just where the data source is located with the OAS Engines.
Security Setup
In order to browse and access OAS tags from OAS Engines that have security enabled modify the file DANSrv.exe.config in the installation directory of OAS, typically C:\Program Files\Open Automation Software\OAS\.
Set both the UserName and Password within the file that would provide access to browse tags, read tags, and write tags.
<add key=”UserName” value=””/>
<add key=”Password” value=””/>
Variable Browsing
To browse all 800+ variables of each tag set ValueOnlyBrowsing to False in the DANSrv.exe.config file.
Leave this settings as True to browse only the Value of each tag. (Recommended)
<add key=”ValueOnlyBrowsing” value=”True”/>
Network Setup
If the OPC Client is on a different computer than the OAS Service you are connecting to modify the file NetworkNodes.txt in C:\Program Files\Open Automation Software\OAS\ and add each IP Address, Network Node Name, or registered Domain Name you want to connect to the NetworkNodes.txt file.
Step 3 – Connect OPC Client
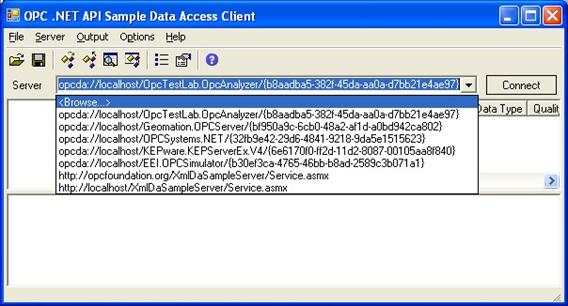
OAS is now ready to interface with a third-party OPC Client. In this example we will use the OPC Foundation Sample found under the program group Open Automation Software -Tools.
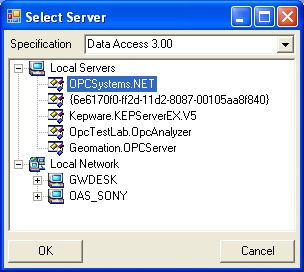
From the Server pull down list select Browse.
Select the local OPC Server OPCSystems.NET.
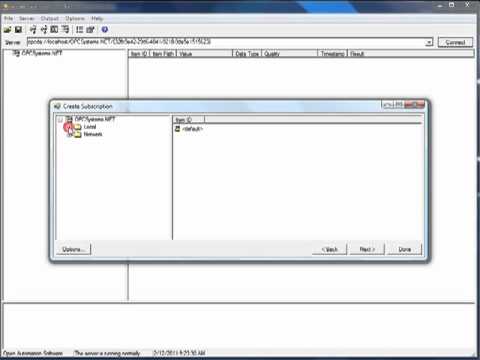
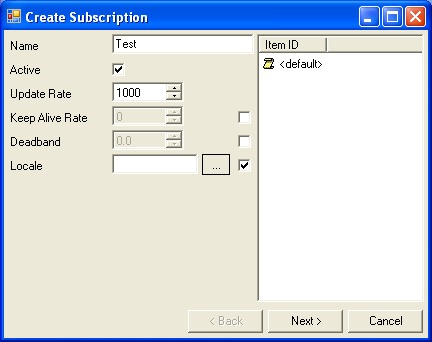
Create a group subscription by right clicking on the OPCSystems.NET OPC Server.

Enter a Name for the subscription and select Next.
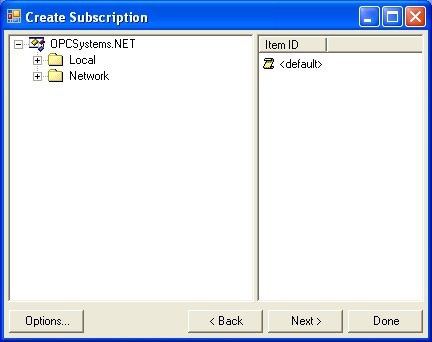
Step 4 – Browse OAS Tags
Browse either the Local service or a remote service under the Network branch.
Remote OPC Items use the following syntax for the remote OPC Item.
Network.<IP Address, domain name, or network node name>.Tag.Value.
Example: Network.192.168.0.1.Tag.Value.
NOTE: To browse remote OAS Engines modify the file NetworkNodes.txt as described in Step 1.
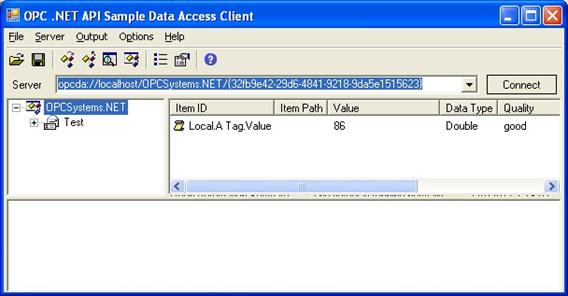
Browse for your OPC Item to add and double click on it.
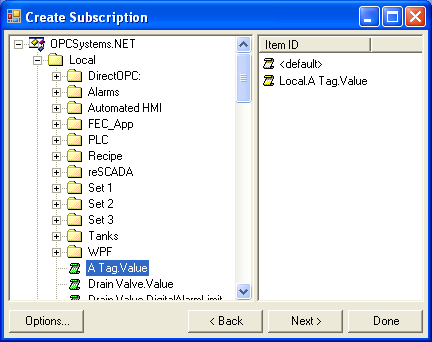
Here you will see both Open Automation Software tags in the service you are browsing. DCOM is not used in remote connections. Networking is over TCP port 58727 and this port number is adjustable in the OAS Engine under Configure-Options-Networking and set in the DANSrv.exe.config file for each OPCSystems.NET OPC Server deployment.
Select Next and then Done and the value of the remote item will appear.