
How to Install OAS in Windows
1 - Download OAS for Windows
Fully functional trial versions of the software are available for Windows, Windows IoT Core, Linux, Raspberry Pi and Docker on our downloads page.
2 - Installation
Run the
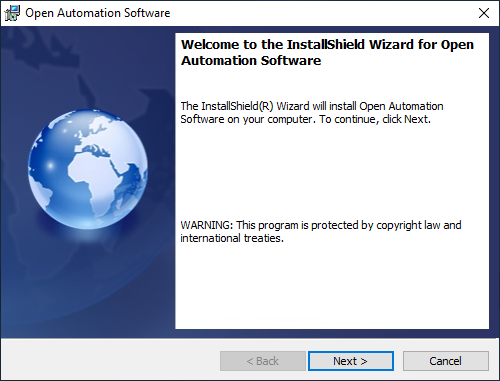
setup.exeinstaller file.The first screen is a Welcome screen. Click Next to continue.
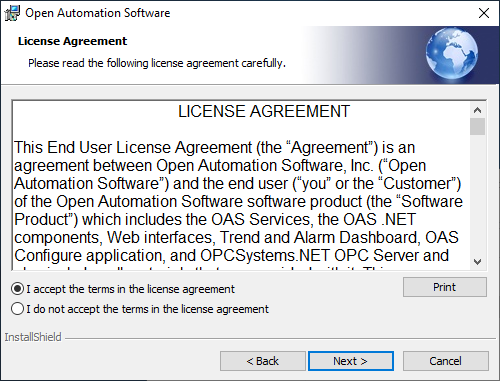
The next screen is the License Agreement. If you accept the terms click on “I accept the terms in the license agreement” and click Next.
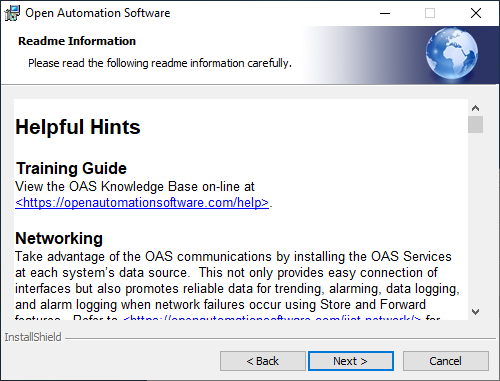
The next screen provides some helpful hints and other information. You will find this information in the Knowledge Base as well. Click Next to continue.
Provide your customer information and then click Next to continue.
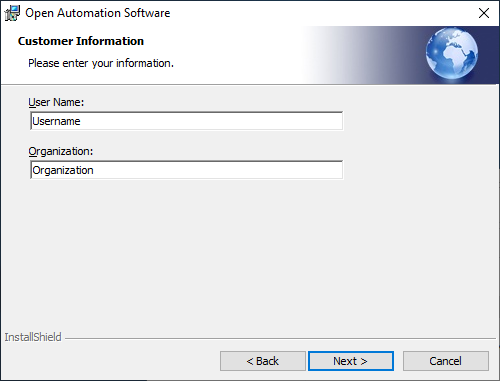
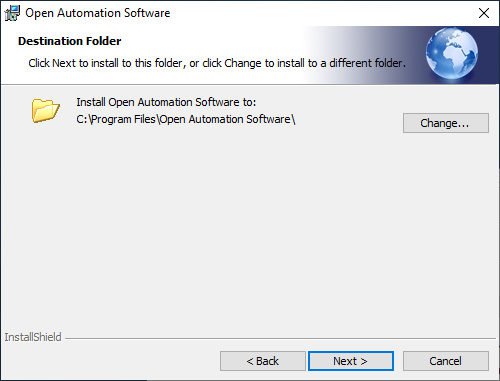
The OAS platform will be installed in the C:\Program Files\Open Automation Software folder by default. It is recommended to use the default installation folder, but you can change it if this is a requirement by clicking on the Change button.
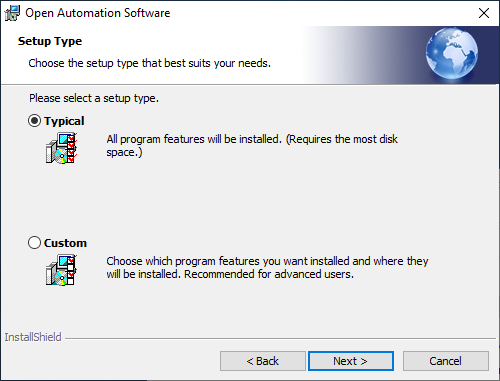
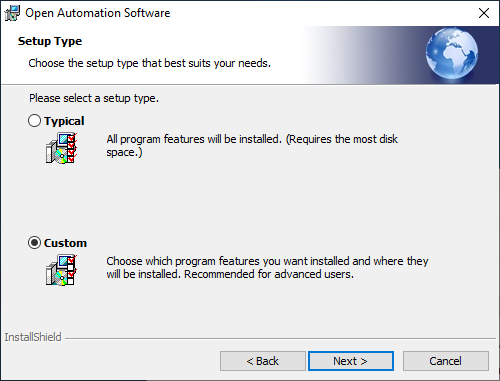
On the next screen the installer will ask you if you want a Typical or Custom installation. The typical installation will install all features. If you select a custom installation, you will be able to choose the features you want to install. See the Custom Installation section if you want to customize your installation. Click Next to continue.
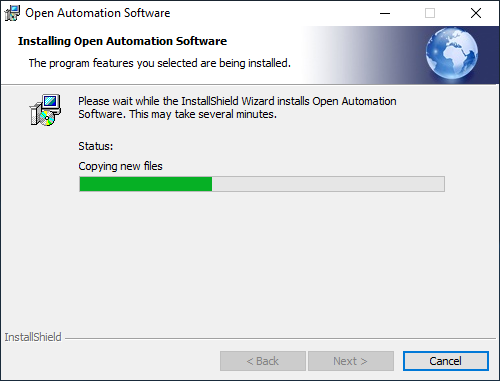
The installer will now install the OAS platform. This may take a few minutes depending on the resources available on your system.
Once the installation is complete you will see the success screen. Click on Finish to close the installer.
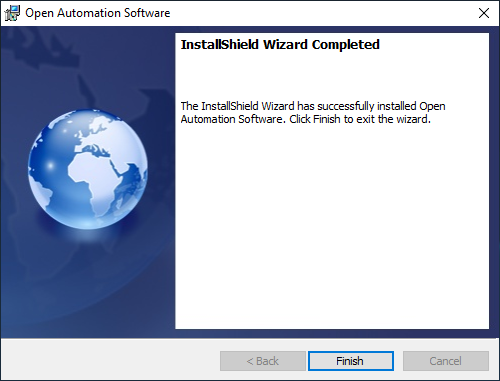
You will now see a Getting Started screen and the OAS Service Control.
Custom Installation
In Step 6 of the above installation instructions you can choose a Custom installation type. This will give you the option to select the features that you want to choose.
You can use a custom installation if you want to reduce how much storage space is required by the OAS platform by removing features you will not be using. You can also use the custom feature if you only want to install some specific features. For example, if the target system will only be used to host the Configure OAS application but no the OAS services.
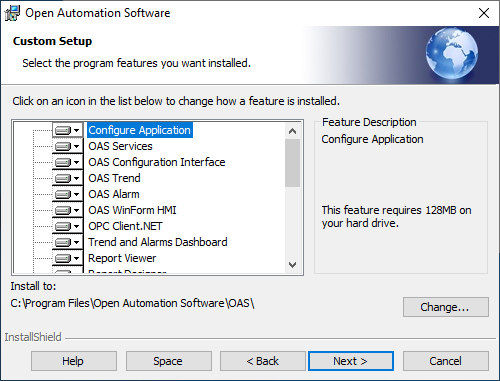
Click Next to continue to the selection screen.
On the selection screen you can individually include or exclude features by right clicking on a feature.
3 - Next Steps on Windows
Now that you've successfully started the OAS Engine you can try connecting to it using the built-in OAS Web Configuration Application from within your browser.
The URL for the application is: http://localhost:58725/app/config/
If you want to connect to the server from another workstation, just replace localhost with the IP address of your OAS server.
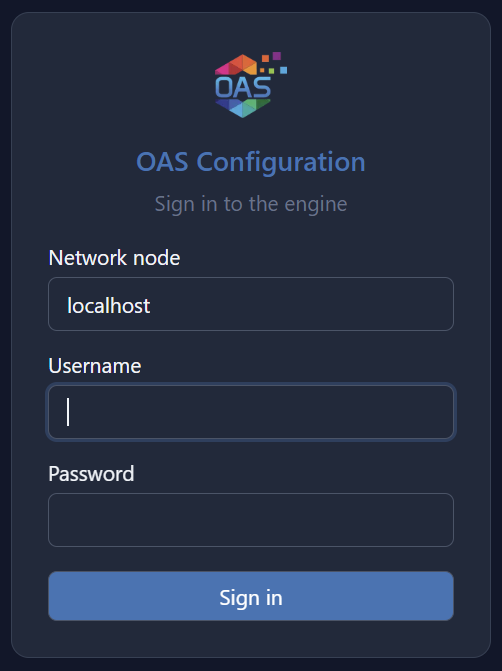
The Web Configuration Application login screen should be displayed. If you are connecting from a remote workstation, just set the Network node to the IP address of the OAS server.
Ready to get started?
See how OAS fits your environment, or get pricing for your project.