Getting Started – Smart Client Click Once Deployment
The Example application installed with Open Automation Software is a Smart Client compatible application demonstrating remote connectivity to any Open Automation Software Service. The application includes OPC Controls.NET, OAS Trend .NET, OAS Alarm .NET, and the OAS Configuration component.
When building your own Smart Client application make sure to include either the Network Node name or IP Address of the OAS Services you wish to connect to. This would include the OPC Controls Tag properties, the OPC Trend pen Tag names, the OPC Alarm window network nodes, and any routines using the Open Automation Software programmatic interface.
Open Automation Software uses TCP port number 58724, so be sure to add your applications you deploy to any firewalls on your system with this TCP port number as an exception. The TCP port number is adjustable in both the service and as the WCFPortNumber property in each .NET dll.
To deploy applications with Visual Studio 2005 with the .NET Framework 2.0 is extremely simple.
Step 1
Make sure IIS is installed and running on the system you wish to deploy to.
Step 2
In Visual Studio 2005 select the Properties of the project you wish to deploy.
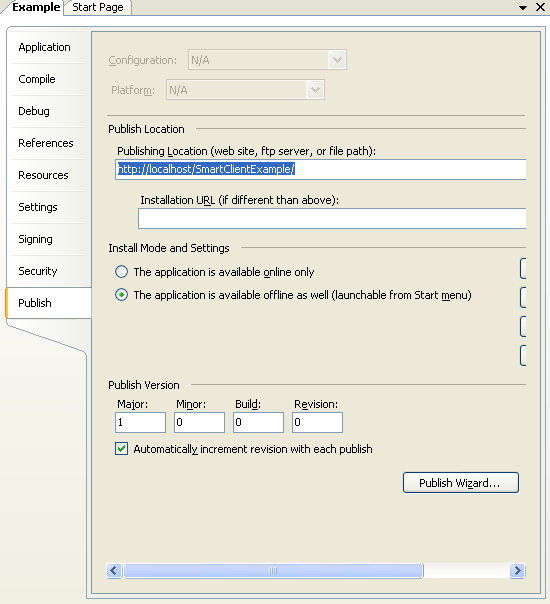
Next select the Publish tab to view the Click Once deployment section.
Step 3
Set the Publish Location to the local or remote system that is running IIS.
Step 4
Set the initial Publish Version and either leave the automatic increment or disable the feature and set it manually each time you want to make an update to the application.
Step 5
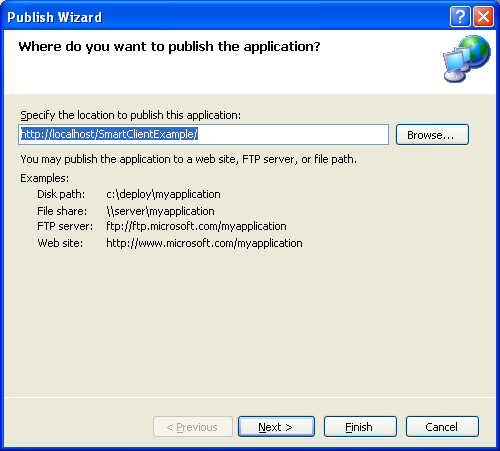
Select the Publish Wizard button to begin the steps of deploying the application.
Step 6
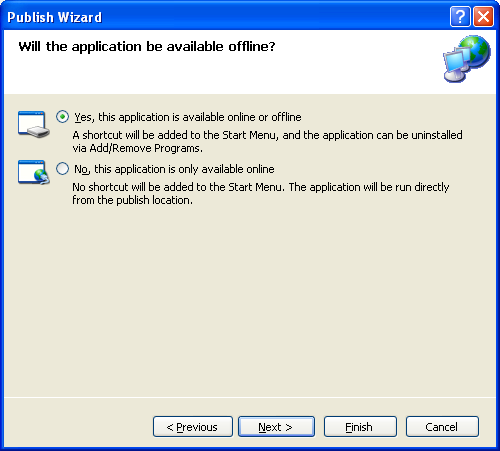
Determine if the application will be installed remotely to run on each system even if the server is not reachable or if the application will only be available with the server is online.
Step 7
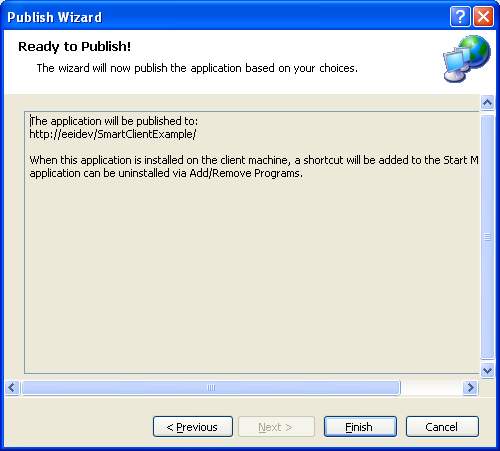
Confirm that the deployment virtual directory is correct and select Finish.
Step 8
Open port 58724 on all systems that will be communicating together that have a firewall enabled.
On each OAS Service system that you wish to connect to and each remote system you will be running the application from add TCP port number 58724 if a firewall is enabled. This port number is adjustable in the service and in all .NET dlls.
For Windows XP SP2 Select Control Panel-Windows Firewall.
Select the Add Port button.
Enter a Name and the Port Number 58724.
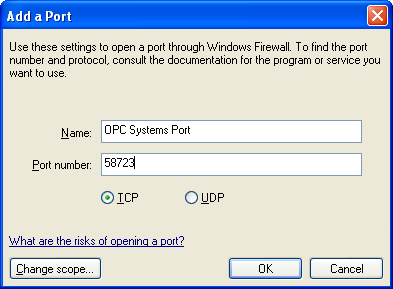
Use the Change scope button to limit the IP range to the systems that will be communicating together.

Step 9
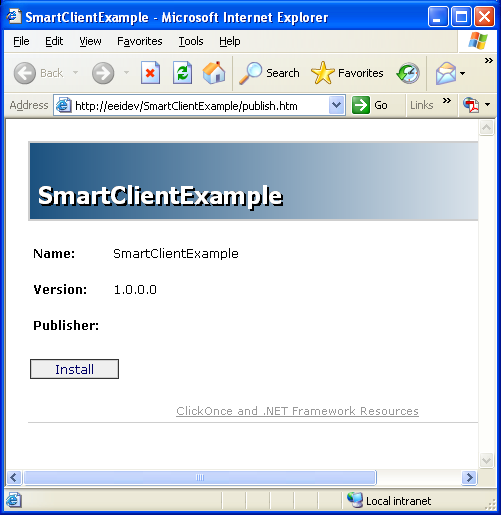
From any remote client system simply open url of the deployment server publish page using a web browser and select the Install button.
With Smart Client deployment you can now easily deploy updates to one location and make updates just to the one deployment server and all remote users automatically receive the updates on the next time they run the system.
When the application is installed for offline/online deployment each time it runs it connects to the deployment server to see if there is a newer version available. The user is prompted to install the update or ignore and continue to run the application.