Smart Client with .NET Framework 1.1
![]()
Perform the following steps to setup the Example application for Smart Client Deployment using the .NET Framework 1.1 with application developed with Visual Studio 2003. Although possible to run applications as a Smart Client on systems with .NET Framework 1.1 only, you can see it is easier to use the .NET Framework 2.0 Click Once deployment that is included in Visual Studio 2005.
Step 1
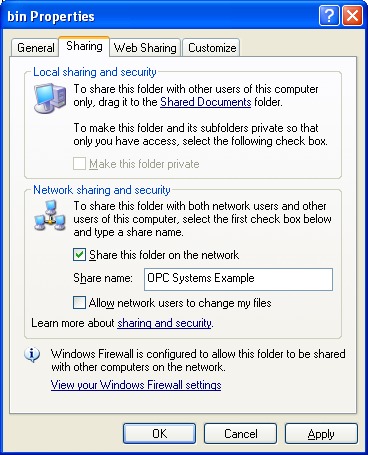
Share the directory where the application resides.
By default this would be C:Program FilesEEIOPC Systems.NETExamplebin.
Step 2
Open port 58724 on all systems that will be communicating together that have a firewall.
On each OAS Service system that you wish to connect to and each remote system you will be running the application from add TCP port number 58724 if a firewall is enabled. This port number is adjustable in the service and in all .NET dlls.
For Windows XP SP2 Select Control Panel-Windows Firewall.
Select the Add Port button.
Enter a Name and the Port Number 58724.
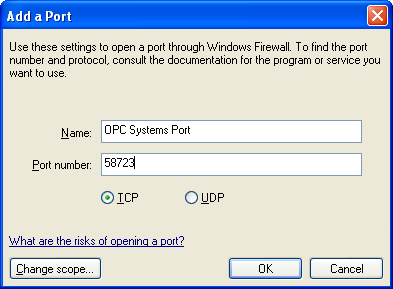
Use the Change scope button to limit the IP range to the systems that will be communicating together.

Step 3
On all remote systems that will be running the Smart Client Example application use the Microsoft .NET Framework Configuration tool to Trust the Example application.
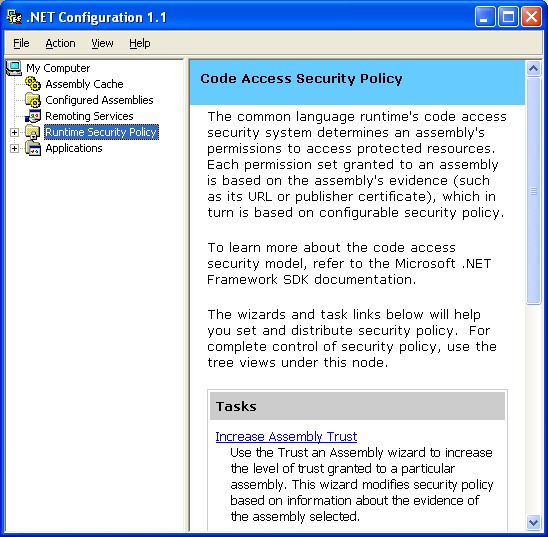
Select Control Panel-Administrative Tools-Microsoft .NET Framework 1.1 Configuration. (Please note that if you do not see the Microsoft .NET Framework 1.1 or 2.0 Configuration tool install the .NET Framework in the operating system.).
Select Runtime Security Policy.
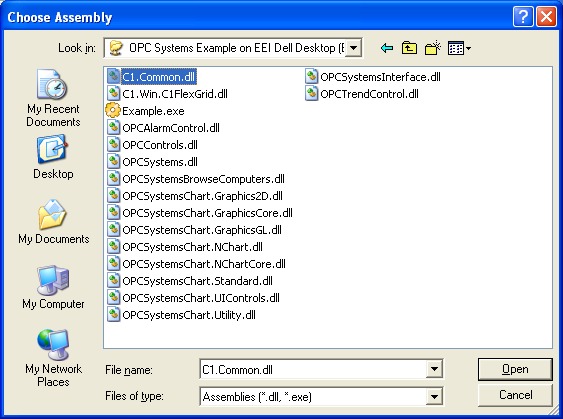
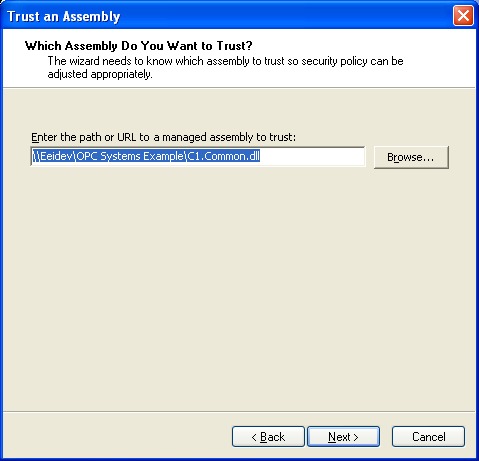
Use the Increase Assembly Trust Task to add all of the files from the shared network folder on the hosting system from Step 1.
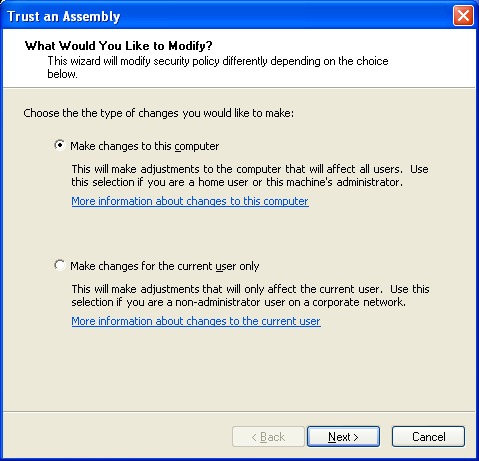
Select each file from the shared network folder one by one.

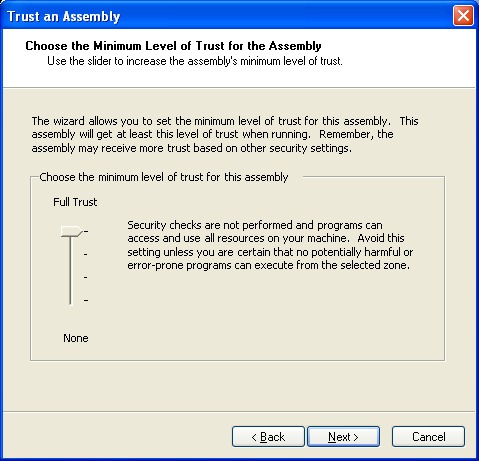
Set the level of minimum security to Full Trust.
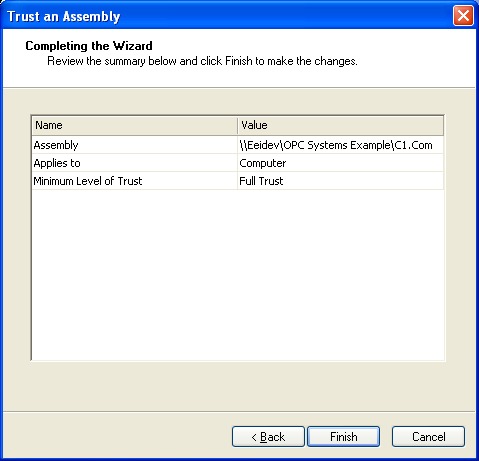
Select Finish and repeat the Increase Assembly Trust Task for all of these files in the shared folder.
Step 4
You are now ready to run the application from all remote PCs that you performed Steps 2 and 3.
Simply run Example.exe from the shared network folder on the server PC.
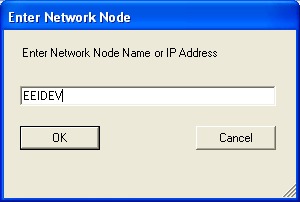
From the Example application select Network Node from the pull down menu to enter the Node Name or IP Address of any system with OAS Service running.
Select any of the menu buttons to view and control data from the source OAS Service.
Notice that the application is running on the remote PC without the files on the PC.
Also the communications to the source system is dynamically set with the Network Node dialog. Feel free to change the Network Node to any system that is running the OAS Service with the DemotTags configuration.
With Open Automation Software you can easily build networked applications that connect to multiple licensed OAS Services. You can either programmatically set the Network Node as in the Example application or simply set the component Tag properties to include the desired Network Node.
The user interface is far superior to a web browser; you are truly running the application on the Remote system.
Now that all of the application files are in one directory it is very easy to make updates to the one directory and all remote systems run the same common updated application, versioning has never been easier.