How To Authenticate and Use the OAS REST API


The OAS REST API exposes functionality for reading and writing real-time and historical Tag Data, Trend Data, and Alarms. The API can also be used for managing OAS Server configurations.
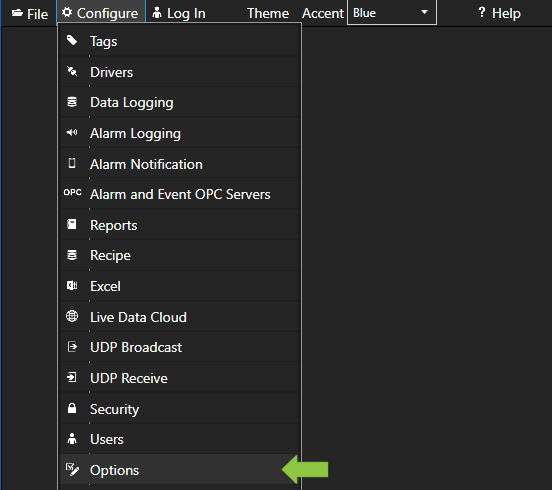
Configure the Port
To use the OAS REST API you must make sure that the OAS HTTP service is listening on the correct port. Open the OAS Configuration application and select Configure > Options, then select the Network Node and click Select.

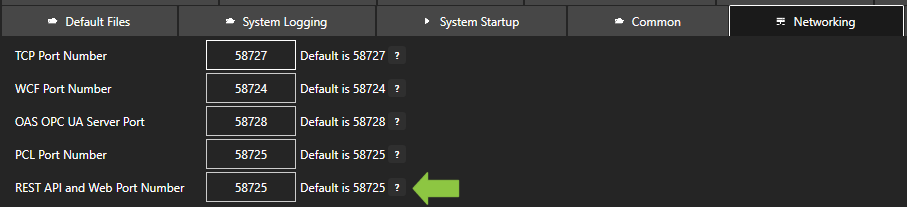
Under the Networking tab, locate the field for REST API/WebHMI Port Number. The default is 58725 but can be changed. If you are accessing the server from a remote client, you will also need to make sure your machine and/or company firewalls allow TCP traffic on the selected port.
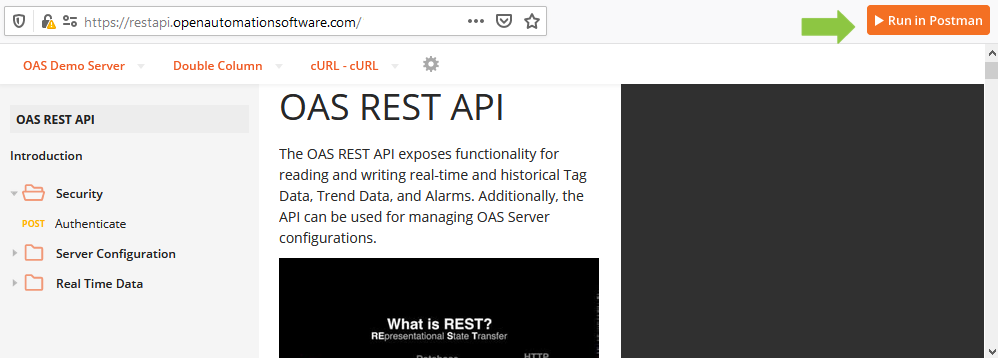
OAS REST API Online Documentation
You can view the full documentation for the OAS REST API at https://restapi.openautomationsoftware.com. It details all of the operations available to any REST API client and can be tested using the Postman application client. In the upper right corner of the documentation, you will see a button to Run in Postman, which will install the API documentation into the Postman client for direct execution against any OAS server.
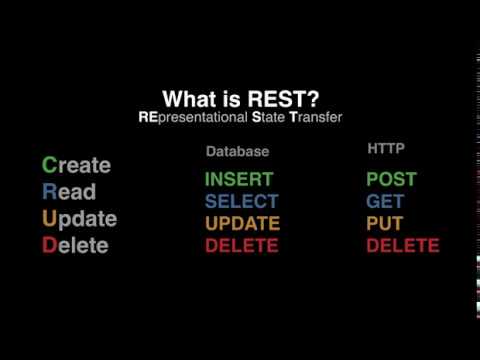
For more information about using the OAS REST API with Postman, see our Getting Started – REST API tutorial or watch the video below:
Authenticate a Session with the REST API
To start you will need to authenticate a session with the REST API, generating a clientid and credential token to use in all subsequent calls. The credentials posted in this operation must be configured in OAS Security settings on the server. To learn more about configuring security, see out Getting Started – Security tutorial in the knowledge base. To use the server’s default credentials, pass an empty string for both username and password fields, but only if the server is configured with the Default user group allowing access to operations.
<!DOCTYPE html>
<html lang="en">
<head>
<meta charset="utf-8"/>
    <title>REST Client</title>
    <script src="https://code.jquery.com/jquery-3.1.1.min.js"></script>
    <script type="text/javascript">
    $(document).ready(function() {
        $.ajax({
            url: "http://localhost:58725/OASREST/v2/authenticate",
            type: "POST",
            contentType: "application/json; charset=utf-8",
            crossDomain: true,
            dataType: "json",
            data: '{"username": "", "password": ""}',
            success: function(r) {
                // display the response status code and text
                $('#displaythis').append("Status: "+ r.status +"<br>");
                $('#displaythis').append("Client ID: "+ r.data.clientid +"<br>");
                $('#displaythis').append("Token: "+ r.data.token +"<br>");
            }
        });
    })
    </script>
</head>
    <body>
        <div id='displaythis'></div>
    </body>
</html>