Configure OAS – Tags
The Tags configuration screen in the Configure OAS application provides the following high level features:
- Create, update and delete Tags and Tag Groups
- View latest tag value, timestamp and quality
- Write to a tag value
- Configure tag alarm limits
- Configure data route target
- Configure tag Sparkplug B parameters
- Advanced alarm acknowledgement and scheduling
- Turn on tag statistics (Time On and Count and Tag Totals)
👉 To learn about Tag Groups and Tags check out the Tags Overview page 🔗
The Tags configuration screen lists all Tag Groups and Tags on the left hand tree menu. The main right hand side allows you to configure the Tag’s parameters.

Tag Groups and Tags List
The left hand side panel lists all of your tag groups and tags in a hierarchical tree menu. You can think of Tag Groups as folders and Tags are like files in a folder. You can organize your Tags into logical groups and design the data model that best fits the solution you are trying to create.

Tag Groups
The Tags Tag Group is the base or root Tag Group. You cannot delete or rename this Tag Group.
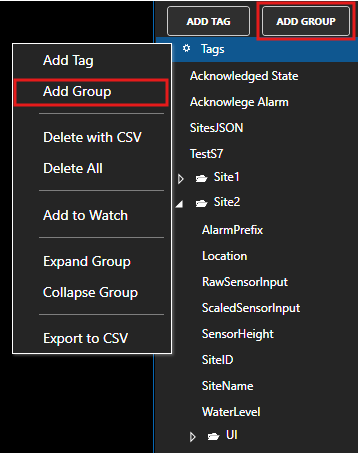
Add Tag Group
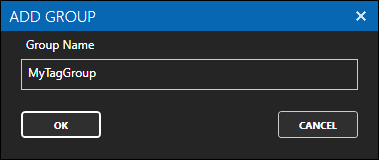
To add a Tag Group first select the root Tag Group or the Tag Group where you want to add a Tag Group. This will be the parent Tag Group or the new Tag Group. Either click on the ADD GROUP button or right click on the parent Tag Group and select Add Group. Provide a name in the dialog window that appears. The Tag Group name has to be unique within the parent Tag Group.
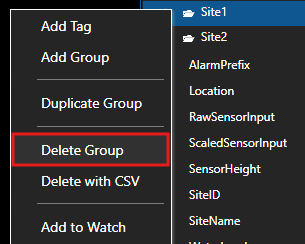
Delete Tag Group
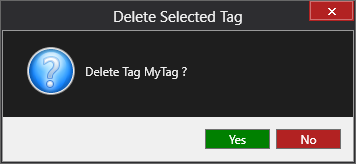
To delete a Tag Group first select the Tag Group you want to delete. Make sure it is highlighted. Right click on the Tag Group name and select Delete Group or use the Delete key on your keyboard. Click Yes in the confirmation dialog to delete the Tag Group.

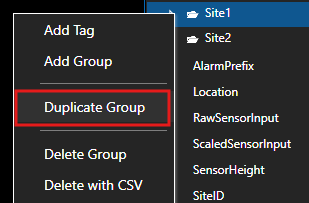
Rename/Duplicate Tag Group
To rename a Tag Group you can use the Duplicate function. This will create a new Tag Group with the new name and same Tag structure. The duplicate Tag Group will be created at the same level in the hierarchy as the Tag Group being copied.
You can also use this to copy an existing Tag structure and create a new copy of it. This is useful when you have a particular data model and you want to re-use the same Tag structure in a new copy.
Tags
Tags are contained in Tag Groups. You can organize your Tags into as many different Tag Groups as you want, including in the root Tag Group, to create an appropriate representation of your data or process.
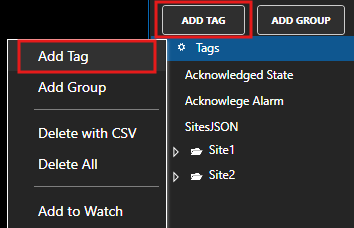
Add Tag
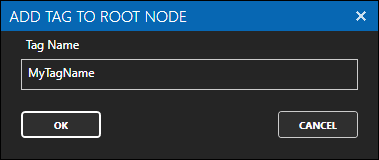
To add a Tag select the Tag Group in which you want to create the Tag. This can also be the root Tags Tag Group. It is often best to first create your Tag Group structure. Once your Tag Group is selected, either click on the ADD TAG button or right click on the Tag Group and select Add Tag from the context menu. Provide a name in the dialog window that appears.
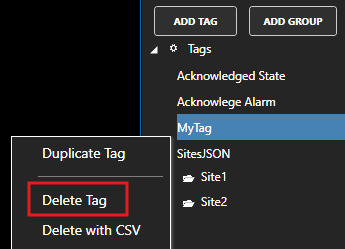
Delete Tag
To delete a Tag first select the Tag Group you want to delete. Make sure it is highlighted. Right click on the Tag Group name and select Delete Group or use the Delete key on your keyboard. Click Yes in the confirmation dialog to delete the Tag Group.
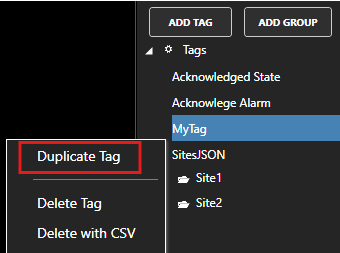
Duplicate Tag
To duplicate a Tag you can use the Duplicate function. This will create a new Tag with a new name and copy all of the properties from the original Tag. The duplicate Tag will be created in the same Tag Group as the original Tag.
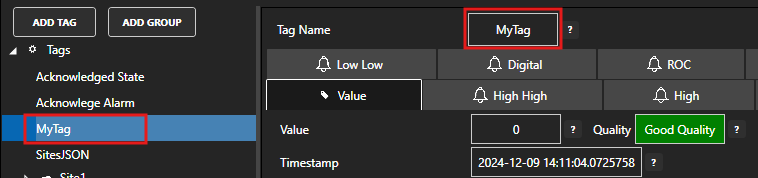
Rename Tag
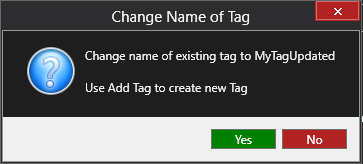
To rename a Tag first select the Tag and make sure it is highlighted. Edit the Tag name in the Tag Name field and then click on the Apply Changes button or press the Enter key on your keyboard. Click Yes in the dialog window to confirm the update.
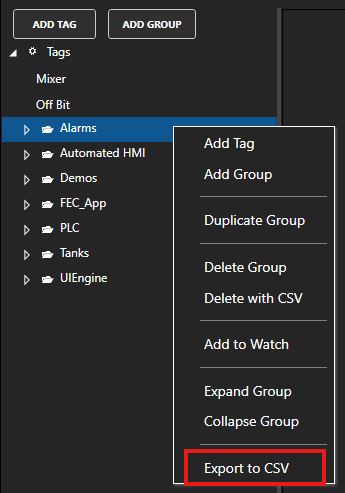
Tag Group Export to CSV
Instead of exporting all of your tags, you can choose to only export tags in a particular Tag Group. This will include all descendant Tags in the selected Tag Group hierarchy.
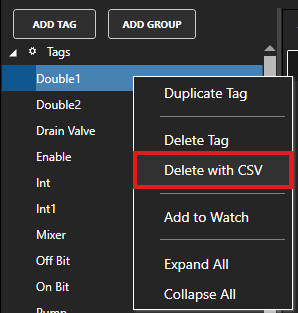
Delete with CSV
If you need to delete a large number of tags, you can use the Delete with CSV feature. The standard CSV Import feature can only insert and update data.
- Select the root Tags item or select any Tag or Tag Group and click on Delete with CSV.
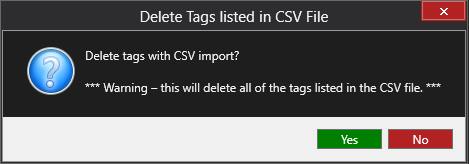
- In the confirmation dialog click Yes to confirm that you want to delete tags using CSV delete.
- Select a CSV or text file where the first row contains at least one column called Tag and the tag path on each subsequent row.
A quick method to create this file is to use the Export to CSV functionality and in the CSV Column Selection dialog deselect all of the items. This will result in a CSV file that only contains the tag name. You can then use Excel to remove any tags you want to keep so that only the tags you want to delete remain.

- Once the tags have been removed you will see a confirmation dialog window.