Getting Started – Cross Platform HMI
If you do not have a copy of Visual Studio you can download a free version of Visual Studio Community (formerly Visual Basic Express or C# Express) from visualstudio.microsoft.com/vs/community. You can choose whether to use Visual Basic or C#, but if you have no experience with either language, Visual Basic is easier for new developers. We do recommend Visual Studio 2017 or higher.
There are many Cross Platform GUI tools available. We have chosen Avalonia because of its popularity. Here’s a link detailing how to create an Avalonia project: https://avaloniaui.net/docs/quickstart/create-new-project. We recommend downloading and using the extension: https://marketplace.visualstudio.com/items?itemName=AvaloniaTeam.AvaloniaforVisualStudio
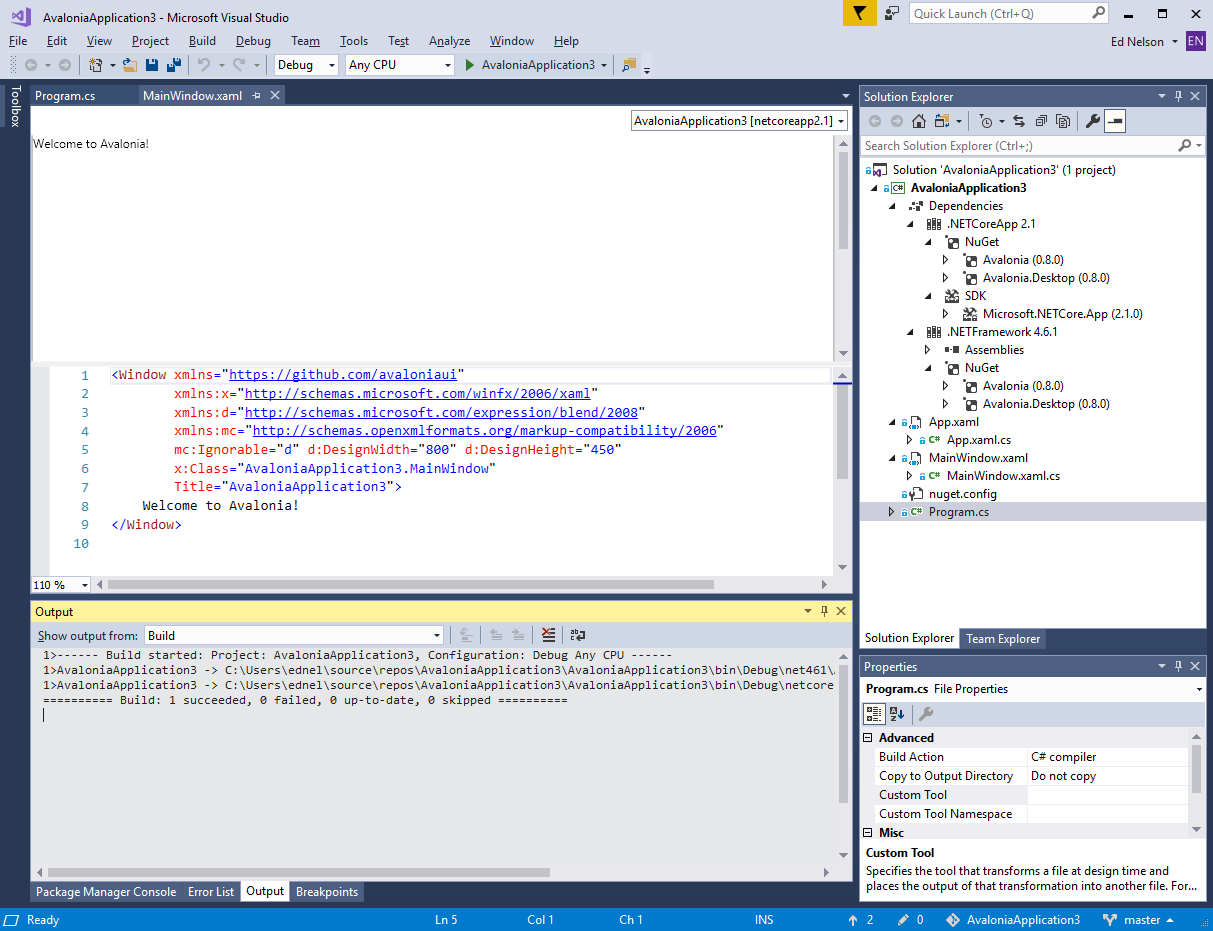
Working Avalonia Solution
You should have a running Avalonia application at this point

Adding OASAvalonia to Existing Avalonia Solution
Step 1 – Add the OASAvalonia library
Right-Click on Dependencies in the Solution Explorer
Click the “Browse” button at the bottom
Navigate to C:\Program Files\Open Automation Software\OAS\
Click “OK” button
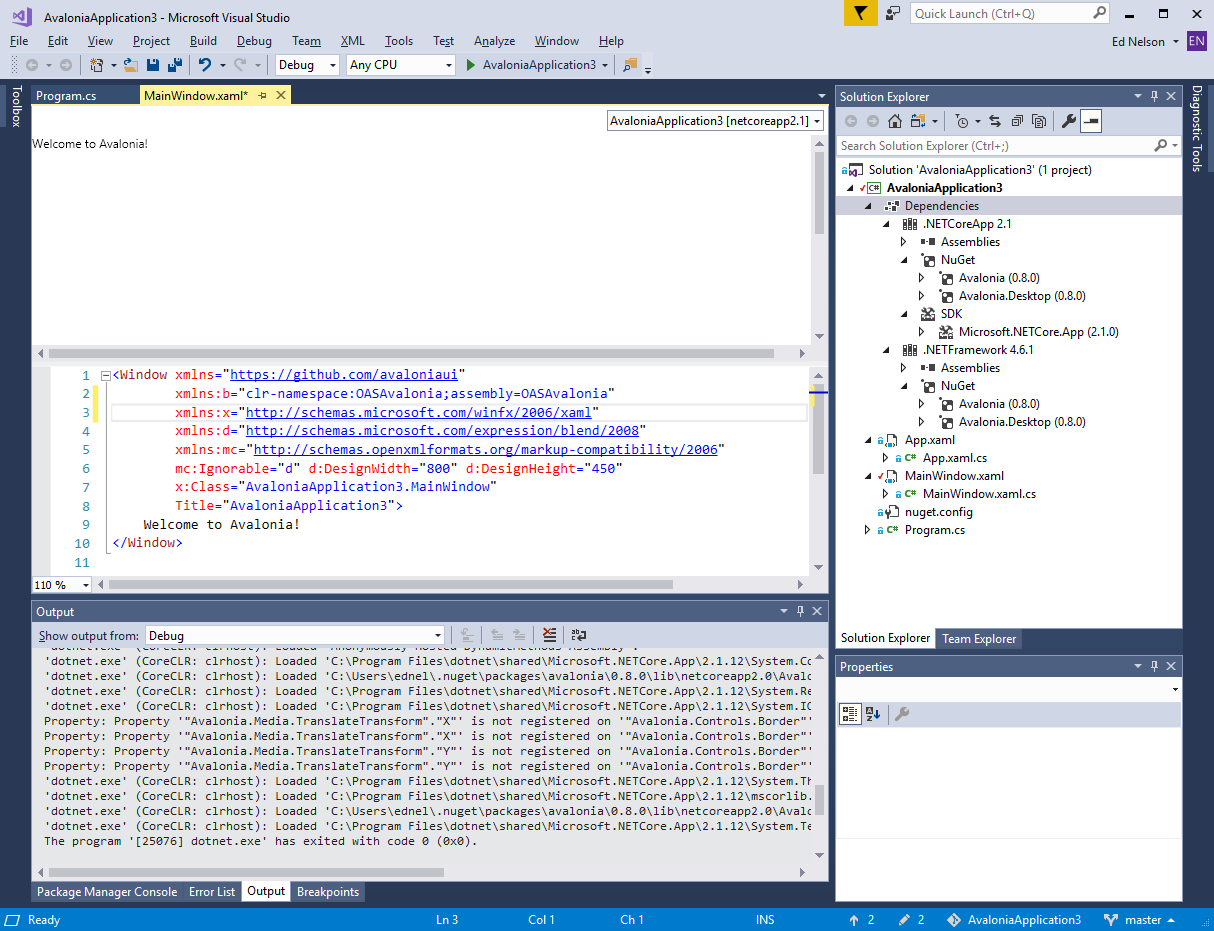
Step 2 – Add Namespace
Edit the Mainwindow.xaml file
Add xmlns:b=”clr-namespace:OASAvalonia;assembly=OASAvalonia” to the xml namespaces
Step 2 – Add OAS_Controls
Type “<OAS_” and you will a list of OAS enhanced controls
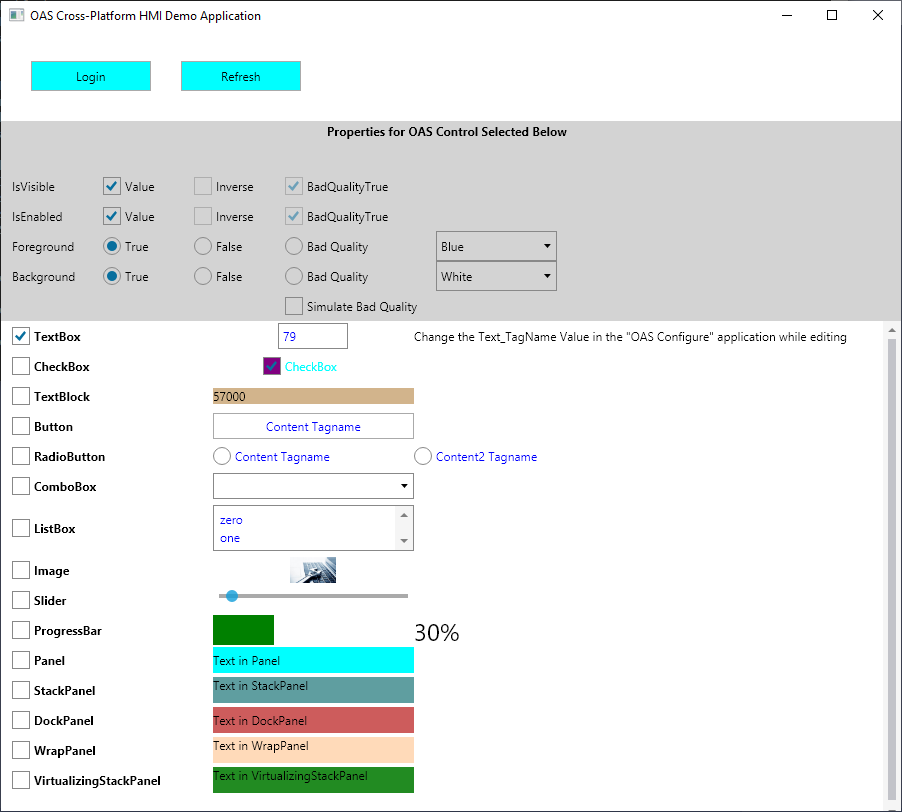
Choose one and add an OAS properties – below are the properties for OAS_TextBox:
<b:OAS_TextBox Grid.Row=”0″ Grid.Column=”2″ Name=”OAS_TextBox” Width=”70″ Height=”26″ Text_TagName=”OASAvalonia.Text_TagName.Value”
IsVisible_TagName=”OASAvalonia.IsVisible_TagName.Value” IsVisible_Inverse=”False” IsVisible_BadQualityTrue=”True” IsVisible_Inverse_Link=”PCB_IsVisible_Inverse” IsVisible_BadQualityTrue_Link=”PCB_IsVisible_BadQualityTrue”
IsEnabled_TagName=”OASAvalonia.IsEnabled_TagName.Value” IsEnabled_Inverse=”False” IsEnabled_BadQualityTrue=”True” IsEnabled_Inverse_Link=”PCB_IsEnabled_Inverse” IsEnabled_BadQualityTrue_Link=”PCB_IsEnabled_BadQualityTrue”
Foreground_TagName=”OASAvalonia.Foreground_TagName.Value” Foreground_True=”Blue” Foreground_False=”RosyBrown” Foreground_BadQualityColor=”White” Foreground_True_Link=”OAS_TextBox_ComboBox_ForegroundTrue” Foreground_False_Link=”OAS_TextBox_ComboBox_ForegroundFalse”
Background_TagName=”OASAvalonia.Background_TagName.Value” Background_True=”White” Background_False=”Green” Background_BadQualityColor=”Red” Background_True_Link=”OAS_TextBox_ComboBox_BackgroundTrue” Background_False_Link=”OAS_TextBox_ComboBox_BackgroundFalse”
/>
OAS Avalonia Visual Studio Solution
We have also provided an example OAS Avalonia solution
Step 1
Load the DemoTags Tag configuration, the default path is C:\Program Files\Open Automation Software\OAS\DemoFiles\DemoTags.Tags.
Step 2
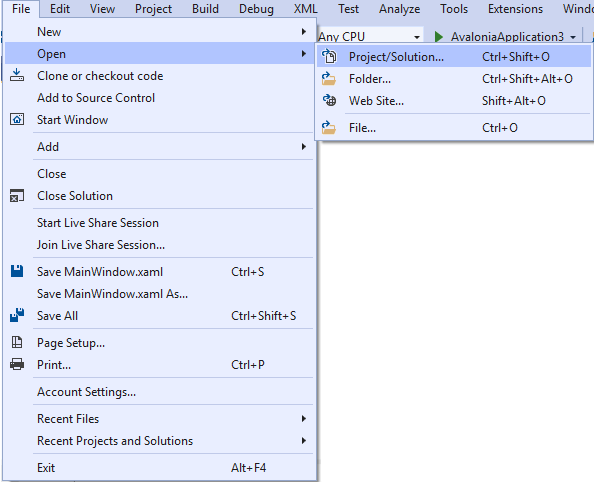
Start Visual Studio and select File->Open->Project/Solution : OASCrossPlatformHMIDemoApplication
Step 3
Run Application