One Click Database
Data Logging Groups can be automatically setup by using the One Click Database feature that browses Open Automation Software Tags automatically and creates data logging groups based on the tags in a selected services. You can then modify or delete data logging groups from the configuration that you do not want.
View the following video on how to use the One Click Database Feature or follow the steps in the table below:
Step 1

Start Configure OAS application from the program group Open Automation Software.
Step 2
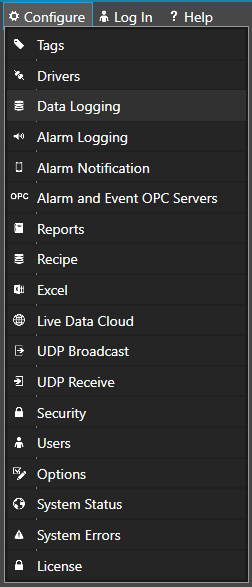
Select Configure – Data Logging.
Step 3
Select the Local OAS Service by selecting the Select button or select a remote network node by entering an IP Address or Network Node Name and click on the Select button.
Step 4
Select the One Click button in the upper menu bar.
Step 5
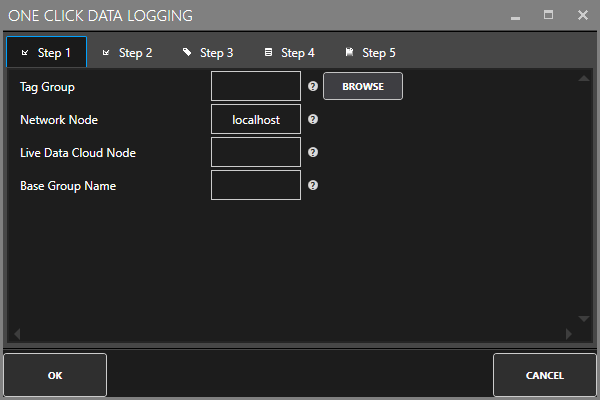
In Step 1 of the One Click Database Wizard use the Tag Group Browse button to select a starting Tag Group or leave the Tag Group blank to obtain all Tags of the OAS Service defined in the Network Node and optional Live Data Node fields.
Also specify a Group Name that will be the base group name of all of the logging groups.
Step 6
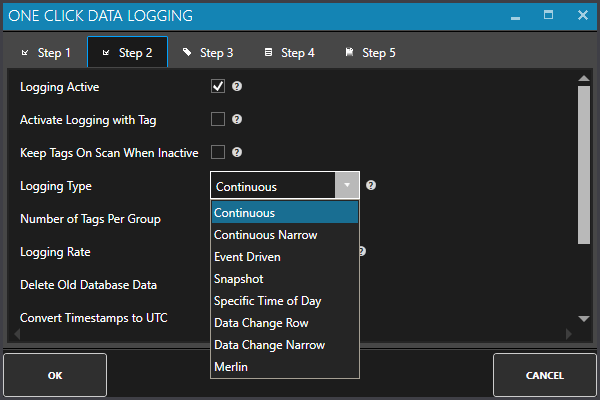
In Step 2 specify the Logging Type and other Common properties to all Logging groups.
Step 7
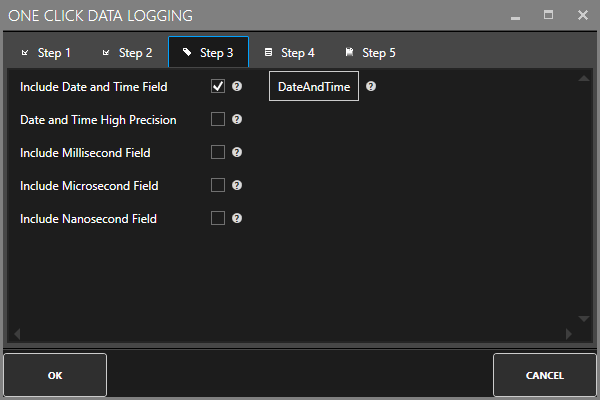
In Step 3 define the names of the common database field names.
Step 8
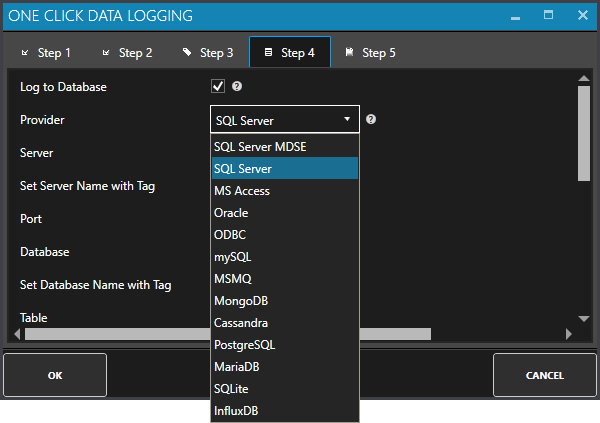
In Step 4 define the Database Provider, Server, Database, and base Table name to log to if logging to a database engine. You can skip this step if you plan to log only to CSV files.
Step 9
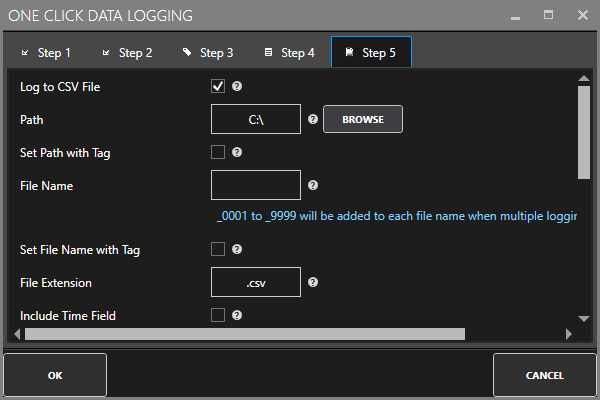
In Step 5 define the CSV Logging Path and File Name if you wish to setup all logging groups to log to a CSV file.
Step 10
Click the Finish button in the lower right to begin the automated setup.
Step 11
Select the Save button on the toolbar at the top.

Step 12
Go to Configure – Options and set the default Data Logging Configuration file to the file you just saved.


