CSV Export and Import
The CSV Export and CSV Import features allow you to backup, load and update OAS configuration data using the well-known CSV format. This format is human readable, compatible with Excel and other data processing tools, can be converted to and from other formats such as JSON and XML and is often supported by database export and import tools.
This feature is useful for tasks such as:
- Legacy data migration into OAS from external databases and files
- Bulk data transformation and integration from third party systems
- Generating seed (initial) data from a spreadsheet or template
- Updating OAS data in bulk using Excel instead of manually clicking in Configure OAS
- Creating human readable data backups
- Regularly exporting data to analytics systems
The CSV Export and Import features are available on every Configure OAS screen except the status and license screens, and through the OAS APIs.
Data Format
The first line should contain the correct column heading names.
The first column is required as well as the last column named Last Column.
The first column is used as the primary key to determine whether the given configuration entry already exists.
If the entry doesn’t exist the data will be inserted as a new item. Any parameters where the corresponding column is not provided will be set with a default value.
If the entry already exists, all parameters will be updated according to the data being imported. Any parameters where the corresponding column is not provided will not be changed and the data will remain as is.
The default CSV data format requires that each column be separated by a comma (,) delimiter and each row of data is on a new line.
To change the CSV delimiter you can configure a different delimiter on the Configure > Options > Common tab.

Nested Data
Each configuration type (Configure OAS screen) has a different set of parameters that are exported. For some configuration types there are also nested configurations that are exported. For example, when using CSV Export on the Data Route screen the main CSV file that will be exported will contain a list of the Data Route groups. However, because each Data Route group also contains a Tags configuration, this also needs to be exported.
This file will be created with the same file name, but the Data Route group name will be appended to the file name. This means one additional file will be created for each Data Route group.
If the exported file name is DataRoutesExport.csv and you have one Data Route group configured with the name MyDataRoute then you will end up with two files:
- DataRoutesExport.csv
- DataRoutesExport_MyDataRoute.csv
As long as you don’t change the file names, you can use this format to import the DataRoutesExport.csv file and each Data Route Tags configuration will be imported automatically.
The screens that have nested configurations will also provide the CSV Import and CSV Export functionality for the nested data. You’ll often find it included in a table such as a Tags list. The Data Route example is shown below.

Column Header Templates
If you need to know the column header names for a particular configuration screen, the best way is to create an example configuration item and the use the CSV Export feature to see what the resulting data file looks like.
For example, if you want to see what the Tags screen configuration looks like when exported, create a Tag and then use CSV Export. When you open the exported file in Excel or a text editor you will see the column names.
Import CSV
When you use the Import CSV feature the data you import will be imported into the OAS instance you are connected to. Open the screen where you want to import some data. You will need to have your data file prepared with the correct column names and delimiter type as outlined in previous sections.
- Click on the CSV Import button to open the file selection dialog.

- Select the file you want to import and click Open.

- You will see an import results dialog which will tell you how many new items were inserted and how many items already existed that were updated. In the following example all of the Tags already existed and were updated.

Export CSV
You can use the CSV Export feature to export all configuration data on the selected screen to file.
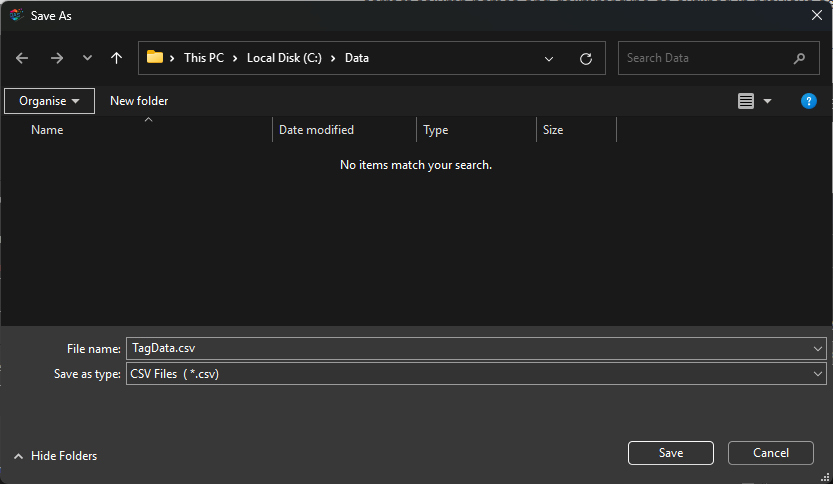
- Click on the CSV Export button to open the file selection dialog.

- Provide a file name and click on Save button.
Your exported file will be saved in the specified location. As outlined in the Nested Data section above, some of the configuration screens will export more than one file.
👉 The Tags screen supports some additional CSV Export functionality. You can find this information in the Configure OAS – Tags section.
