
How to Configure MCP Client: HTTP
How to Configure MCP Clients using HTTP Streaming Protocol
These instructions demonstrate how to configure a client for a direct connection to the OAS MCP server via HTTP streaming. While this article uses AnythingLLM as the client, these instructions are similar to others using HTTP.
Warning
Many clients like AnythingLLM are self-contained, and run an open source LLM host called Ollama. You can choose which model to run based on your hardware. LLMs with sufficient reasoning require as much as 24GB of VRAM on your GPU. This example was tested on a GPU with 12GB VRAM with the qwen3-vi:8B model that is roughly 6GB. Your results and LLM responses are entirely dependent on your system and the LLM's capabilities.
Install AnythingLLM on your local machine. This can be found at AnythingLLM.
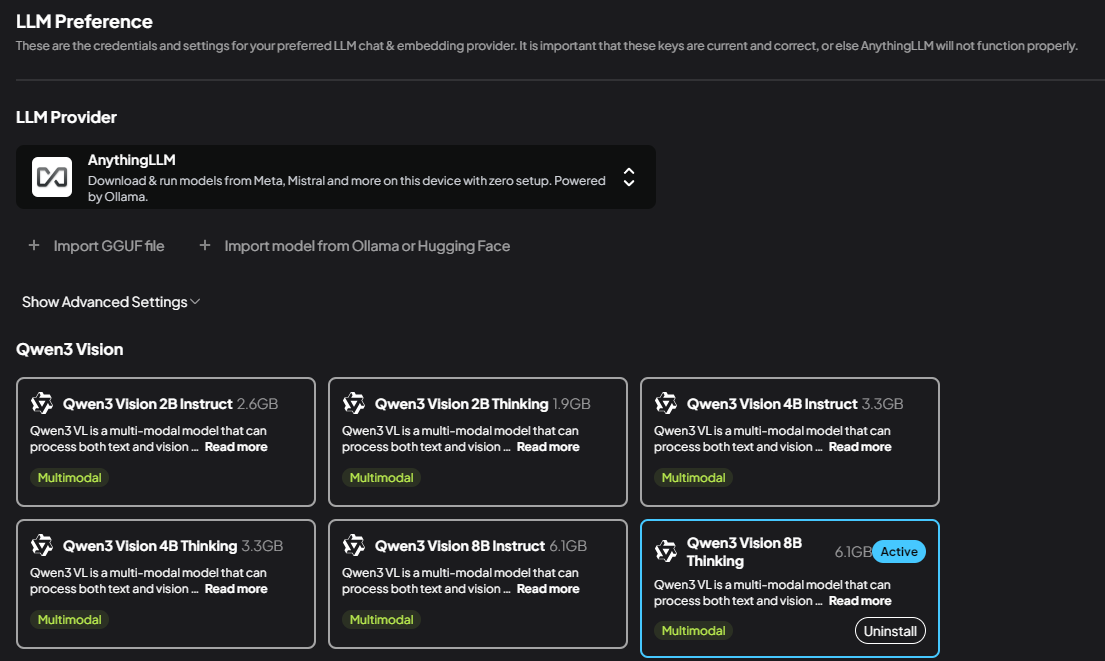
Run the desktop app and install a model. From the settings menu (lower left), locate
AI Providersand select LLM to install a model. Select a smaller model such as Qwen 3 Vision, allow the model to be downloaded and installed, and make sure it is marked as Active. For more details on installing and choosing models, refer to the AnythingLLM online documentation.
- Configure the Agent. Select
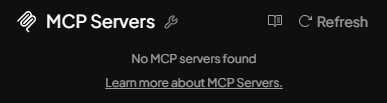
Agent Skilland locate the MCP Servers section. Click the icon to edit the config. Your preferred editor will open with the JSON config file. Locating themcpServerssection, add the following entry:
"oas-engine": {
  "type": "streamable",
  "url": "http://localhost:58725/mcp",
  "headers": {
    "Authorization": "Bearer <YOUR_API_KEY>"
  }
}
- Replace
localhostwith the IP address of your OAS server. If you are running the OAS Server on the same machine as your client, you can keep this aslocalhost. - Change the port number to math the port configured above (58725). If this was not changed, keep the default.
- Replace
<YOUR_API_KEY>with the MCP API Key assigned to the user you created above.
- Save the config and return to the AnythingLLM settings for MCP Servers. Click the refresh icon and you will be prompted to restart the connection. If the connection is successful, you should now see an entry for the oas-engine.
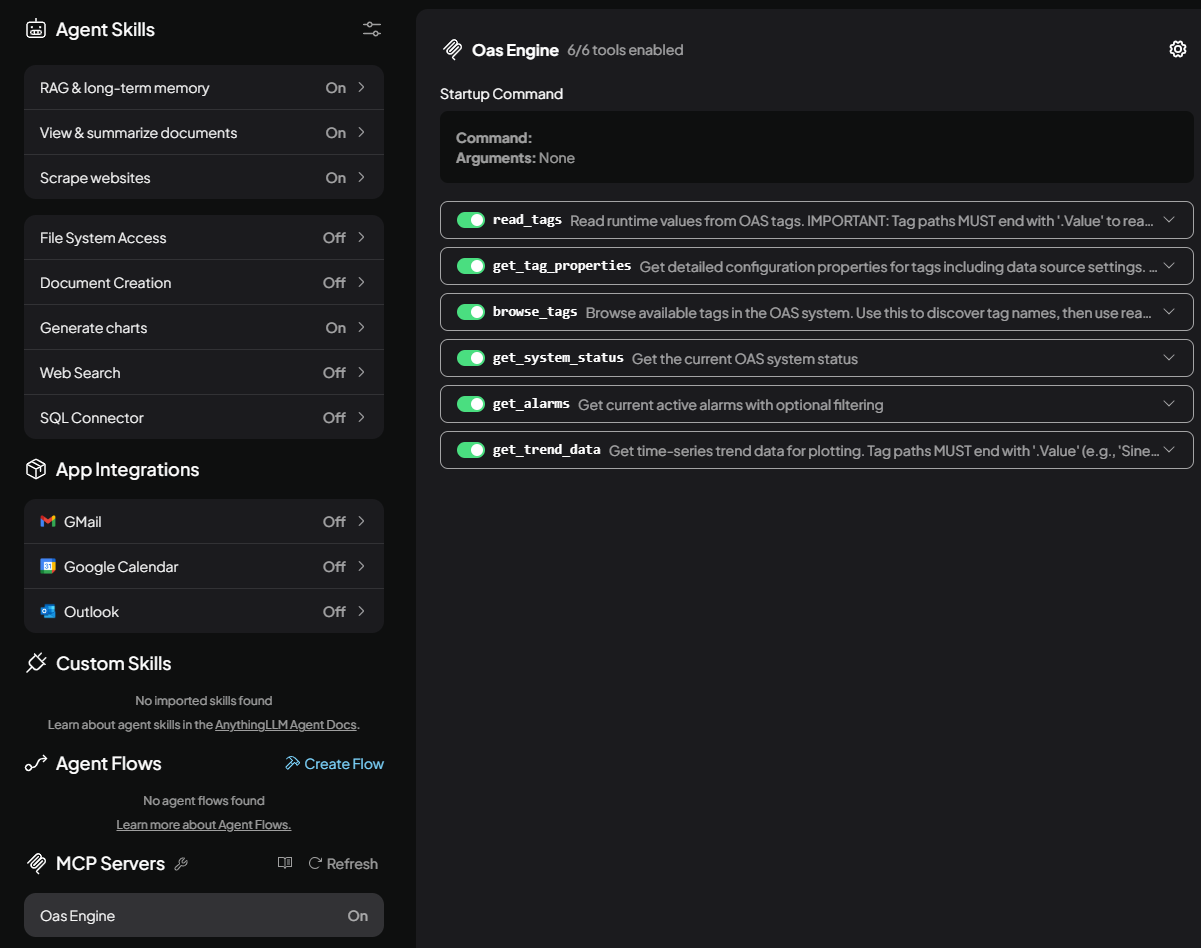
- Return to the chat and test the interface by performing some queries. A good simple test would be:
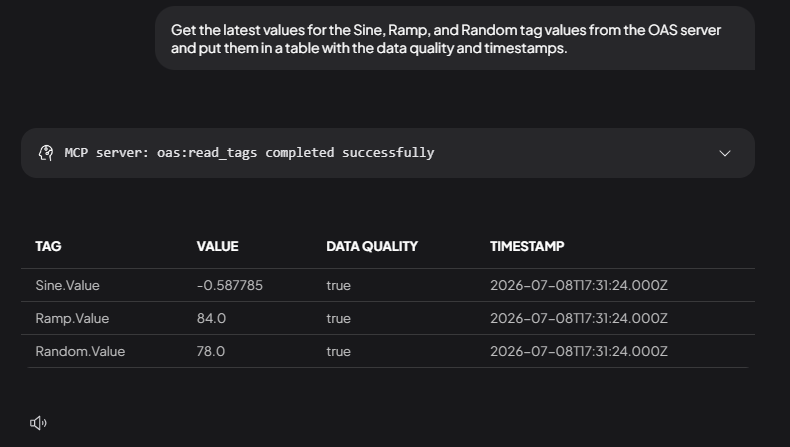
Get the latest values for the Sine, Ramp, and Random tag values from the OAS server and put them in a table with the data quality and timestamps.
You should see something like this as a result:
Ready to get started?
See how OAS fits your environment, or get pricing for your project.