How to Update OAS using Configure OAS
The instructions in this guide allow you to upgrade an existing local or remote OAS installation running in Windows or Linux using the Configure OAS application.
If running OAS in Linux, it is assumed that OAS was originally installed using the How to Install OAS in Linux guide.
You will need a machine with the Configure OAS application installed. This can be the same machine where the OAS Engine is running or a different machine as long as the OAS Engine instance is accessible over the network.
OAS does not provide technical support for Linux operating system issues and user management. You can find a list of operating systems where the OAS Engine has been tested on the OAS System Requirements page.
If you prefer to update a Linux installation manually you can follow the How to Manually Update OAS in Linux guide.
1 - Configure OAS License Screen
In this section you will open the Configure OAS application, connect to a local or remote OAS instance and start the update process from the License screen.
You should have the Configure OAS application available either on the same machine as the OAS Engine installation or on different machine that is on the same network as the OAS Engine.
Important
You can update OAS as long as you are running a valid license (including demo) and the maintenance period has not expired. If your maintenance has expired please contact OAS on support@oasiot.com.
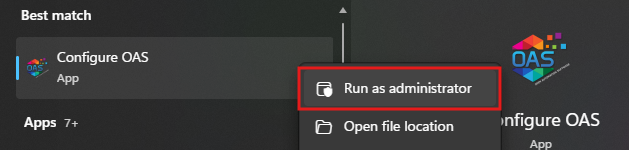
Open the Configure OAS application with the Run as administrator option.
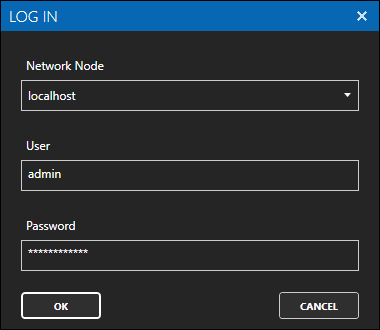
Select Log In.

Specify the Network Node by providing the IP or hostname of the local or remote OAS Engine. You can use localhost if running on the local machine.
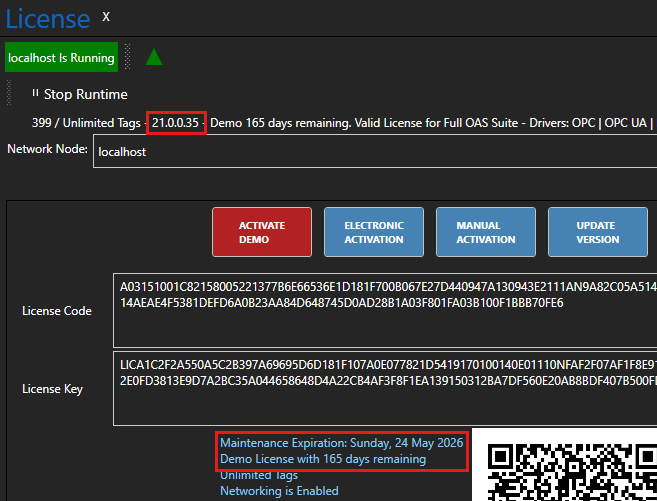
Select the Configure > License screen.
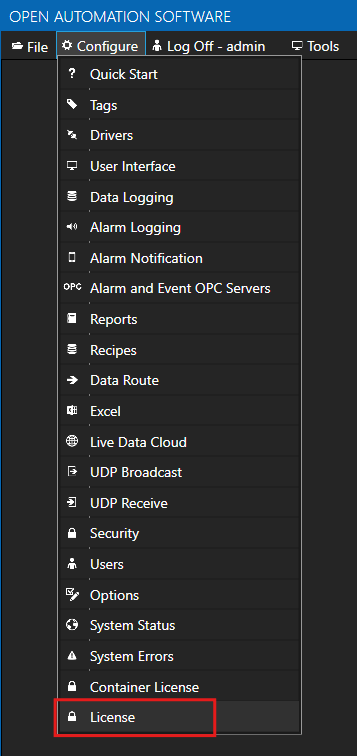
You will see your license details, your maintenance expiry date and the current version of your application on this screen.
2 - Update Version
Warning
During the update process the OAS Engine will be stopped and data processing will also stop.
Warning
Ensure that you have saved all of your configuration changes on the OAS Engine to be updated.
This means if you have any open Configure OAS screens and you haven't saved your changes, you should do so now.
When you are ready to start updating the OAS Engine click on the UPDATE VERSION button.

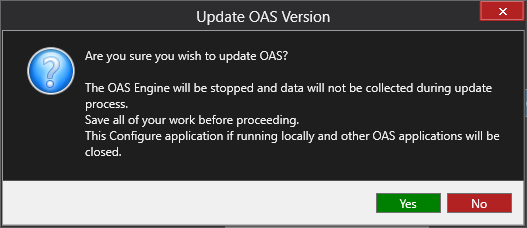
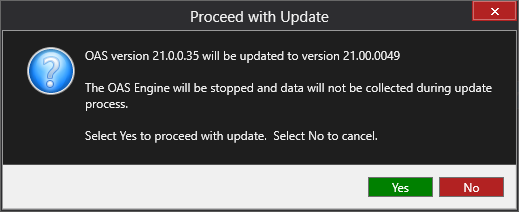
You will see a number of dialog windows with information and warnings. Please read them carefully.

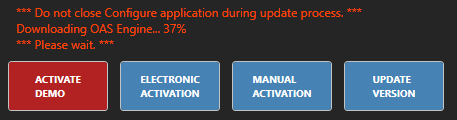
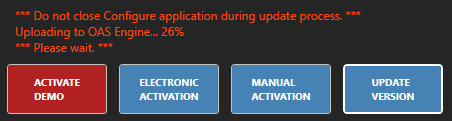
The Configure OAS application will download the latest OAS Update and OAS Engine files.
The Configure OAS application will then transfer the OAS Update and OAS Engine files to the local or remote OAS Engine to prepare for installation.
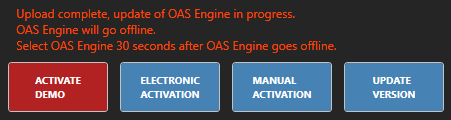
Once the transfer is complete, the OAS Engine will stop and perform the update.
If you are updating a local OAS Engine on the same host as the Configure OAS application, then the Configure OAS application will close. In this case you will have to open the application after 30 seconds and login again.
If you are updating a remote OAS Engine, you will lose connection to the remote OAS Engine during the update. After about 30 seconds, you can try reconnecting by clicking on the "SELECT" button next to the Network Node text box.
3 - Verify OAS Engine service version
You can now open the Configure OAS application on a local or remote machine and connect to the OAS instance you just updated.
Once connected you should see the version updated in the toolbar or in the Configure > System Status screen.
Windows Example:
Windows OAS Engine
Processor Type: x64
Service Version: 21.0.0.49
Service Interface Version: 315
Linux Example:
Linux OAS Engine
Processor Type: x64
Service Version: 21.0.0.45
Service Interface Version: 315