How to Transfer Data from OPC DA to Kafka
Open Automation Software can be used to transfer data from an OPC DA server or device to a Kafka cluster, locally or over a network. This guide walks you through downloading and installing OAS, configuring an OPC DA tag and a Kafka publisher, and finally publishing the tag using the Kafka publisher.
For this guide on how to transfer data from an OPC DA source to a Kafka cluster you will need:
- Docker installed in Linux or Windows including the docker-compose utility
ℹ️ For simulation purposes, you will use the simulated OPC tags available in the OAS platform to access a randomly generated Tag value. You can also use your own OPC DA server on a local or remote machine if you have one available.
Info
If you have your own Kafka cluster deployed you can skip the steps for Docker and creating a Kafka cluster.
1 - Download and Install OAS
If you have not already done so, you will need to download and install the OAS platform.
Fully functional trial versions of the software are available for Windows, Windows IoT Core, Linux, Raspberry Pi and Docker on our downloads page.
On Windows, run the downloaded setup.exe file to install the Open Automation Software platform. For a default installation, Agree to the End User License Agreement and then click the Next button on each of the installation steps until it has completed.
If you'd like to customize your installation or learn more, use the following instructions:
The OAS Service Control application will appear when the installation finishes on Windows.
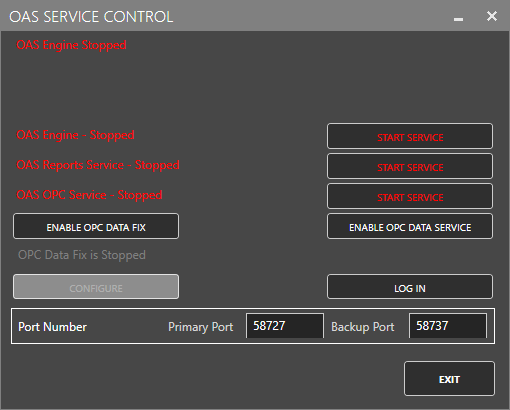
Click on each START SERVICE button to start each of the three OAS services.
2 - Configure OAS
Configure OAS is the main application used to configure local and remote OAS instances.
![]()
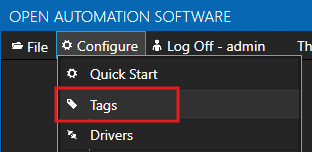
From your operating system start menu, open the Configure OAS application.
Select the Configure > Tags screen.
Important
If this is the first time you have installed OAS, the AdminCreate utility will run when you select a screen in the Configure menu. This will ask you to create a username and password for the admin user. This user will have full permissions in the OAS platform.
For further information see Getting Started - Security.
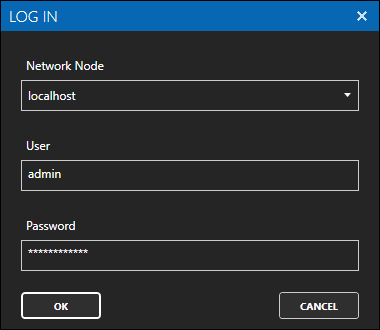
If this is the first time you are logging in, you will see the AdminCreate utility. Follow the prompts to set up your admin account. Otherwise, select the Log In menu button and provide the Network Node, username and password.

Info
In this guide you will use the Configure OAS application to configure the local Network Node which by default is localhost.
If you have installed OAS on a remote instance you can also connect to the remote instance by setting the relevant IP address or host name in the Network Node field.
3 - Create a Kafka test cluster using Docker
In this step you will create a local Kafka cluster. To simplify the deployment you will need to have Docker installed including the docker-compose utility. This method allows you to create a cluster very quickly for testing purposes and remove it again when you are done.
Create a new folder such as Kafka and inside the folder create a new
docker-compose.ymlfile with the following definition.services: zookeeper: image: confluentinc/cp-zookeeper:latest container_name: zookeeper ports: - "2181:2181" environment: ZOOKEEPER_CLIENT_PORT: 2181 ZOOKEEPER_TICK_TIME: 2000 kafka: image: confluentinc/cp-kafka:latest container_name: kafka ports: - "9092:9092" environment: KAFKA_BROKER_ID: 1 KAFKA_ZOOKEEPER_CONNECT: zookeeper:2181 KAFKA_ADVERTISED_LISTENERS: PLAINTEXT://localhost:9092 KAFKA_LISTENER_SECURITY_PROTOCOL_MAP: PLAINTEXT:PLAINTEXT KAFKA_OFFSETS_TOPIC_REPLICATION_FACTOR: 1Open a command line or bash terminal in the Kafka folder and use the following command to start a new container. This will download the image and all its dependencies and may take a few minutes.
docker-compose up -dCreate a new topic called temperature using the following command.
docker exec kafka kafka-topics --create --topic temperature --bootstrap-server localhost:9092 --partitions 1 --replication-factor 1
Info
Once you are done testing, you can stop and remove the containers that you created by using the following command:
docker-compose down
4 - Add Data Source Tag
In this section you will create a Tag to represent your data point in the field (for example a temperature sensor). This can then be transferred your desired destination.
Select Configure > Tags from the top menu.
If you want to add a Tag to the root Tags group make sure the Tags node is selected in the tag list and click on the ADD TAG button.
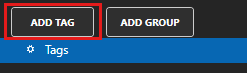
If you want to add a Tag to a Tag Group, select the Tag Group first and then click on the ADD TAG button.
You can also add Tag Groups by using the ADD GROUP button.
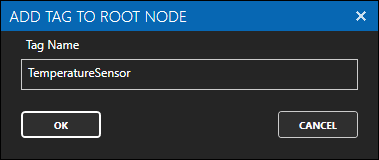
Provide a Tag Name such as TemperatureSensor and click the OK button.
5 - Assign OPC DA as Tag Data Source
You will now set the Tag's data source to an OPC data source and configure the OPC Item to point to one of the OAS simulated tags.
ℹ️ If you already have your own OPC data source, you can browse your own data source in Step 3.
Tips
For most reliable OPC connections you would normally install OAS on the same server as the OPC DA server. However, if your OPC server is on a remote machine, you can add the IP address of the remote machine in the Configure > Options > Networking screen in the NETWORK NODES table.
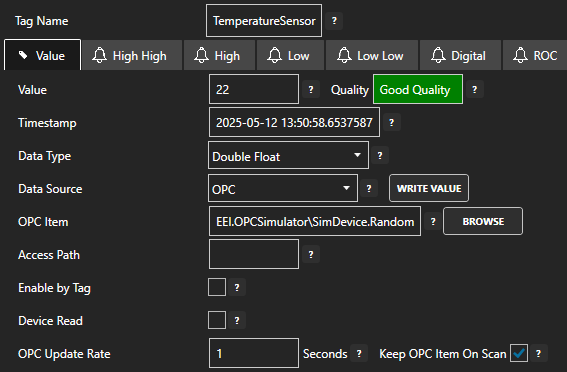
Select the Tag that will source data from your OPC server.
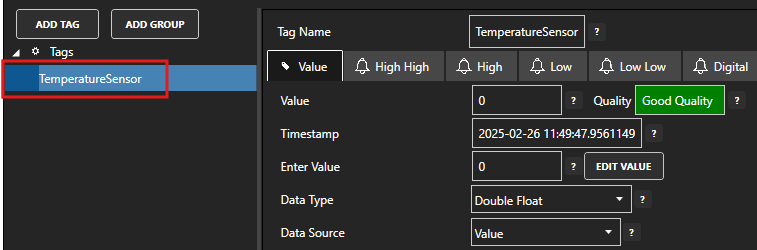
Set the Data Source to OPC.
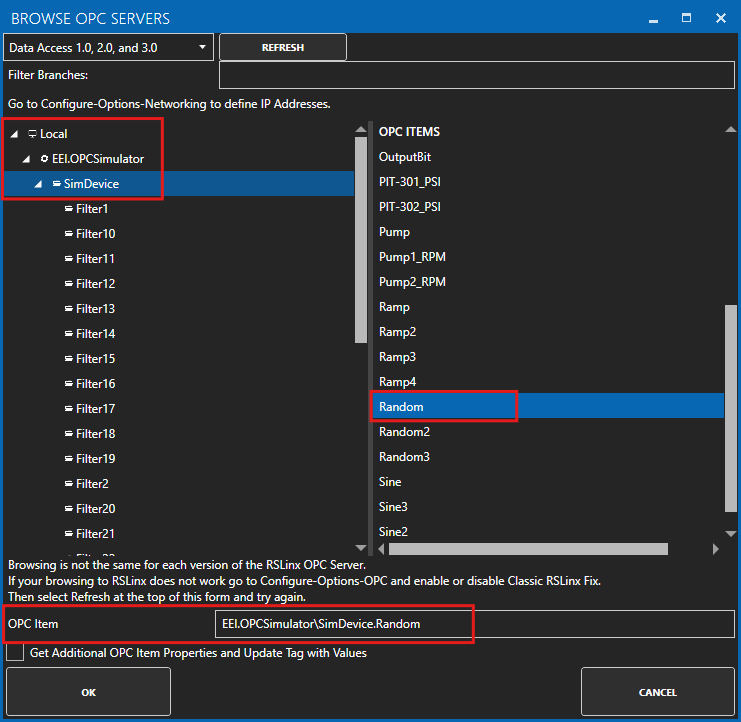
Click on the BROWSE button next to the OPC Item field. In the BROWSE OPC SERVERS window you can select the Local node, then select EEI.OPCSimulator then select SimDevice. In the right hand OPC ITEMS section select Random. You should see the OPC Item is now EEI.OPCSimulator\SimDevice.Random.
ℹ️ If you are accessing a remote OPC server, you can find it in the Network node instead of the Local node.
Click on the OK button to select this OPC item.
Click on the Apply Changes button to apply the changes.
6 - Configure Kafka Producer
In the following steps you will create and configure a Kafka Connector connecting to a local Kafka cluster on port 9092. This connector will act as a Producer where Tags are published to a topic in the cluster.
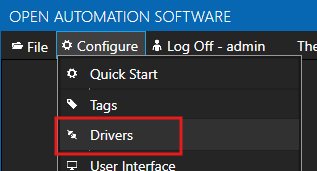
Select Configure > Drivers from the top menu.
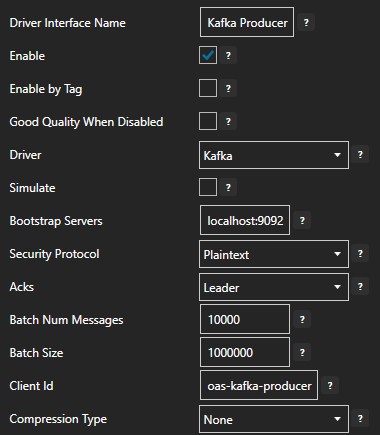
Set the Driver Interface Name to Kafka Producer to give this driver interface instance a unique name.
Ensure the following parameters are configured:
- Driver: Kafka
- Bootstrap Servers: localhost:9092
- Security Protocol: Plaintext
- Client Id: oas-kafka-producer
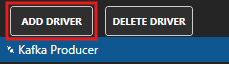
Click on the ADD DRIVER button on the left hand side to add this driver configuration. Once added, the driver interface name should appear in the list of drivers.
7 - Publish Selected Tags in Kafka Producer
In this step you will select the Tags that you want to publish to the Kafka cluster.
In the Configure > Drivers screen, select the Kafka driver instance that you created in the previous section (for example Kafka Producer).
Make sure the Publish Selected Tags checkbox is ticked.

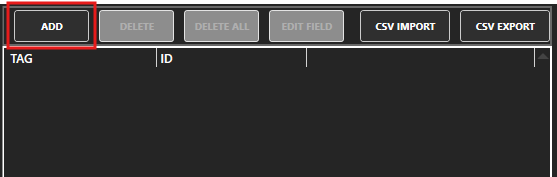
In the table at the bottom click on the ADD button.
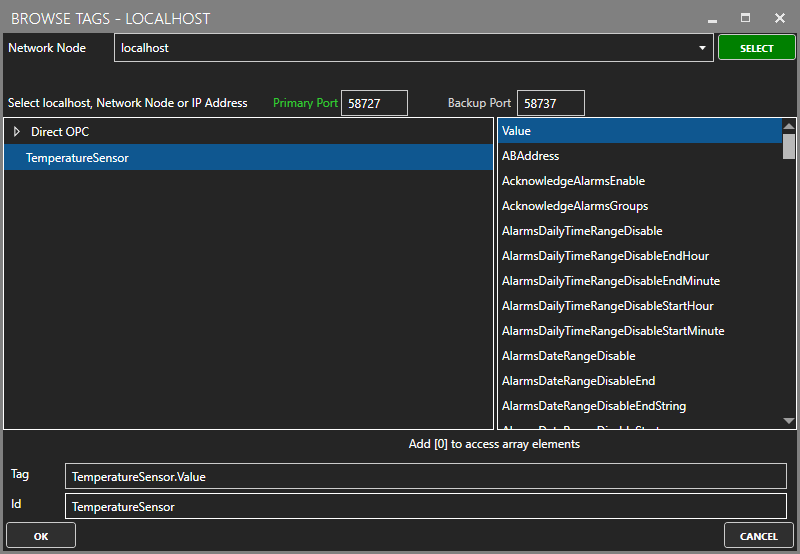
Select the Tag you want to add in the left hand panel and then ensure the Value property is selected. By default the name of the property will be the full Tag path (e.g. TemperatureSensor.Value). If you want to set your own property name, you can change the Id field to your own custom value.
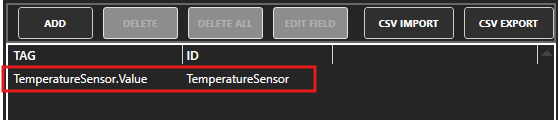
The Tag has now been added to the list. You can add other Tags by repeating steps 3 and 4.
Click on the Apply Changes button.
8 - Verify Messages are Published to Kafka Cluster
In this step you will confirm that OAS is successfully publishing your selected Tags to the Kafka cluster.
Run the following command in a terminal or command line window to start listening for new messages on the oas_tags topic which is the default topic for the Publish Selected Tags configuration.
docker exec kafka kafka-console-consumer --topic oas_tags --bootstrap-server localhost:9092Info
You may receive a warning message, because the oas_tags topic doesn't exist yet. You can safely ignore this as it will be created automatically.
Any changes your TemperatureSensor tag value should be published within 10 seconds to the terminal window.
{
    "values": [
        {
            "id": "TemperatureSensor",
            "value": 24.902344,
            "quality": true,
            "timestamp": "2025-05-20T09:23:41.332Z"
        }
    ]
}
To stop listening for new messages press the Ctrl-C shortcut combination on your keyboard.
9 - Save Changes
Once you have successfully configured your OAS instances, make sure you save your configuration.
On each configuration page, click on the Save button.
If this is the first time you are saving the configuration, or if you are changing the name of the configuration file, OAS will ask you if you want to change the default configuration file.
If you select Yes then OAS will make this configuration file the default and if the OAS service is restarted then this file will be loaded on start-up.
If you select No then OAS will still save your configuration file, but it will not be the default file that is loaded on start-up.

Important
Each configuration screen has an independent configuration file except for the Tags and Drivers configurations, which share the same configuration file. It is still important to click on the Save button whenever you make any changes.
For more information see: Save and Load Configuration
Info
- On Windows the configuration files are stored in C:\ProgramData\OpenAutomationSoftware\ConfigFiles.
- On Linux the configuration files are stored in the ConfigFiles subfolder of the OAS installation path.