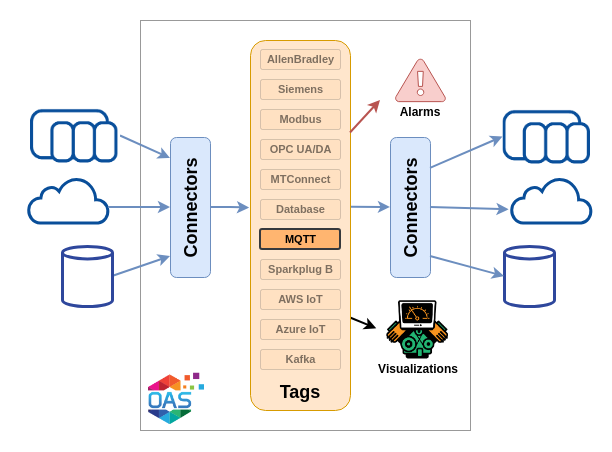
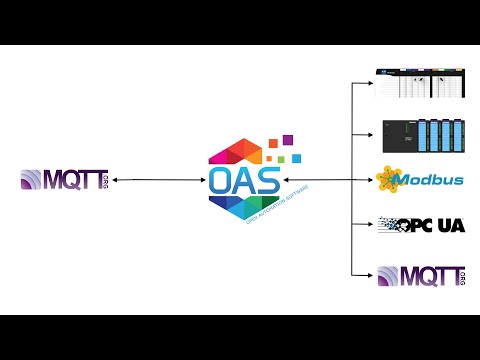
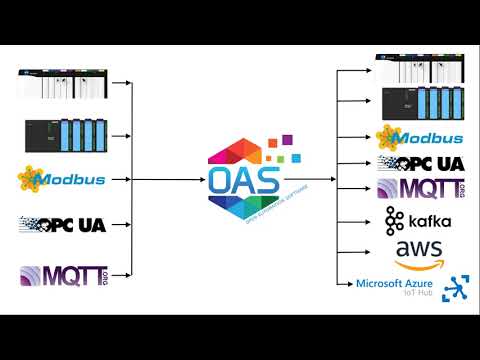
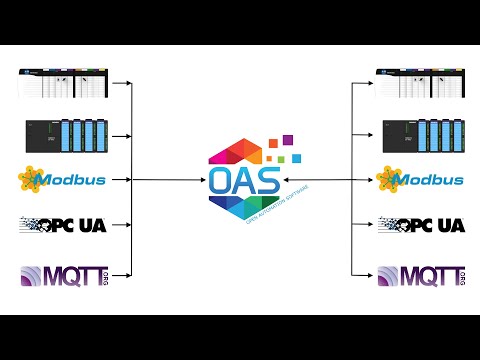
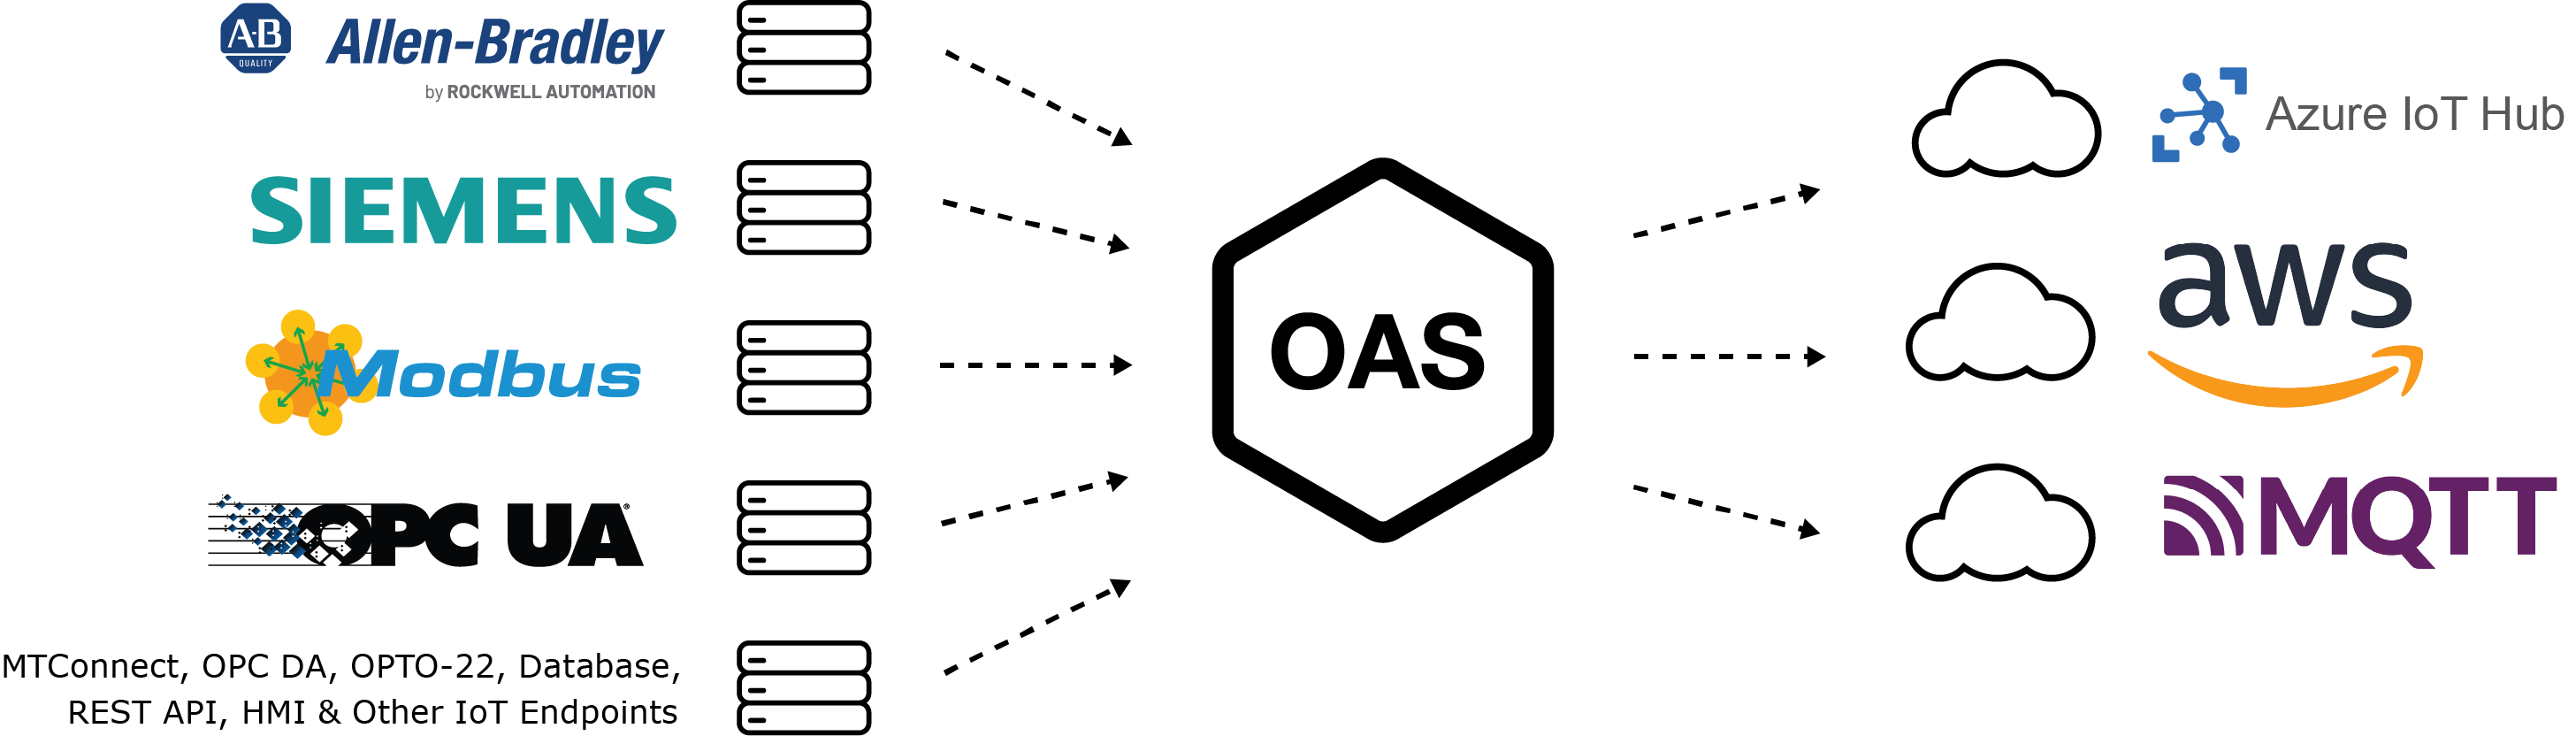
The OAS platform MQTT connector provides a MQTT broker and a MQTT client. Any local or remote MQTT client can subscribe to the OAS broker and receive Tag data updates in real-time. You can also send data to remote brokers using the MQTT driver configuration and assign individual Tags to subscribe to external broker topics or publish a set of selected tags to an external broker.
MQTT Broker
The broker provided by the OAS platform is a part of the MQTT product feature. It is installed as part of the OAS platform installation providing you with a broker for reading and writing Tag data.
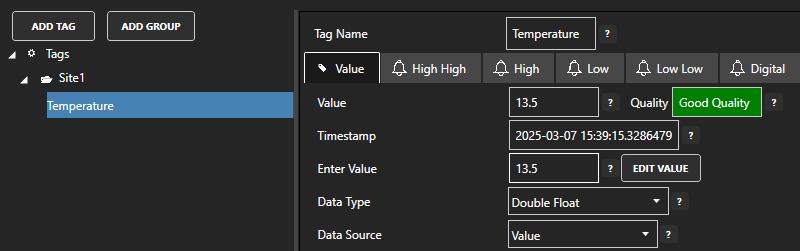
Tag data is presented in topic names that use standard Tag Path notation. For example, if you have a tag group called Site1 and tag in the tag group called Temperature then the tag path for the Value property of the Temperature tag will be Site1.Temperature.Value.
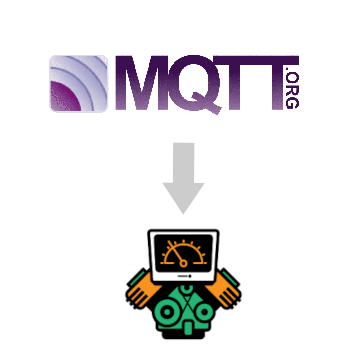
The following images illustrate how a Tag is presented as an MQTT topic:
Using the Configure > Options > MQTT screen, you can configure a number of MQTT parameters including:
Port numbers
SSL security
Broker client ID
Retain feature
Authentication
MQTT Client Driver
The MQTT client driver provided by the MQTT product feature allows you to publish to and subscribe from external MQTT brokers.
Subscribe to External Broker Topics
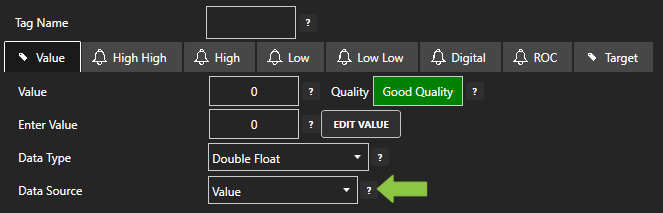
To subscribe to external broker topics, you will create an MQTT driver instance with the required connection parameters to authenticate against the external broker. To read the value of a specific topic, you will create a Tag, set the Data Source property to MQTT, select the driver you created and then specify the topic name. This Tag will now be updated whenever the external broker publishes a new value to the specified topic.
Publish to External Broker Topics
To publish to an external broker topic, you will create an MQTT driver instance and then set the Publish Selected Tags feature.
This feature allows you to specify a list of Tags that should be published to a given topic. The chosen Tags will be published based on a configurable interval, a Boolean Tag event trigger or a time based schedule. You can control a number of different parameters to customize the JSON payload structure. See IoT Publish for details.
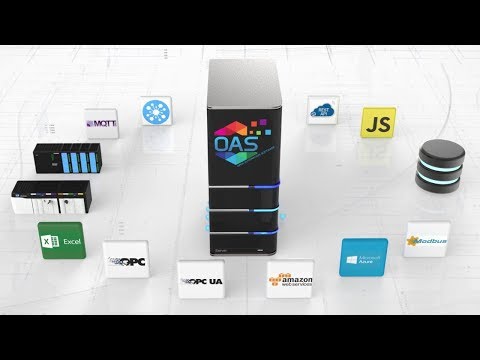
The Open Automation Software Device Connectors give you the option to connect to and source data using a range of protocols supported by a range of local and remote device vendors. These connectors include:
The Modbus connector provides connectivity to Modbus devices in master and client mode and supports Modbus TCP for ethernet communications and Modbus RTU and ASCII for serial communications.
The MTConnect Connector is designed to integrate with your MTConnect enabled devices based on a defined schema. Data is ingested based on events and Tags can be added automatically.
The Raspberry Pi GPIO Connector supports communications with General Purpose Input / Output pins when the OAS instances is deployed on a Raspberry Pi 4. Tags can be defined to directly read or write to the GPIO pins.
Open Automation Software tags can be defined to connect to MQTT devices and software brokers with the built in MQTT Driver Interface as both a client and a broker. Once you have connected to your MQTT data, you can use the Open UIEngine No-Code User Interface to create HMI screens and visualize your data in a browser. The Open UIEngine is a web-based interface that allows you to create HMI screens using a simple click and drag interface. This tutorial walks you though downloading and installing OAS, configuring an MQTT driver, configuring tags and building a screen using Open UIEngine.
Step 1. Download and Install the Open Automation Software and Start the OAS Service
If you have not already done so, you will need to download and install the OAS platform. Fully functional trial versions of the software are available for Windows, Windows IoT Core, Linux, Raspberry Pi and Docker on our downloads page.
On Windows run the downloaded Setup.exe file to install one or more of the Open Automation Software features. Select the default Typical installation if you are not sure what features to use or the Custom installation if you want to save disk space on the target system. When prompted agree to the End User License Agreement to continue the installation.
The OAS Service Control application will appear when the installation finishes on Windows. Use this application to start the 3 Services. Run the Configure OAS application on Windows and select Configure-Tags; if the first time running, the AdminCreate utility will run to create an Administrator login as shown in Step 1 of Getting Started – Security.
Step 2. Configure Your MQTT Data Source
First, you will need to open the Configure OAS application from the program group Open Automation Software.
Select Configure >> License from the top menu and verify that MQTT is one of the available Drivers in the lower left of the form. The demo license will have this by default. If you do not see MQTT available, contact support@openautomationsoftware.com to update your license.
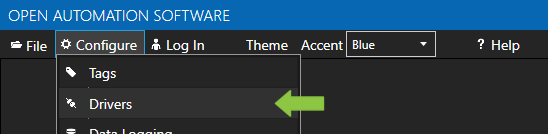
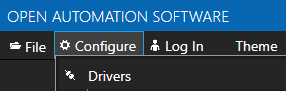
Select Configure >> Drivers from the top menu.
Select localhost or the remote service you wish to modify with the Select button to the right of the Network Node list.
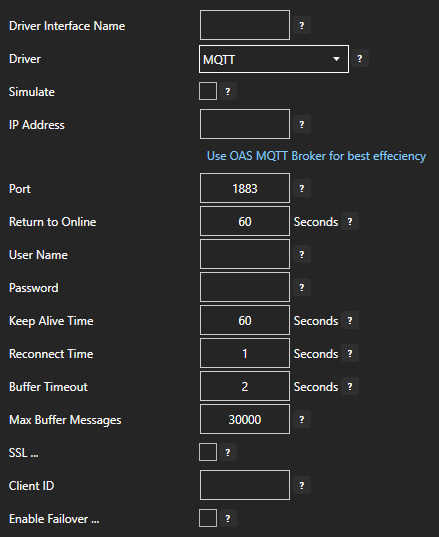
The Configure Drivers Screen will appear. Select MQTT from the Driver dropdown box.
Enter a meaningful Driver Interface Name that you will refer to this physical connection when defining Tags with a MQTT Data Source.
Enter the IP Address of the broker. The default port is 1883.
Enter the User Name and Password if required.
Set the Keep Alive Time. The default is 60 Seconds.
Set the Reconnect Time. The default 10 Seconds. If the connection to the broker is lost the Reconnect Time determines how long to wait before attempting to reconnect.
For more detailed instructions on configuring your MQTT data source, click here to see our Getting Started MQTT tutorial or watch the video tutorial below:
Step 3. Configure Your Tags
OAS provides multiple ways to add and define tags:
Manually add and define Tags using the Configure OAS application. …learn more…
The OAS Open UIEngine allows you to build and publish interactive UIs, HMIs and web applications powered by the OAS Platform and your real time data without writing any code.
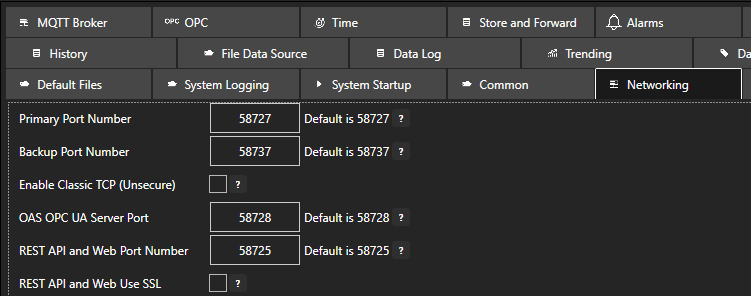
Open the OAS Configuration application and select Configure > Options, then select the network node (localhost if working on the local machine) and click Select. Under the Networking tab, locate the field for REST API and Web Port Number. The default is 58725 but can be changed. If you are accessing the server from a remote client, you will also need to make sure your machine and/or company firewalls allow TCP traffic on the selected port. If you are using SSL we suggest using a different port number such as 58726 to avoid port conflicts. You can find more detailed information in our knowledge base article Configuring OAS Web Services.
Accessing the UIEngine interface
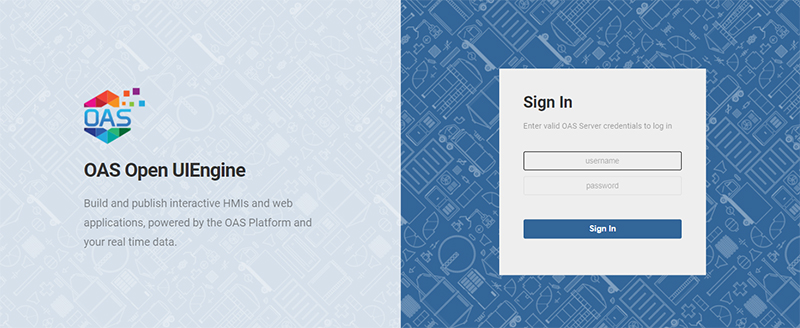
The UIEngine web application is included as part of your OAS platform installation and can be accessed on the following URL (based on the above configuration):
Follow the steps in this section to create a new UIEngine project and screen with a label that displays your tag value data.
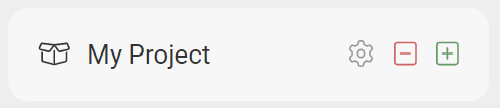
In the left hand side panel, click on the green plus sign next to PROJECTS to create a new project.
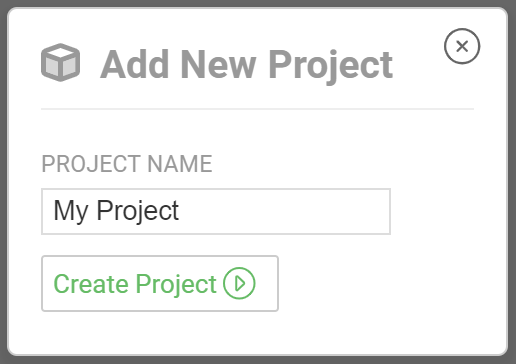
In the popup window, type in a project name and click on the Create Project button.
Your new project will appear in the side panel. Now click on the green plus sign next to your project to create a new screen.
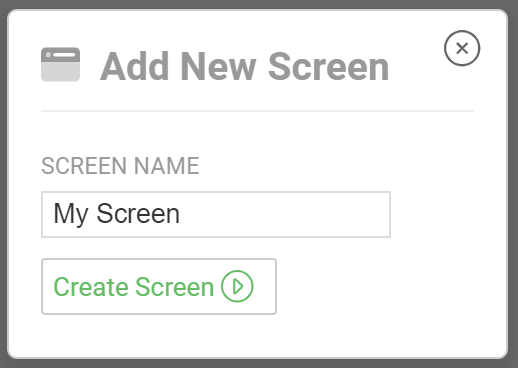
In the popup window, type in a screen name and click on the Create Screen button.
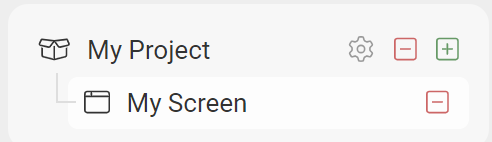
Your new screen will appear in the side panel. Click on your new screen and then press the Edit button in the top toolbar.
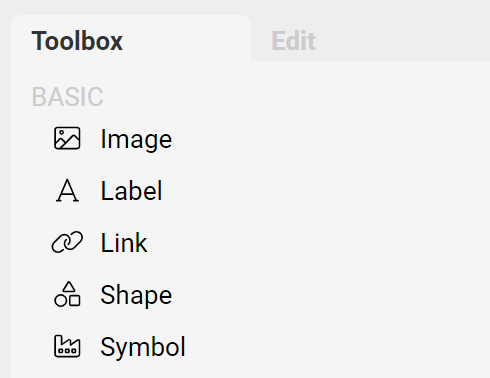
In the Toolbox on the right hand side of the window, click on the Label object to create a new label.
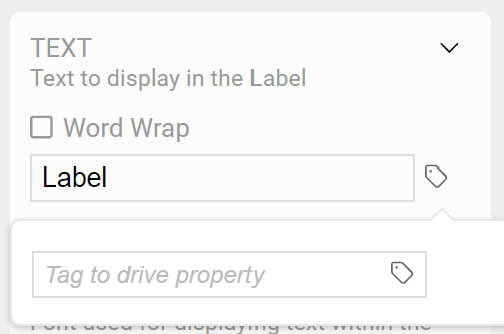
A new label will appear on your canvas. Click on it to select it. In the properties panel on the right hand side, select the TEXT section. Click on the tag icon next to the text box and then again in the second text box that appears.
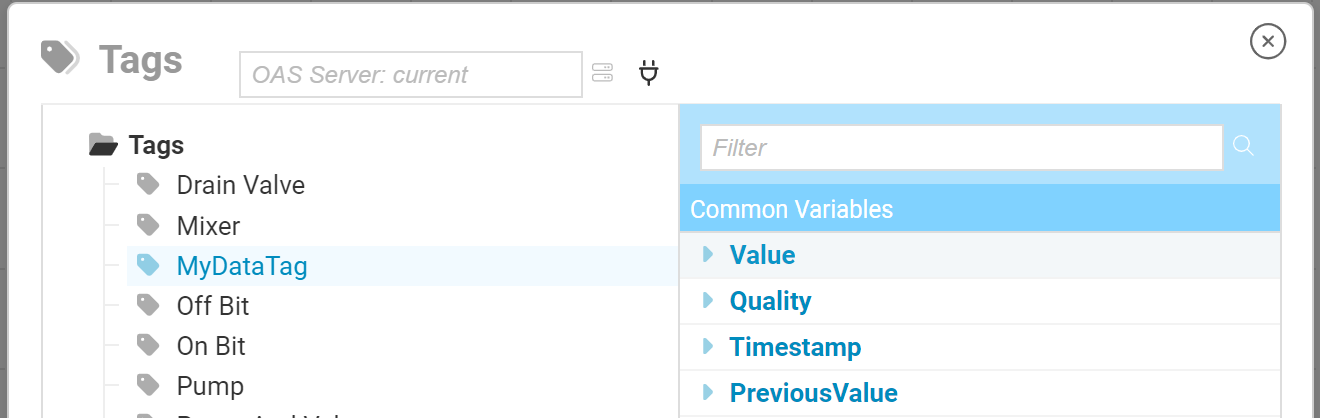
In the popup window, select a tag that you created in the previous section of this guide and then click on Value to map the label value to the value of the tag. In this example we will use the MyDataTag tag.
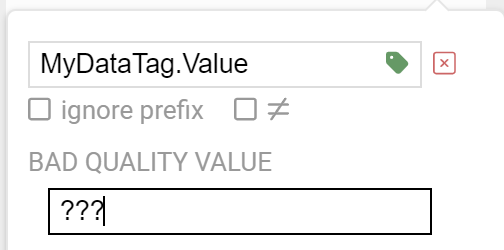
Once you’ve selected the tag, its name and property value will appear in the text box and the tag icon will turn green. You’ve now mapped a tag to the label.
To see the tag’s value in real-time, click on the RUN button.
As the data changes in your data source, you should see the value update in UIEngine.
Well done, you’ve now successfully mapped a tag’s value to a label.
Styling your label
You can now play around with the various styling options to make your label look great. The following video shows you how you can adjust various properties to make your tag value stand out.
Optional Steps
View the Water Tank Demo project
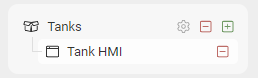
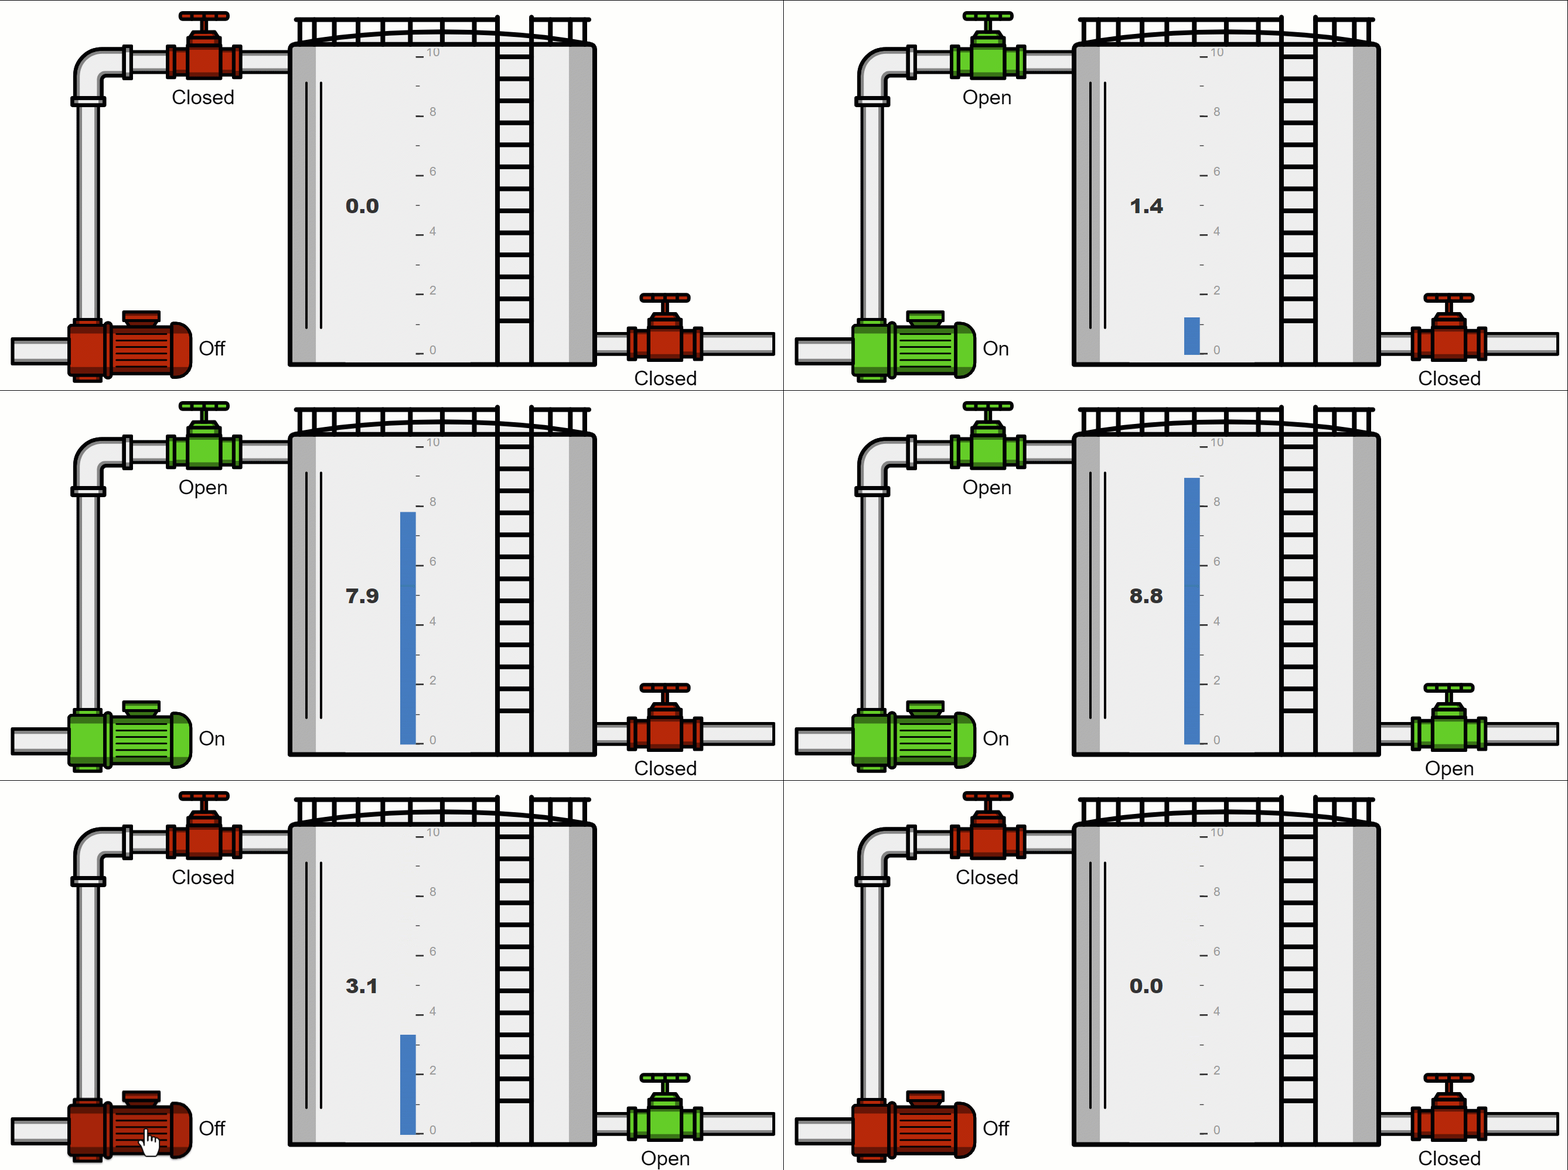
The default OAS installation includes a number pre-configured demo tags that will be used in a simple water tank visualization using Open UIEngine. These tags can be found in the Configure > Tags screen under the Tanks tag group. You can use this example to understand how to assign tags to elements such as symbols, labels and gauges to create interactive and dynamic graphic visualizations.
Download the Water Tank Demo project file from the UIEngine Demo Projects page.
Load the demo configuration file by following the steps on Loading a Config.
Open the Tank HMI screen in the Tanks project to view the visualization.
Click on the pump and valves to see how the colors and the tank water level changes dynamically.
Open UIEngine deployment types
You can leverage the OAS networking capabilities and Live Data Cloud to implement different security architectures and communicate with multiple remote OAS server instances.
Some typical architectures include:
Single server – Single OAS instance where tag data collection and the Open UIEngine are hosted on a single physical machine or container
Multiple servers, same network – One or more dedicated OAS instance(s) for data collection and a dedicated OAS instance for hosting Open UIEngine
Multiple servers, different networks – One or more dedicated OAS instance(s) for data collection in one or more private networks and a dedicated OAS instance in a separate public or private network.
Accssing remote tags
You can use OAS Basic Networking to allow the Open UIEngine instance to access remote tag values using the remote tag address notation where the IP address of the remote OAS instance is static and accessible. This can be written as:
\\192.168.1.116\TagName.Value
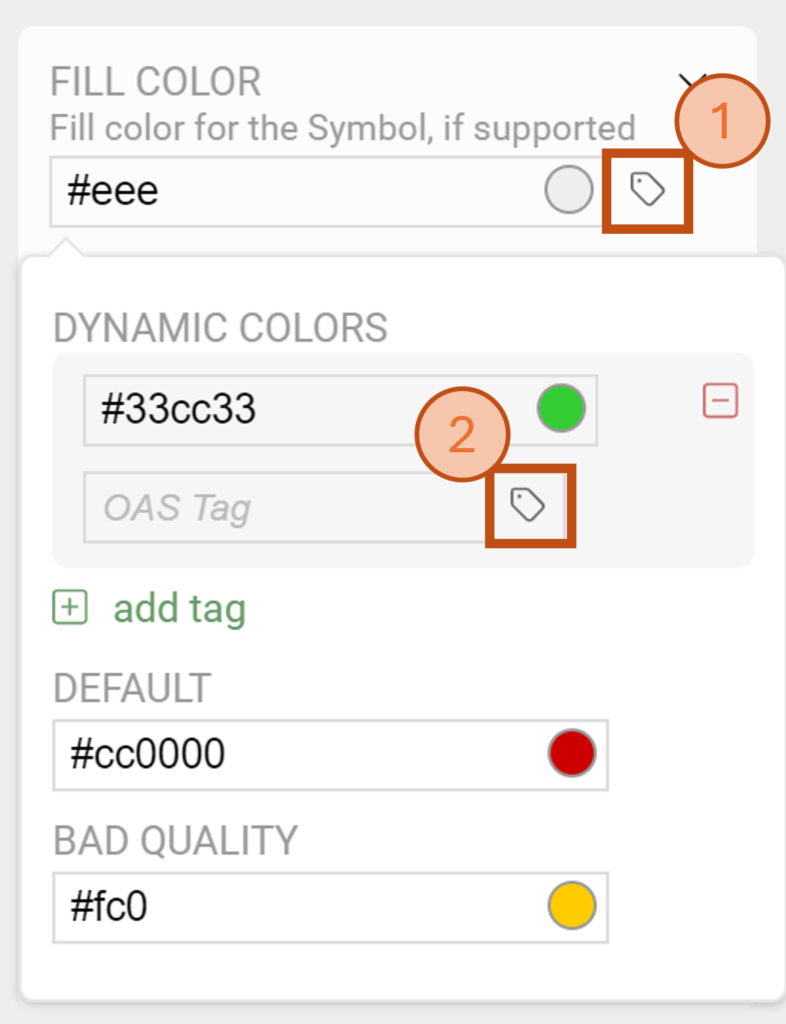
In Open UIEngine you can specify tag names using this notation. In the following example we will set the FILL COLOR based on a tag value.
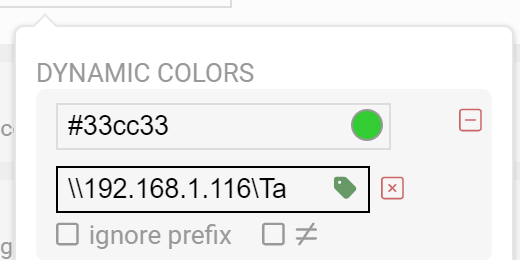
Click on the tag symbol to open the DYNAMIC COLORS context window.
Click on the tag symbol inside the OAS Tag text box.
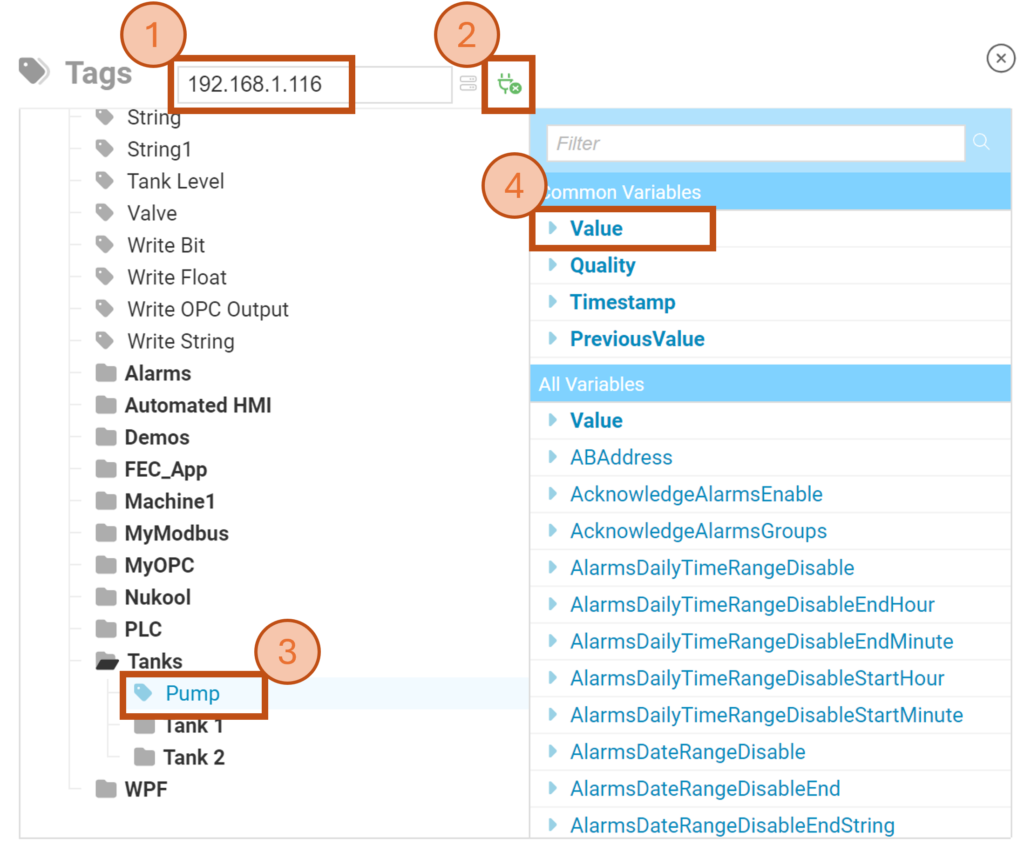
When you click on the tag icon a tag selection window will appear. To select a remote tag follow these steps:
Enter the remote OAS instance IP in the OAS Server text box
Click on the connect icon
Select the tag
Select the tag’s Value variable
You will now see the remote tag notation in the tag text box. This means Open UIEngine is now sourcing its tag value from a remote OAS instance tag.
Create your own visualizations
You can now go ahead and create your own screens and add components that link to the tags you added from your own data source. The Open UIEngine Quick Start Guide will get you started in no time.
You can find more information about the features and capabilities of Open UIEngine in the following resources:
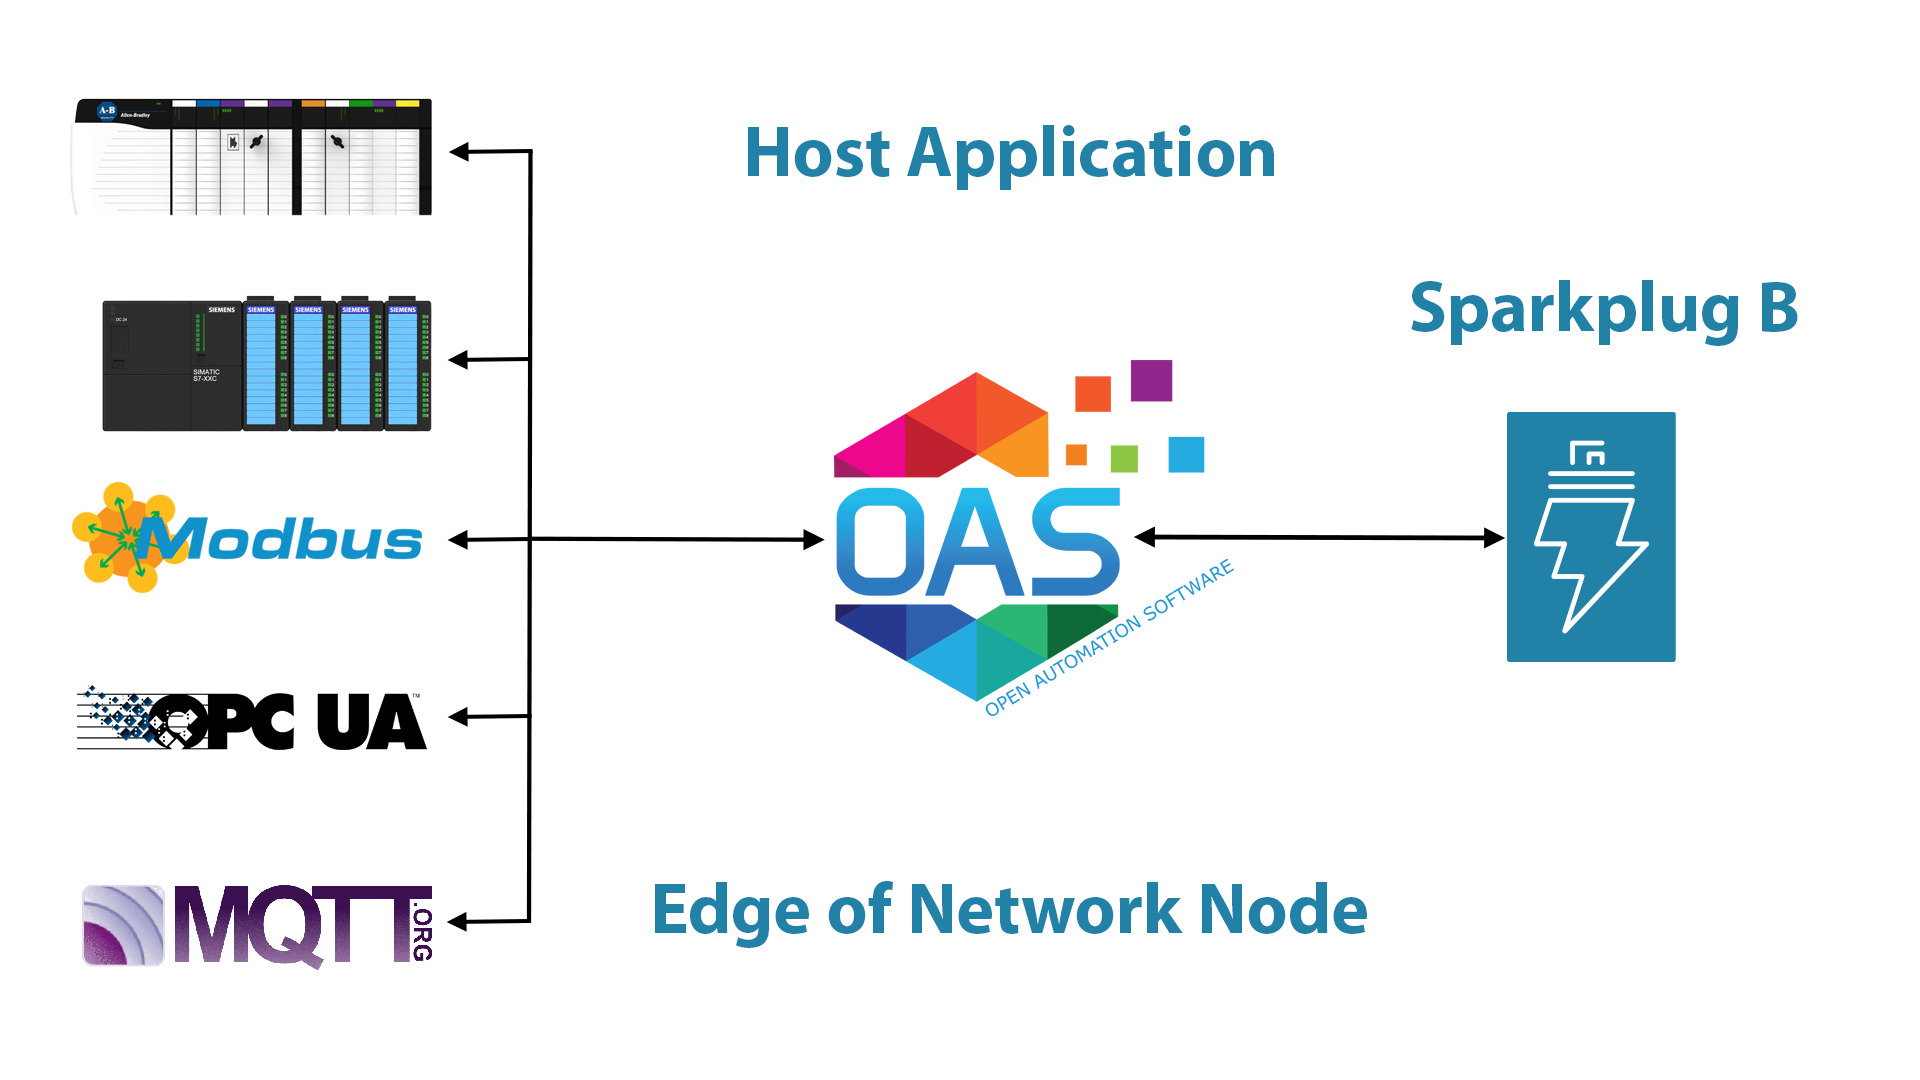
Open Automation Software can transfer custom data from MQTT brokers to the same or different MQTT brokers in Sparkplug B payloads as an Edge of Network Node, locally or over a network. This tutorial walks you through downloading and installing OAS, configuring an MQTT and a Sparkplug B driver, configuring MQTT tags, and defining the EoN Group ID, Edge Node ID, Device ID, and Metric name.
Step 1. Download and Install the Open Automation Software and Start the OAS Service
If you have not already done so, you will need to download and install the OAS platform. Fully functional trial versions of the software are available for Windows, Windows IoT Core, Linux, Raspberry Pi and Docker on our downloads page.
On Windows run the downloaded Setup.exe file to install one or more of the Open Automation Software features. Select the default Typical installation if you are not sure what features to use or the Custom installation if you want to save disk space on the target system. When prompted agree to the End User License Agreement to continue the installation.
The OAS Service Control application will appear when the installation finishes on Windows. Use this application to start the 3 Services. Run the Configure OAS application on Windows and select Configure-Tags; if the first time running, the AdminCreate utility will run to create an Administrator login as shown in Step 1 of Getting Started – Security.
Step 2. Configure Your MQTT Data Source
First, you will need to open the Configure OAS application from the program group Open Automation Software.
Select Configure >> License from the top menu and verify that MQTT is one of the available Drivers in the lower left of the form. The demo license will have this by default. If you do not see MQTT available, contact support@openautomationsoftware.com to update your license.
Select Configure >> Drivers from the top menu.
Select localhost or the remote service you wish to modify with the Select button to the right of the Network Node list.
The Configure Drivers Screen will appear. Select MQTT from the Driver dropdown box.
Enter a meaningful Driver Interface Name that you will refer to this physical connection when defining Tags with a MQTT Data Source.
Enter the IP Address of the broker. The default port is 1883.
Enter the User Name and Password if required.
Set the Keep Alive Time. The default is 60 Seconds.
Set the Reconnect Time. The default 10 Seconds. If the connection to the broker is lost the Reconnect Time determines how long to wait before attempting to reconnect.
For more detailed instructions on configuring your MQTT data source, click here to see our Getting Started MQTT tutorial or watch the video tutorial below:
Step 4. Configure Your MQTT Tags
OAS provides multiple ways to add and define tags:
Manually add and define Tags using the Configure OAS application. …learn more…
Step 4. Define Sparkplug B Group ID, Edge Node ID, Device ID, and Metric Names.
Select Configure-Drivers.
Enter a meaningful Driver Interface Name that you will refer to this connection and define the properties.
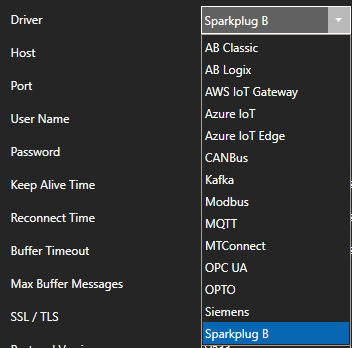
Set the driver to Sparkplug B.
Enter the Host property to the IP Address of the of the host broker or just use localhost for a local broker.
Set the Port property of the host broker to connect to. The default port is 1883 or 8883 for SSL.
Note: The OAS MQTT Broker can be used to host data locally. To use another broker on the default ports on the same computer change the OAS MQTT Broker Port under Configure-Options-MQTT Broker.
Enter the User Name and Password if required.
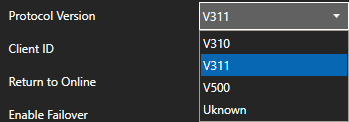
Set the MQTT Protocol Version to V311 or V500.
Set the Client ID to a unique value, each driver interface must have a specific value different than all other clients connecting to the host.
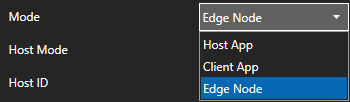
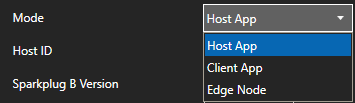
Set the Mode to Edge Node.
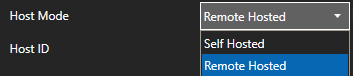
Set the Hode Mode to Remote Hosted if a Host Application to control the state of this Edge Node including another OAS driver set as Host App. Set to Self Hosted to have this OAS driver control the state of the Edge Node.
Set the Host ID to the specific value that the Edge of Nodes will be using as the Host Application ID.
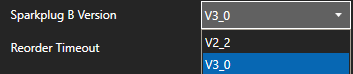
Set the Sparkplug B Version to 2.2 or 3.0.
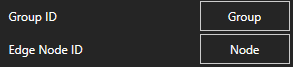
Set the Group ID and Edge Node ID that defines this EoN Node.
Note: This Group ID and Edge Node ID values will be used in the next steps to define which OAS tags will be enabled for hosting values in the next step to Define OAS Tags as EoN Node using the Host Group ID and Host Edge Node ID tag properties.
Optionally set the Device ID Filter to include only a specific device defined by the Tag property Host Device ID. Leave blank to include all tags with all Host Device IDs defined with same Group ID and Edge Node ID.
Select the Add Driver button in the left part of the form to add the Driver Interface.
Select Configure-Tags.
Select a tag defined in the first step as the data source.
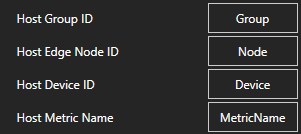
Set the Host properties of the tag to match the Group ID and Edge Node ID defined in the Sparkplug B Driver Interface. Set the Device ID to represent the Sparkplug B device. Set the Metric Name to represent the value from the source tag.
Note: The Group ID / Edge Node ID / Device ID / Metric Name combination must be unique in the OAS Engine.
Repeat the same step for all source tags or use the CSV Export button to save to a CSV file then update the Value – SpB Host Group ID, Value – SpB Host Edge Node ID, Value – SpB Host Device ID, and Value – SpB Host Metric Name columns in the CSV file using Excel, save, close Excel, then use the CSV Import button.
Data is now publishing to the MQTT broker defined in the Sparkplug B driver interface if running in Self Hosted or the Host Application state for the Host ID is online.
Select the Save button from the toolbar to save your configuration.
You can view the Getting Started with Sparkplug B Video to familiarize yourself with the above steps to setup OAS as a Sparkplug B Edge of Network Node and a Host Application
Open Automation Software enables the transfer of data from Sparkplug B Edge of Network Nodes to MQTT brokers either locally or over a network. This tutorial provides a step-by-step guide on how to download and install OAS, configure an MQTT and a Sparkplug B driver, automate tag setup from the Sparkplug B EoN, and implement Data Route.
Step 1. Download and Install the Open Automation Software and Start the OAS Service
If you have not already done so, you will need to download and install the OAS platform. Fully functional trial versions of the software are available for Windows, Windows IoT Core, Linux, Raspberry Pi and Docker on our downloads page.
On Windows run the downloaded Setup.exe file to install one or more of the Open Automation Software features. Select the default Typical installation if you are not sure what features to use or the Custom installation if you want to save disk space on the target system. When prompted agree to the End User License Agreement to continue the installation.
The OAS Service Control application will appear when the installation finishes on Windows. Use this application to start the 3 Services. Run the Configure OAS application on Windows and select Configure-Tags; if the first time running, the AdminCreate utility will run to create an Administrator login as shown in Step 1 of Getting Started – Security.
Step 2. Set Up Sparkplug B Host App to Access EoN Node Data.
Select Configure-Drivers.
Enter a meaningful Driver Interface Name that you will refer to this connection and define the properties.
Set the driver to Sparkplug B.
Enter the Host property to the IP Address of the of the host broker or just use localhost for a local broker.
Set the Port property of the host broker to connect to. The default port is 1883 or 8883 for SSL.
Note: The OAS MQTT Broker can be used to host data locally. To use another broker on the default ports on the same computer change the OAS MQTT Broker Port under Configure-Options-MQTT Broker.
Enter the User Name and Password if required.
Set the MQTT Protocol Version to V311 or V500.
Set the Client ID to a unique value, each driver interface must have a specific value different than all other clients connecting to the host.
Set the Mode to Host App for OAS to control the online state of each Edge of Node defined to the shared Host Application ID. Or set to Client App to access EoN Node data without controlling their state.
Set the Host ID to the specific value that the Edge of Nodes will be using as the Host Application ID.
Set the Sparkplug B Version to 2.2 or 3.0.
To automatically add tags for each Metric from the matching Group, Edge of Nodes, and Devices enable the property Add Client Tags Automatically.
When enabled optionally set the Filter Groups, Edge Nodes, and Devices that tags should be added from for each of their Metrics. Leave the Filter fields blank to include all Edge of Nodes publishing data to the broker.
Select the Add Driver button in the left part of the form to add the Driver Interface as an available selection when defining Tags in the next step.
You are now ready to add tags for specific Sparkplug B EoN Node Metric values.
Note: If the Driver Interface property Add Client Tags Automatically was enabled tags will be created for you, you can skip this step to add tags manually.
Select Configure-Tags.
Note: You can add organizational Groups as many levels deep as you prefer and add tags to groups. To do this first add a Group to Tags Group at the root level, then right click on the Group in the right window to add additional Groups or Tags.
Select Add Tag.
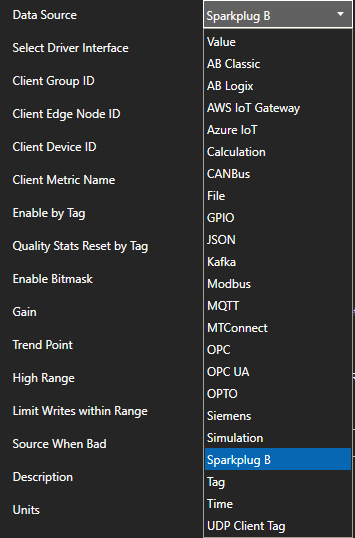
Change the Data Source Tag property to Sparkplug B.
Select the correct Driver Interface from the Driver Interface pull down list.
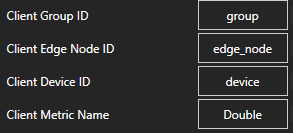
Specify the Client Group ID, Client Edge Node ID, Client Device ID, and Client Metric Name for the Edge of Node Metric value to read and write.
Select the Data Type of the Tag to match the data type of the Metric.
Select Apply Changes and the current value for the Metric should appear with Good Quality.
Select the Save button from the toolbar to save your configuration.
You can view the Getting Started with Sparkplug B Video to familiarize yourself with the above steps to setup OAS as a Sparkplug B Edge of Network Node and a Host Application
00:00 – Introduction
01:10 – Download OAS
01:46 – Quick Start
02:08 – Edge of Network Node
05:52 – EoN Tags
07:04 – Host Application
09:20 – SpB Client Tags
10:22 – Programatic Interface
10:59 – CSV Export / Import
12:27 – Multiple Metric Tags
13:46 – Modbus
16:10 – DCMD Metric Write
17:00 – Data Route
17:58 – Networking
18:17 – Save Configuration
18:56 – OAS Platform
Step 3. Configure Your MQTT Data Source
First, you will need to open the Configure OAS application from the program group Open Automation Software.
Select Configure >> License from the top menu and verify that MQTT is one of the available Drivers in the lower left of the form. The demo license will have this by default. If you do not see MQTT available, contact support@openautomationsoftware.com to update your license.
Select Configure >> Drivers from the top menu.
Select localhost or the remote service you wish to modify with the Select button to the right of the Network Node list.
The Configure Drivers Screen will appear. Select MQTT from the Driver dropdown box.
Enter a meaningful Driver Interface Name that you will refer to this physical connection when defining Tags with a MQTT Data Source.
Enter the IP Address of the broker. The default port is 1883.
Enter the User Name and Password if required.
Set the Keep Alive Time. The default is 60 Seconds.
Set the Reconnect Time. The default 10 Seconds. If the connection to the broker is lost the Reconnect Time determines how long to wait before attempting to reconnect.
For more detailed instructions on configuring your MQTT data source, click here to see our Getting Started MQTT tutorial or watch the video tutorial below:
Step 4. Configure MQTT Tags
OAS provides multiple ways to add and define tags:
Manually add and define Tags using the Configure OAS application. …learn more…
Step 5. Configure the Target Tab of the Source Tags
Select one of your source tags.
Select it’s Target tab.
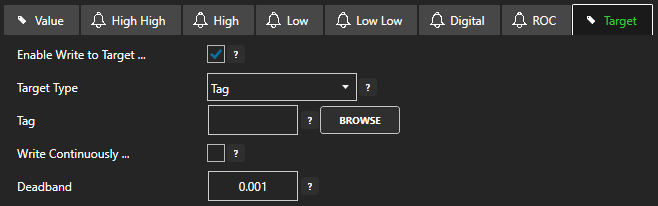
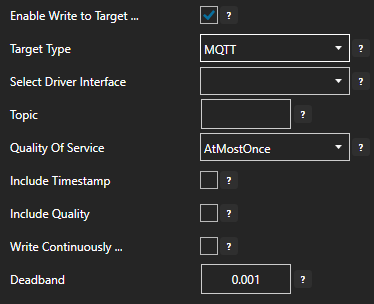
Enable Write to Target
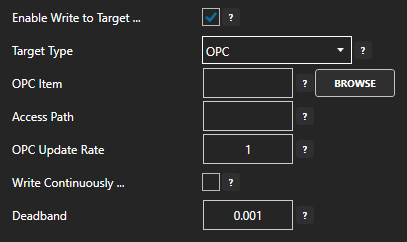
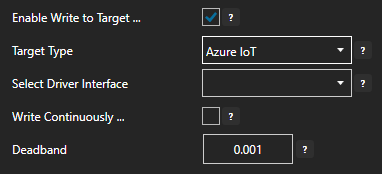
Select the Target Type (Tag, OPC, Azure IoT, Azure IoT Edge, or MQTT) from the dropdown.
Select the destination for the value to be sent.
If Tag is selected then select Browse and select the desired tag from the localhost system or optionally a remote system for transfer over a network.
Local: TagName.Value
Remote: \\192.168.0.1\TagName.Value
If OPC Item is selected select browse and select the OPC Server and Item
If Azure IoT is selected then select the Driver Interface.
If MQTT is selected then select the Driver Interface and Topic.
Enter the desired float value Deadband field. Enter 0 for no deadband.
If you want to specify a desired update frequency for the target check Write Continuously and enter the desired frequency. If Write Contentiously is unchecked the the target will be updated every time the source tag changes.
Click the Apply Changes button to save your changes.
Repeat this step for each tag that you want to transfer data from. This can also be done in bulk with CSV Import/Export or programatically.
For more detailed instructions on Configuring Data Route functionality, visit our Getting Started – Data Route tutorial or watch the videos below:
Open Automation Software’s latest update now includes a new interface for Sparkplug B Edge of Network Nodes and Host Applications.
The OAS IIoT platform has recently added support for Sparkplug B as an Edge Network Node and a Host Application. Sparkplug B is an industry-standard that enables common topic and payload definitions for MQTT data transport.
As an Edge of Network (EoN) Node for Sparkplug B, OAS can offer bi-directional communications to all tags in the OAS Engine using any combination of Sparkplug B identifiers. This is achieved using four new properties to define the hosting Group ID, Edge Node ID, Device ID, and Metric name in each OAS tag.
This interface supports all data sources of OAS, including Allen Bradley ControlLogix, CompactLogix, GuardLogix, Micro800 MicroLogix, SLC 500, PLC-5 PLCs, Siemens S7 controllers, Modbus TCP, RTU, and ASCII masters and slaves, OPC UA clients and servers, OPC DA clients and servers, MTConnect, custom MQTT payloads, .NET interfaces, REST API, and databases.
In addition, OAS provides a Sparkplug B Host Application interface to control and consume data from the EoN Node to receive and extract NDATA and DDATA automatically to tag values and write data to EoN Node Metric values through NCMD and DCMD Sparkplug B commands. OAS tags can also be created automatically based on the NBIRTH and DBIRTH data received from an EoN Node.
You can connect to any third-party MQTT Broker that supports MQTT V3.11 or V5.0, including HiveMQ, Mosquitto, or OAS built-in MQTT Broker. OAS supports Sparkplug B versions 2.2 and 3.0.
For step-by-step instructions for setting up Sparkplug B communications, watch the video below:
You can also utilize the OAS Data Route feature to enable server-to-server data transport and additional protocol translation, including Sparkplug B EoN Node to EoN Node data transfer.
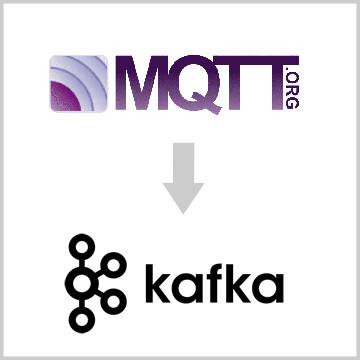
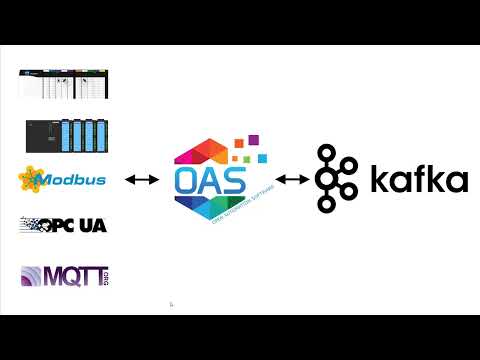
Open Automation Software can be setup to transfer data from MQTT brokers to Kafka brokers. Use the following guide to setup data transfer from MQTT to Kafka. This tutorial walks you through downloading and installing OAS, defining MQTT client and tags, and publishing data to Kafka in a JSON format. The message topic to publish is automatically formatted to include tag id, value, quality, and timestamp. All JSON packet parameters are configurable to deliver the Kafka topic message in the desired format.
Step 1. Download and Install the Open Automation Software and Start the OAS Service
If you have not already done so, you will need to download and install the OAS platform. Fully functional trial versions of the software are available for Windows, Windows IoT Core, Linux, Raspberry Pi and Docker on our downloads page.
On Windows run the downloaded Setup.exe file to install one or more of the Open Automation Software features. Select the default Typical installation if you are not sure what features to use or the Custom installation if you want to save disk space on the target system. When prompted agree to the End User License Agreement to continue the installation.
The OAS Service Control application will appear when the installation finishes on Windows. Use this application to start the 3 Services. Run the Configure OAS application on Windows and select Configure-Tags; if the first time running, the AdminCreate utility will run to create an Administrator login as shown in Step 1 of Getting Started – Security.
Step 2. Configure Your MQTT Data Source
First, you will need to open the Configure OAS application from the program group Open Automation Software.
Select Configure >> License from the top menu and verify that MQTT is one of the available Drivers in the lower left of the form. The demo license will have this by default. If you do not see MQTT available, contact support@openautomationsoftware.com to update your license.
Select Configure >> Drivers from the top menu.
Select localhost or the remote service you wish to modify with the Select button to the right of the Network Node list.
The Configure Drivers Screen will appear. Select MQTT from the Driver dropdown box.
Enter a meaningful Driver Interface Name that you will refer to this physical connection when defining Tags with a MQTT Data Source.
Enter the IP Address of the broker. The default port is 1883.
Enter the User Name and Password if required.
Set the Keep Alive Time. The default is 60 Seconds.
Set the Reconnect Time. The default 10 Seconds. If the connection to the broker is lost the Reconnect Time determines how long to wait before attempting to reconnect.
For more detailed instructions on configuring your MQTT data source, click here to see our Getting Started MQTT tutorial or watch the video tutorial below:
Step 3. Configure Your MQTT Tags
OAS provides multiple ways to add and define tags:
Manually add and define Tags using the Configure OAS application. …learn more…
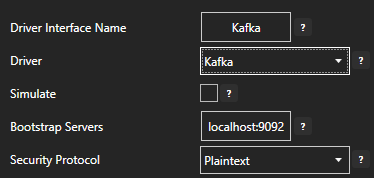
Enter a meaningful Driver Interface Name that you will refer to this connection and define the properties.
Set the driver to Kafka. Set the Bootstrap Servers of the brokers you wish to publish to.
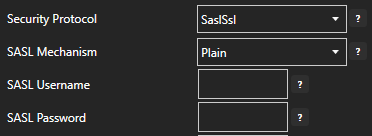
If sending data to the cloud set the appropriate Security Protocol.
When connecting with Confluent Cloud set the SASL Username with the provided API Key and the SASL Password with the Secret Key.
Enable Publish Selected Tags at the bottom of the Driver configuration.
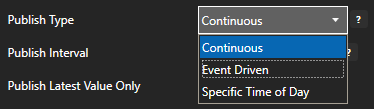
Select to publish data continuously at a specified interval, based on event, or at a specific time of day.
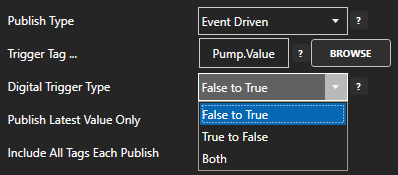
If Event Driven browse for a local or remote OAS tag that will trigger the publish. Select a Boolean tag that will change state from false to true, true to false, or both. Or choose an Integer tag that trigger a publish anytime the value changes other than 0.
Specify the Publish Topic Id if choosing to Publish All Tags As One Topic.
When publishing as one topic to optimize communications with Kafka multiple messages are sent for each publish when the number of tag value changes exceeds the Max Tags Per Publish limit.
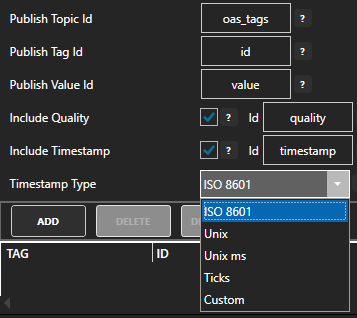
Specify the Tag Id, Value Id, an optional Quality Id, and Timestamp Id for each tag value that is sent.
When including the Timestamp Id also specify the timestamp format, use Custom to specify your own date and time format.
Specify local and remote OAS tag variables to include in each publish and specify the Id. Value is the current value from the data source or you can select any of the over 600 tag variables of each tag to publish.
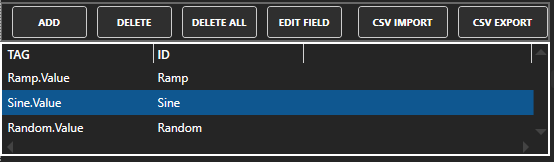
Optionally use CSV Export and CSV Import buttons to set up additional tags to publish using Microsoft Excel.
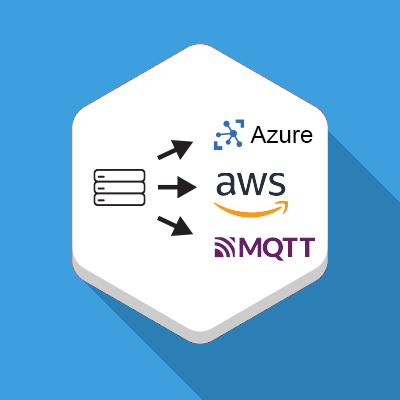
Open Automation Software is excited to announce it’s new IoT Publish feature for Azure IoT, AWS IoT Gateway and MQTT
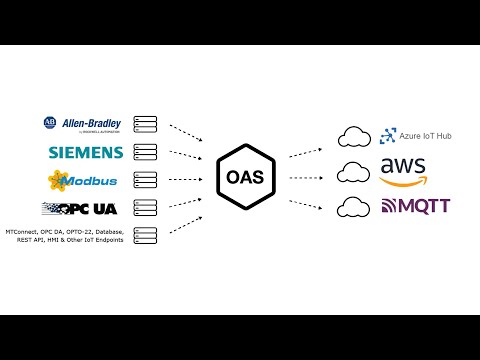
With Open Automation’s IoT Publish you can configure tags from a single or multiple data sources in OAS and publish them to Azure IoT, AWS IoT Gateway or an MQTT Broker. Tags can be published to a single topic or to multiple topics (one for each tag). Publishes can be scheduled to happen at a certain time of day, be event driven with a trigger tag and can also be continuous. The configurable publish interval setting allows you to publish at a specified rate.
Data is sent to Azure, AWS or MQTT as JSON packets which include device id, topic, tag id, quality and timestamp. Options are available to change the key names and to send without quality and/or timestamp. Timestamp can be formatted in ISO 8601, Unix seconds or milliseconds, Ticks or you can customize your own. Additional options are available to publish the latest value only and to include all tags in each publish or only those whose value has changed.
The Store and Forward feature of OAS can be turned on to prevent data loss in case of communication failure. If a communication failure occurs, OAS will buffer the data on your hard drive in the directory that you specify until communication is restored. Then it parses the data out to your destination.
For step by step instructions for the IoT Publish, watch the video below:
Supported Data Sources
Allen Bradley
Modbus
Siemens
OPC UA
OPC DA
MTConnect
OPTO-22
Rest API
Database
HMI
Other IoT Endpoints
Below are some examples of what the published data will look like with different options selected: