Download and install the Microsoft Data Access Components 2.8.
https://www.microsoft.com/en-au/download/details.aspx?id=21995
The following update will correct this issue.
Download and install the Microsoft Data Access Components 2.8.
https://www.microsoft.com/en-au/download/details.aspx?id=21995
The following update will correct this issue.
Use the Configure-Options-Networking in the Configure OAS application to define a list of IP addresses in the Network Nodes field as shown in Networking OPC Data.
The OAS Platform REST API, like all APIs is a programmatic interface. It allows developers to read and write real time Tag data, read real time and historical Alarms and Trends, and even create or update Tag configurations. Because it utilizes JSON data over HTTP(s), it can be used by any virtually any development platform or language. It is also a perfect alternative to the .NET Data Connector for applications not running .NET code. Developers need to handle client to server communication to the API within their code. This includes web technologies such as Javascript, but if browser visualization is required, Web HMI may be the preferred product to utilize.
REST API Language Support
Typical Applications
Skills Required
Learn more about the OAS REST API >>
The Web HMI product is specifically geared towards web applications that need to visualize real time and historical data. It consists of a set of Javascript libraries intended to be included in your web pages which handle server communication and screen updates. While the Web HMI product does include programmatic methods for reading and writing Tag data, development is strictly done within HTML and intended to be run in a browser.
Web HMI Language and Platform Support
Typical Applications
Skills Required
For Office 2010, the following update will correct this issue.
https://www.microsoft.com/en-us/download/details.aspx?id=39664
For Office 365 (please note, by default Office365 installs the 32-bit version regardless of your system), use:
https://www.microsoft.com/en-us/download/details.aspx?id=54920
Tags can be automatically set up using the One Click OPC UA feature, which browses OPC UA servers automatically and creates tags based on the nodes defined in the OPC UA server. You can then delete tags from the configuration that are unnecessary.
Note: You will need to be running Open Automation Software Version 12.0.0.9 or greater to support the One Click OPC UA feature. You can download the latest version from our Open Automation Software Download page.
NOTE: If you have already defined a driver as described in the Getting Started – OPC UA Server guide you can proceed to Step 2 – Configure OPC UA Tags.

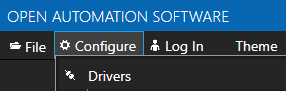
Start Configure OAS application from the program group Open Automation Software.
Select Configure-Drivers.
NOTE: To configure remote OAS Engines enter the IP Address or node name in the Network Node field and click on Select.

Enter a meaningful Driver Interface Name that you will refer to this physical connection when defining Tags with an OPCUA Data Source.

Set the Driver type to OPC UA.

Define the Server Url property to the endpoint of the OPC UA server to connect to.

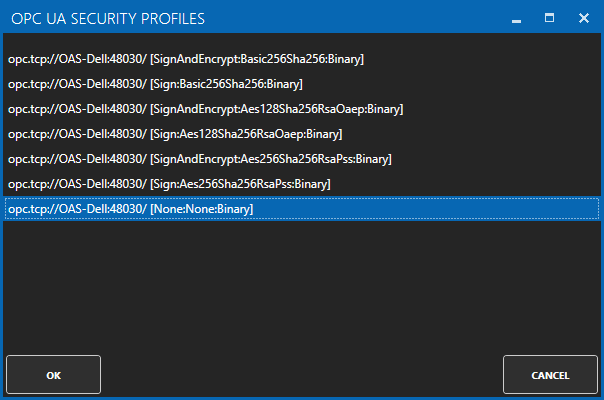
Use the BROWSE button of the Security Profile to select one of the security profiles. Use None:None:Binary for the fastest interface.

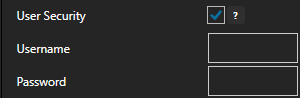
If the server requires user authentication enable the property User Security to define the Username and Password.
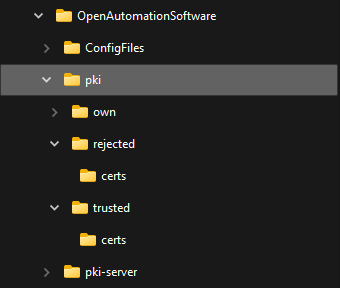
NOTE: The certificate path is C:\ProgramData\OpenAutomationSoftware\pki on Windows and /ConfigFiles/pki/ on Linux. You may need to move the server’s certificate from the rejected\certs folder to the trusted\certs folder.
Select the Add Driver button in the upper left of the window to add the Driver Interface as an available selection when defining Tags in the next step.

Select Configure-Tags.

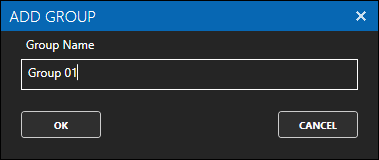
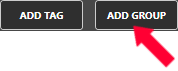
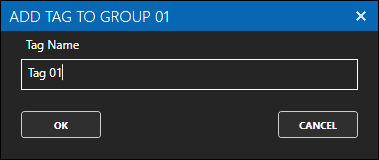
Select Add Group to add a group to place tags in.
Select the Group 01 group, then click the One Click Import button on the top toolbar.

Select the OPC UA Driver Interface defined in Step 1 if there are multiple drivers defined.
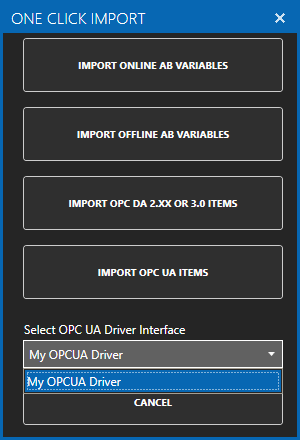
Select the IMPORT OPC UA ITEMS button.
Browse and select the parent folder containing all nodes this parent folder and all sub folders to automatically add.
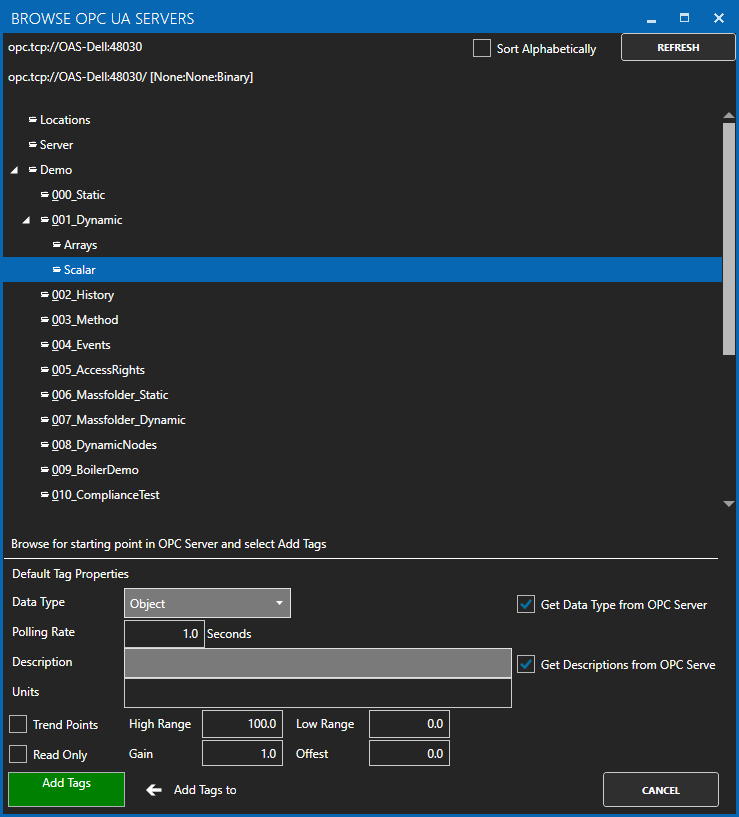
Select to enable the options to Get Data Type from OPC UA Server and optionally the Descriptions.
Select the green Add Tags button in the lower left to all all nodes in this selected folder and all of its sub folders.
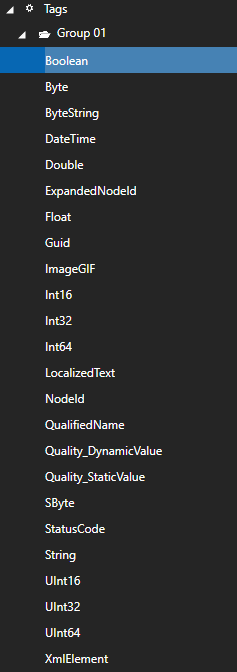
Optionally delete Tags and Groups you do not want to be included in the configuration that have been imported.
Select the Save button on the toolbar at the top.
Select the Save button on the toolbar at the top.

Enter a file name to be saved in C:\ProgramData\OpenAutomationSoftware\ConfigFiles directory on Windows or ConfigFiles subdirectory on Linux.
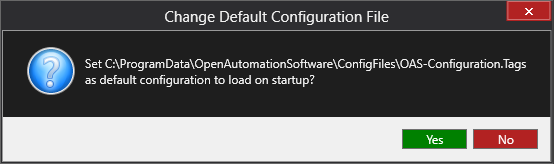
When prompted to set the file as the default configuration to load on startup select Yes.
NOTE: The tags and and drivers are both saved into one file.
The tags defined are now ready for use in all OAS features like Data Logging, Data Route, and Open UIEngine.
Open Automation Software Tags can be defined to connect to Classic OPC Data Access 2.xx and 3.0 Servers with the built in OPC Interface.
The following steps can be used to setup communications with Classic Data Access OPC Servers.
Start Configure OAS application from the program group Open Automation Software.
Select Configure-Tags.
NOTE: To configure remote OAS Engines enter the IP Address or node name in the Network Node field and click on Select.
Select Add Group to add a group to place tags in.
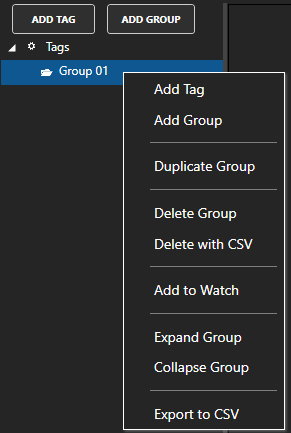
NOTE: You can add organizational Groups as many levels deep as you prefer and add tags to groups. To do this first add a Group to the root level, then right click on the Group in the right window to add additional Groups or Tags.
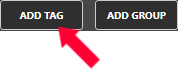
Select Add Tag to add a tag to the group selected.
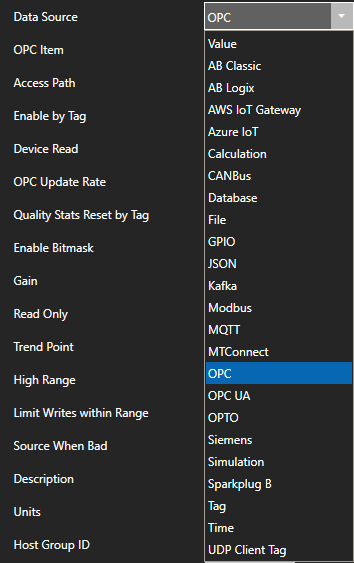
Change the Data Source Tag property to OPC.
Use the Browse button to the right of the OPC Item to browse OPC Servers for the desired OPC Item.

Select Local, the desired OPC Server, branch within the OPC Server, and OPC Item and click OK.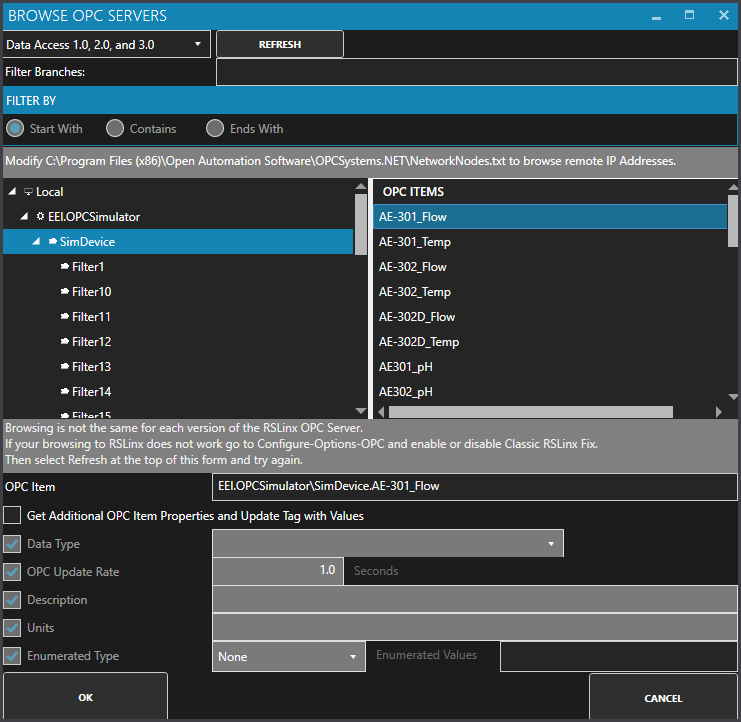
Note: If you wish to browse remote OPC servers via IP address see Networking OPC Data.
Specify the desired OPC Update Rate for the Tag.

To disable communications to the device you can use Enable by Tag to control when communications is active. Leave this property disabled to establish communications at all times.

The Device Read property can be used to disable continuous polling and request data on event from the transition from false to true of a value of a Boolean tag. Leave this property disabled to establish communications at all times.

Select Apply Changes in the lower right to activate the communications for the OPC Item.

The value from OPC Server for the OPC Item selected will appear in the current Value field.

NOTE: If the data quality is ![]() view the article Troubleshooting OPC Communications.
view the article Troubleshooting OPC Communications.
To define multiple tags use one of the following optional methods.
Optionally define a secondary failover OPC Server if the primary OPC Servers fails under Configure-Options-OPC.

Select the Save button on the toolbar at the top.
Enter a file name to be saved in C:\ProgramData\OpenAutomationSoftware\ConfigFiles directory on Windows or ConfigFiles subdirectory on Linux.
When prompted to set the file as the default configuration to load on startup select Yes.
The tags defined are now ready for use in all OAS features like Data Logging, Data Route, and Open UIEngine.
REST APIs by their very nature are HTTP services. This means that they are based on a request/response model. They are not event-driven and not capable of pushing data to a destination. You can poll against the REST API for updated values, but the data is only as current as the polling rate. So if the polling rate is longer than the refresh rate on the server value, you may miss updates.
If you would like to move data based on events, you must write your own solutions using one of our other developer tools, such as the .NET Data Connector or the Universal Driver Interface.
YES! There are two levels of security when using the REST API. The first is the authentication required for all operations. You first perform an authentication call using a credential configured within the OAS Server. Then, you can encrypt all communications over the wire by using an SSL certificate and restrict the REST API to using only SSL communications.
The security token and client id granted to the caller after authentication represent a REST API session. As long as the server remains active (not rebooted), and the credentials are continually used, the session will not expire. If there is no activity on the session after 30 minutes, the session will expire and a 401 Unauthorized response will be returned for all operations. This idle timeout can be configured on the server using the OAS Configuration app. Go to Configure > Options, select your OAS server (usually localhost when configuring the current machine) and then go to the Networking tab. Here you can set the REST API Session Timeout in minutes.
The OAS Platform allows for connectivity and integration with many systems and devices. It also exposes tools for direct data integration and automation using .NET for Windows developers, and libraries for integration with web technologies. If you are developing custom software that runs on other platforms that do not host the .NET Framework, and if you prefer to develop more robust applications with or without user interfaces, the REST API is a perfect solution. It exposes functions for reading and writing real time and historical data, as well as operations for customizing the OAS tag configurations themselves.
