Below are some helpful troubleshooting steps to resolve common data logging errors.
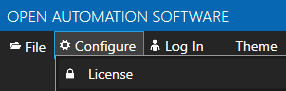
License
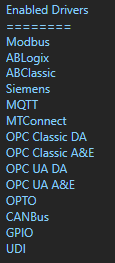
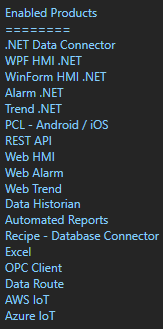
Use Configure-License to verify that the Data Historian product feature is enabled.
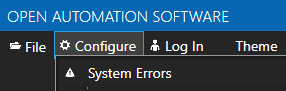
System Errors
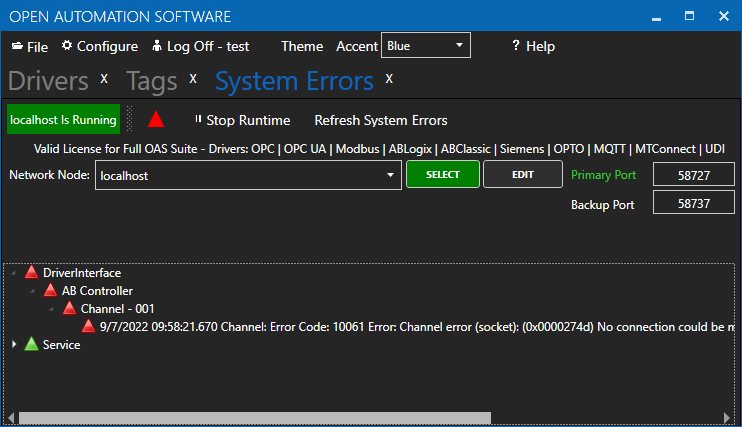
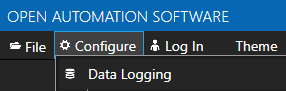
Select Configure-System Errors and expand any Data Log errors to see the details of the error.
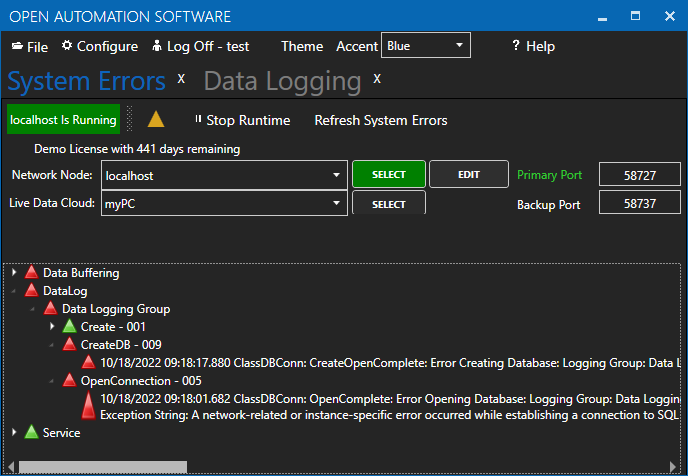
The information provided can often help you determine the cause of data logging failure.
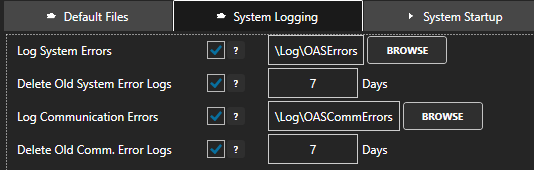
The history of all systems errors can be found in the OAS Error Log specified under Configure-Options-System Logging.
Log Data Logging Transactions
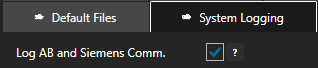
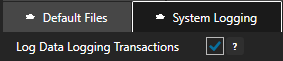
You can enable Log Data Logging Transactions under Configure-Options-System Logging to track and record all transactions for each logging group.
Specify the location of where the transaction logs will be saved with the property Transaction Log Path further down in System Logging.

All transactions will be recorded in the individual file for each logging group with the name of the file containing the logging group name.
The log will contain both any database errors and the values to be logged.
Example:
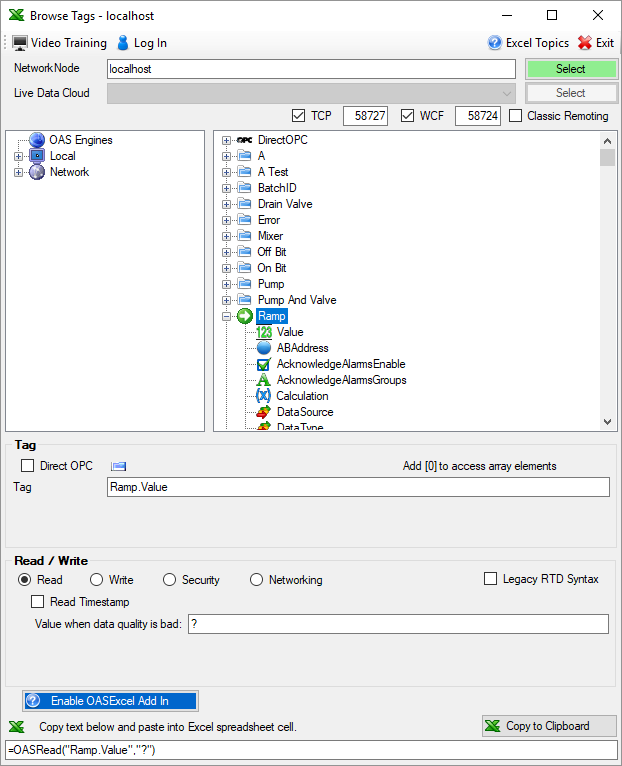
09:29:25.072 Tags and Values to be processed:
Tag: Ramp.Value
TimeStamp: 10/18/2022 09:29:25.000
Quality: True
Value: 65
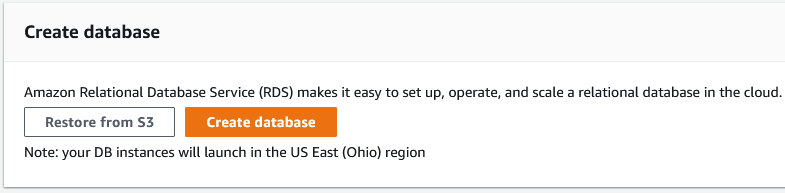
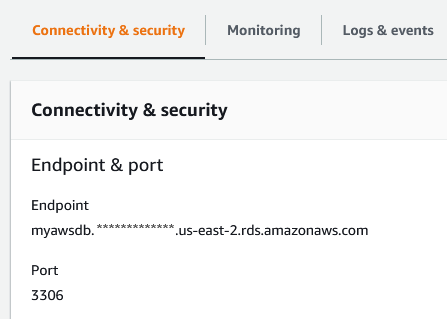
Server
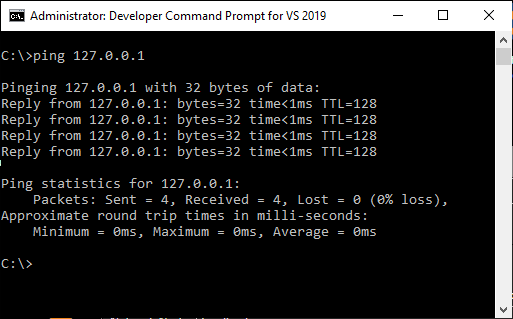
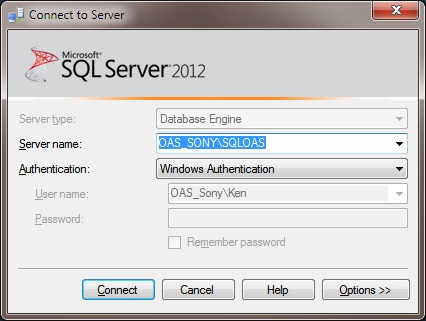
If the Server under the database tab is unreachable or incorrectly defined a System Error will indicate the database cannot be opened or created.
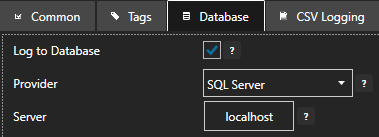
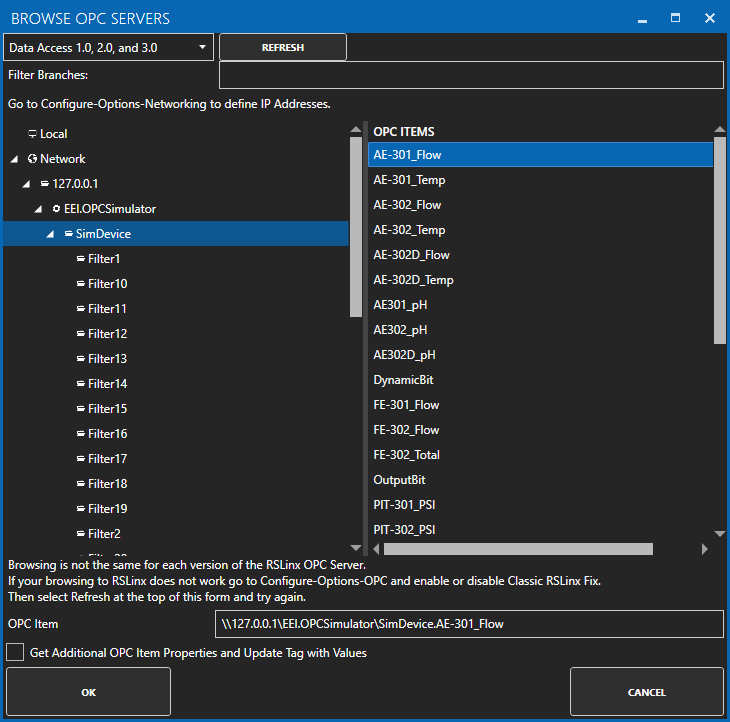
Use the database admin tool like SQL Server Management Studio, pgAdmin4, or other appropriate database tool to see if it can connect to the local or remote database engine from the system OAS is running on.
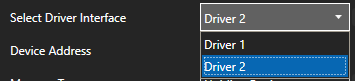
If Set Server Name with Tag is enabled verify that the value of the string tag defined is the correct server name. Try a static server name if so by disabling Set Server Name with Tag.
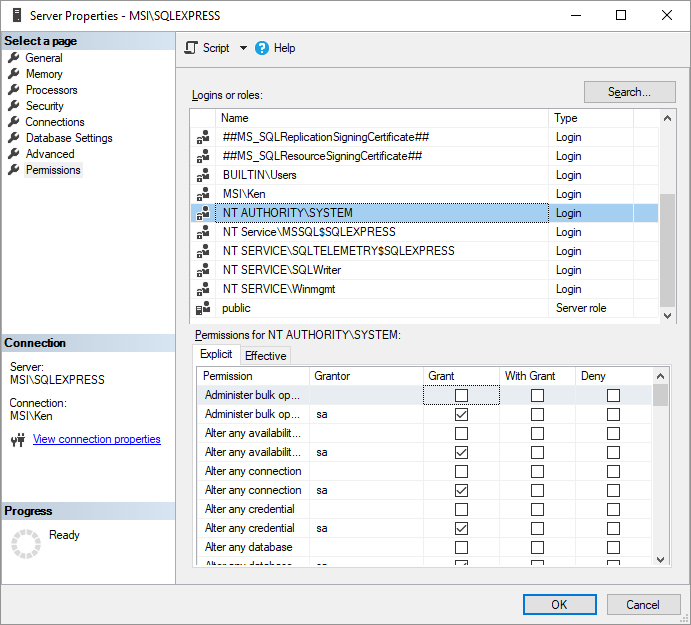
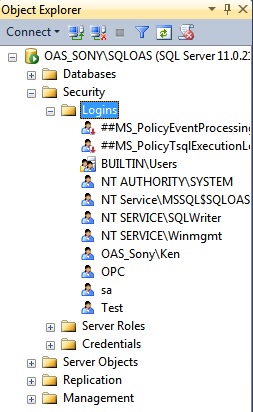
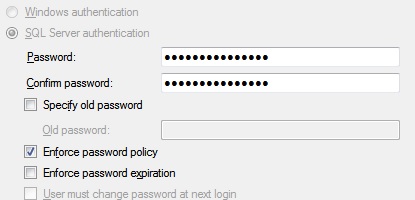
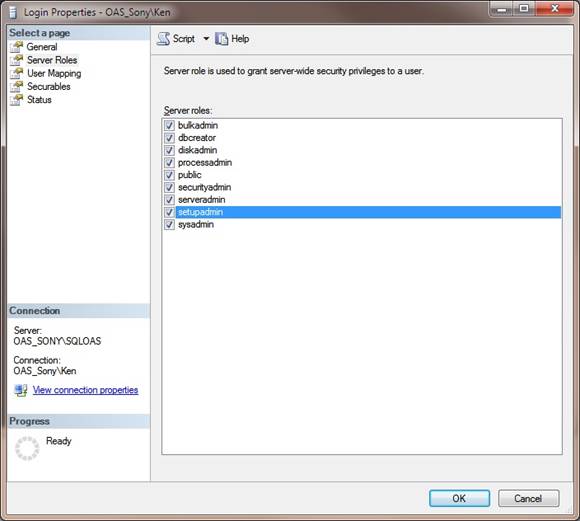
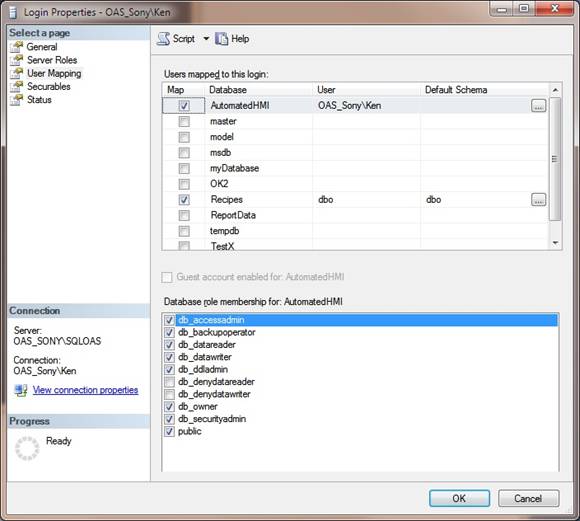
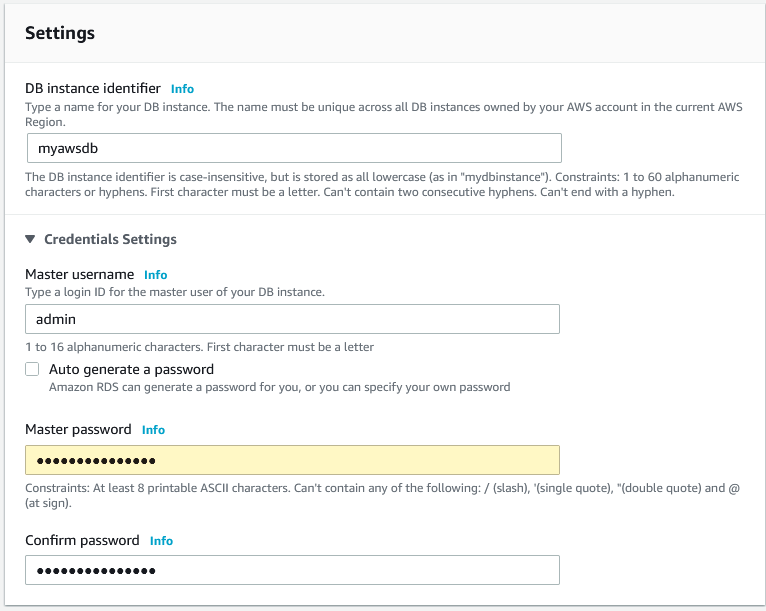
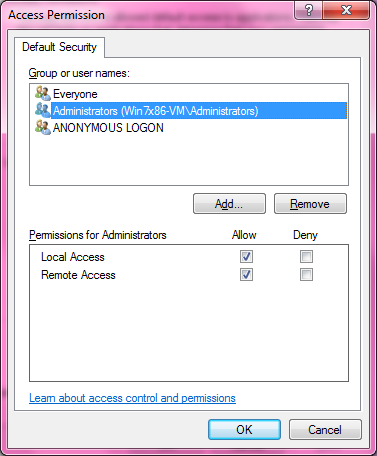
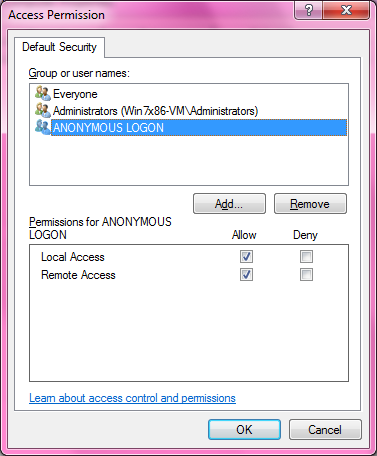
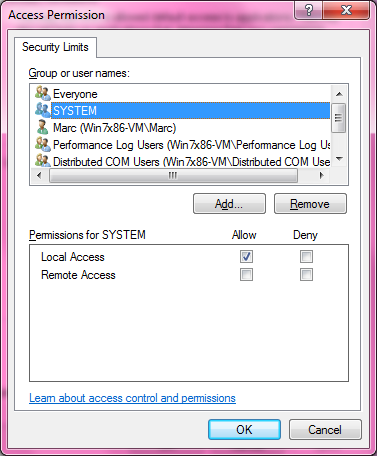
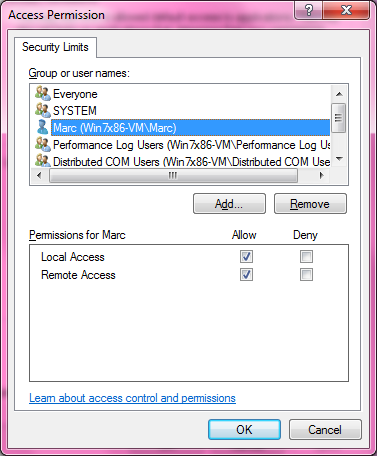
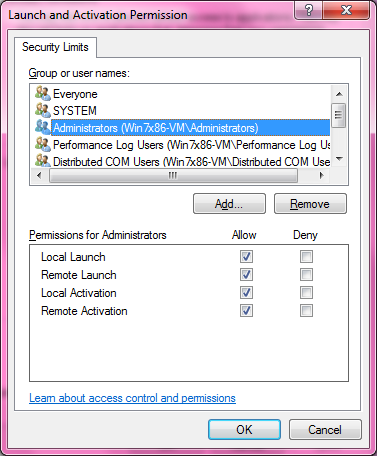
Security Access
Set the correct User Name and Password credentials from the database engine with access to create databases, tables, and field names along with the rights to insert and update records.
![]()
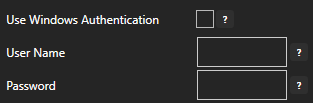
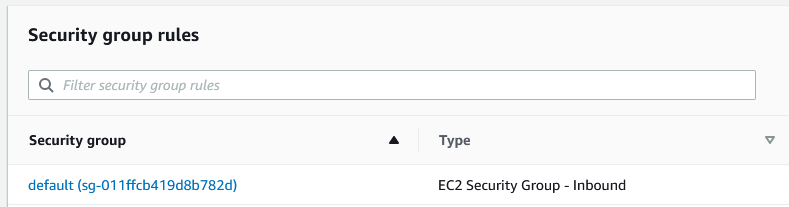
If logging to SQL Server see Database Security Login to define login access in the database engine.
Logging Active
The logging group needs to be active in order to process values to the database or CSV file.
Verify that Logging Active is enabled under the Common tab of the logging group.
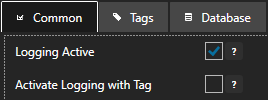
If Active Logging with Tag is enabled verify that the Boolean tag defined is true and good quality. Also verify that the tag and variable name is properly defined.
Event and Snapshot Trigger Tag
If the Logging Type is set to Event Driven, Event Driven Narrow, or Snapshot recording verify that the Trigger Tag is properly defined using the Browse button to an Integer or Boolean tag variable.
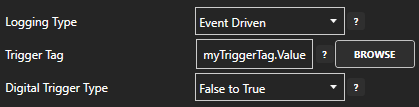
Also verify that the value of the Trigger Tag is changing state using Configure-Tags.
Store and Forward
When there is an unresolved error data will be buffered to the Store and Forward directory specified under Configure-Options-Store and Forward.
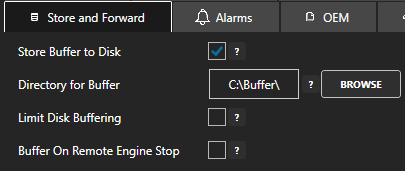
Check the directory specified for the store and forward location to see if any .dlb files are being buffered for the logging group. If there are files being go to Configure-System Errors to see what Data Log error is causing the data buffering.
Data from the buffered files will be the first to be processed and must be resolved to move onto the next set of data, so current data will not be able to be logged until the store and forward buffered files can be processed.
You can extract the contents of any buffer file with the Data Buffer to CSV program under the Open Automation Software program group.
To discard the data within the buffer files and move onto the next record there are 3 options.
- Delete the oldest buffer file with the file name containing the data logging group name.
- If the System Error shows Null value being rejected see Null Value cause and resolution in the next cause.
- Enable the property Do Not Buffer Data On Error under the Common tab of the logging group. Note: Enabling this property will disable the Store and Forward feature for the logging group.
![]()
Null Value
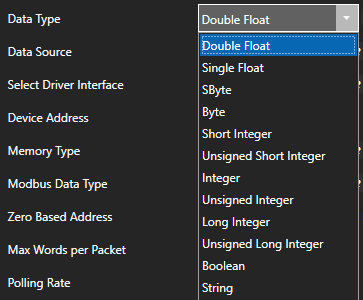
A null value will be recorded to the database or CSV file under one of the following conditions.
- The data quality of the tag to be logged is bad quality. Use Configure-Tags to check the tag is good quality and contains a value that can be logged to the database field data type.
- The tag name is not correctly defined or does not exist. Check the Tag Parameter under the Tags tab of the logging group of each field if it exists and ends with one of the over 700+ Tag Variables such as .Value, .HighHighAlarmLimit, or .HighHighAlarmActive.
Note: Tag names are case sensitive.
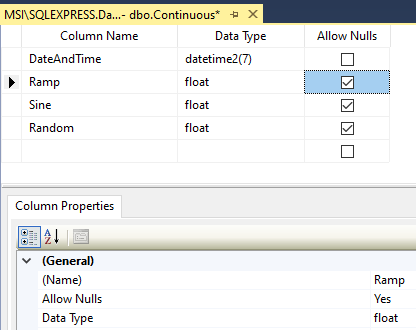
Null Value Not Allowed
If one or more of the table columns has been modified to not allow null values in the field data will be buffered to the Store and Forward directory if the data quality of a tag to be logged is bad.
There are 2 solutions to resolve this conflict.
1. Change the field definition back to Allow Nulls. First check with the database admin to why it was change to not allow null values in case there is a downstream report depending on the data.
2. Enable the property Discard Null Rejects under the Database tab of the logging group.
![]()
Create Table and Fields
If the table or field added is not automatically created in the database verify that Create Table and Fields is enabled under the Database tab of the logging group.
![]()
Existing Table
If setting up logging to a table that already exists verify that the either all of the fields are correctly defined with the right data type or the fields that are not being logged to allow null values.
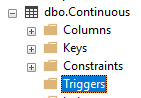
Database Triggers
If one or more database triggers is defined to a table note that the logging rate and reliability will be impacted by the trigger’s ability to complete.
If data is not being logged or slow to arrive in the database with no System Error reported check the table in the database engine if there are Triggers defined. If there are Triggers check with the database admin if the triggers can be removed or revised to complete quickly and reliably.
Note: If you need the Triggers to fire disable the bulk insert logging by setting the property Records to Enable Bulk Insert to 10000000.
![]()
Timestamps
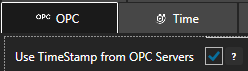
The DateAndTime field will record the timestamp from the data source. If tags being logged from an OPC server and the time delivered is different than the local CPU time this can be overridden to use the local CPU clock at the data source of the Tag by setting the property Use TimeStamp from OPC Servers under Configure-Options-OPC to false.
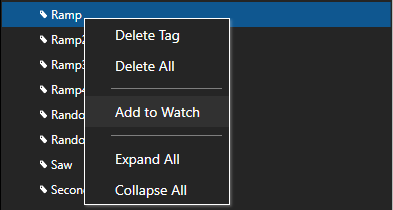
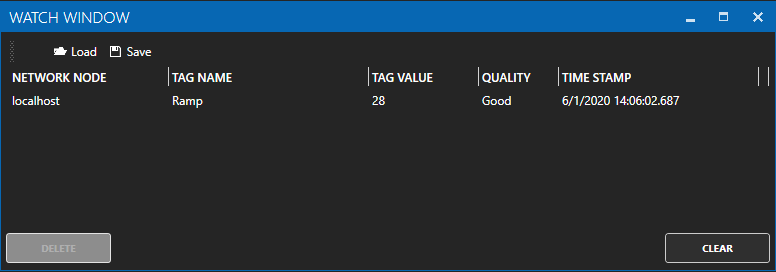
To view the timestamp of any tag go to Configure-Tags and select the tag or parent group and select Add to Watch. View the Watch Window article for an example of use.
Different Time Zones
It is not possible to log remote tag values from a different time zone using Continuous or Continuous Narrow with the local time. In this configuration data must be logged with UTC time. To enable UTC time enable the property Convert Timestamps to UTC under the Common tab.
![]()
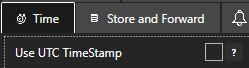
Another option is to set all tag values to UTC at the data source engine with the option Use UTC Timestamp under Configure-Options-Time.
DateAndTime Field Resolution
By default the DateAndTime field defined under the Tags tab is set to High Resolution with 100 nanosecond resolution. When logging to older versions of SQL Server, Oralce, or mySQL and the System Error Cannot find data type DateTime2 is reported uncheck the property High Precision under the Tags tab of the logging group.

CSV File with Excel
When logging to a CSV file store and forward will be enabled when Excel opens the CSV file currently logged to. Excel locks files for exclusive use when it has a file open. There will be no data loss during this time and all data will be logged when Excel closes the file.
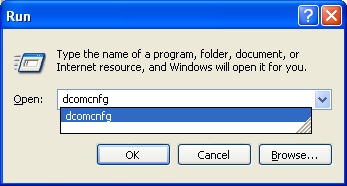
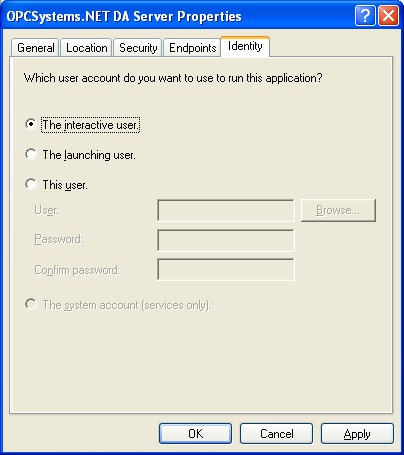


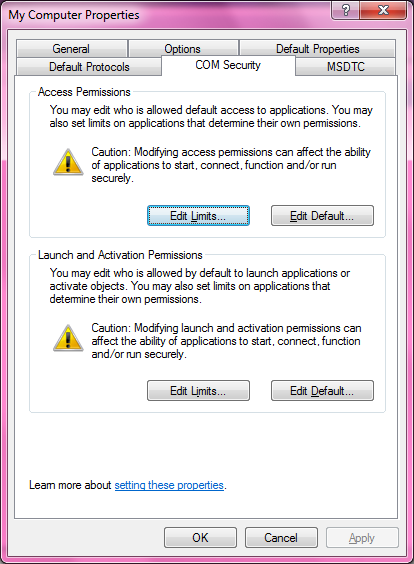
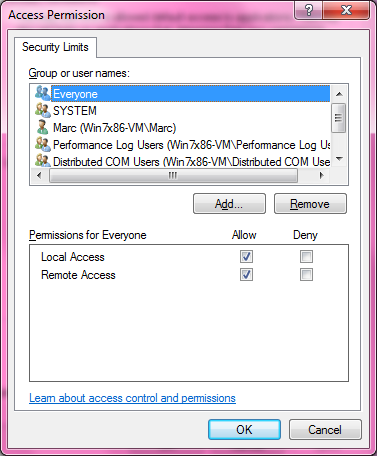
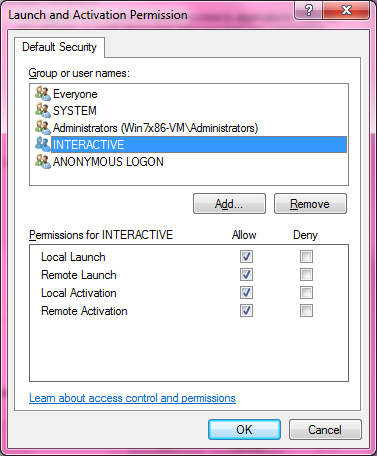
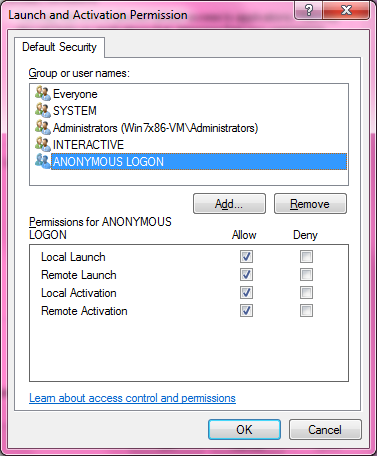
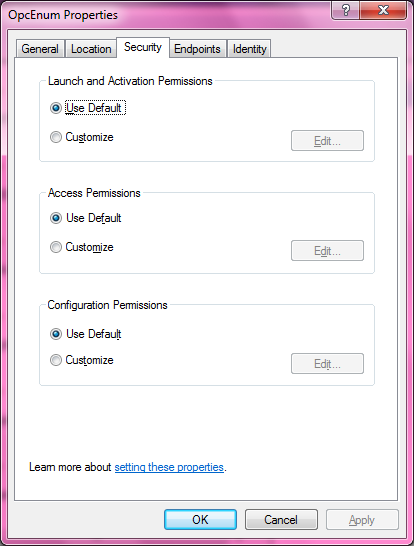
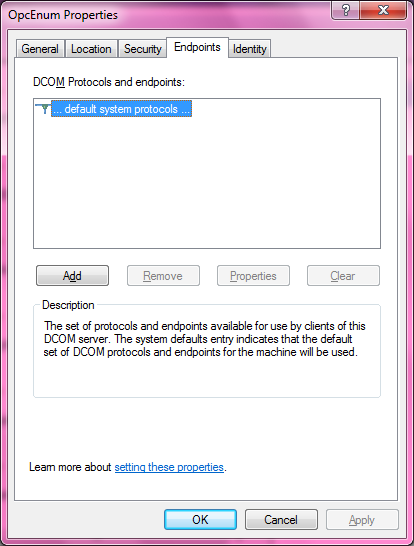
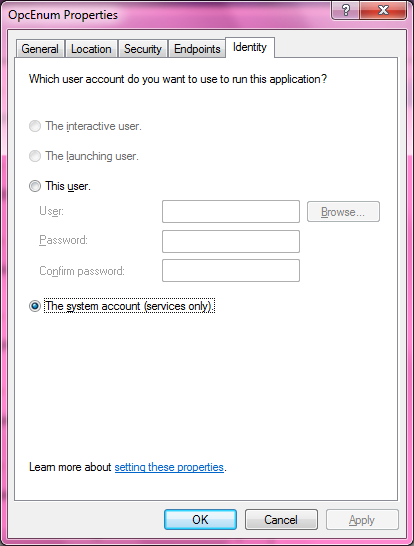
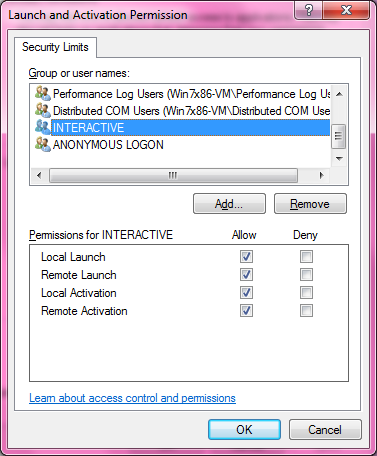 Performance... and Distributed COM… same settings as INTERACTIVE
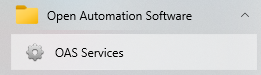
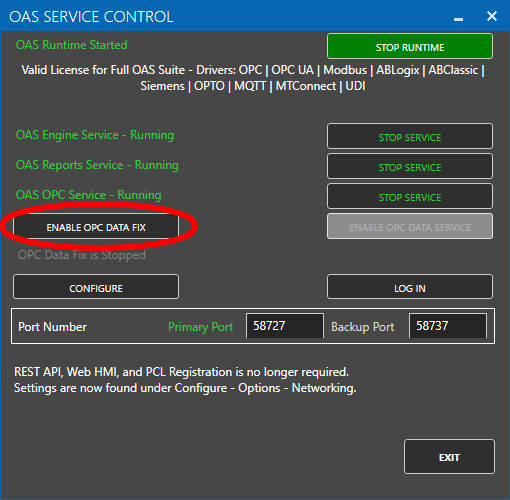
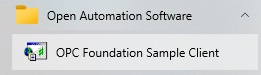

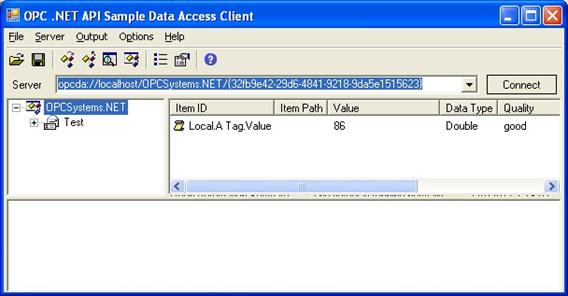 If the value comes in from the OPC Foundation Sample Client by not Open Automation Software try enabling the OPC Data Fix using the OAS Service control manager.