Data Source Quality
Use Configure-Tags to verify that the data quality of the source tags is "Good Quality".
Security
The Default security group on either the local or remote OAS Engine may have Disable All Tags from Reading checked under the Read Tags Tab. See Restrict Tag Access of Security setup to see how read, write, and browse access can be restricted. View how to Implement User Credentials in Client Applications to provide log in method for each user in the .NET application.Network
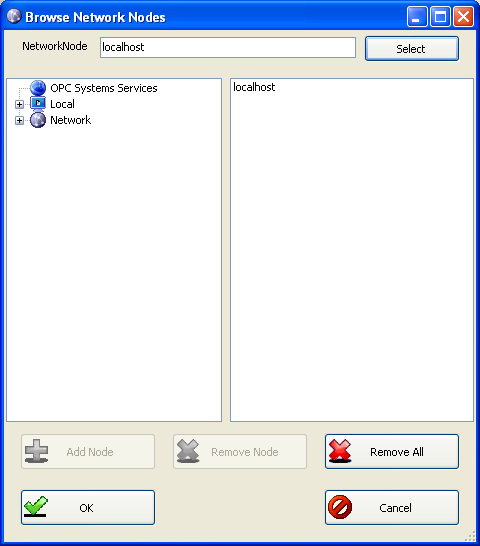
.NET applications can be defined to communicate to remote OAS Engines. See Network Communications Troubleshooting to verify that port 58727 is allowing both incoming and outgoing traffic through your firewall.Tag Path
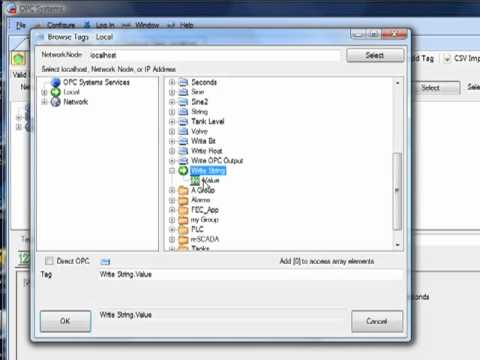
The full tag path would include the full tag name including its parent groups and the variable of the Tag.MyGroup.MyTag.ValueTag names are case sensitive and the current value of a tag would be .Value as the most common variable.
\\192.168.0.1\TagName.Value
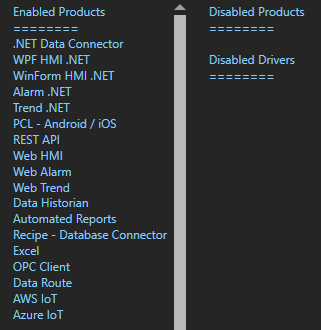
License
Use Configure-License to verify that a product feature .NET Data Connector, WinForm HMI, or WPF HMI is enabled on the data source system where the tags are located.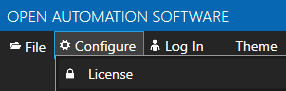
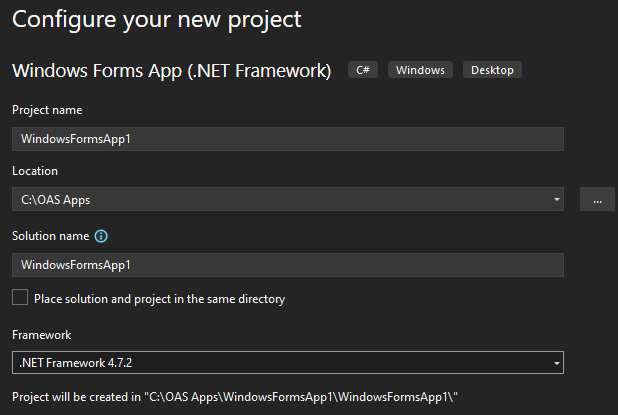
Target Framework for WPF and WinForm Applications
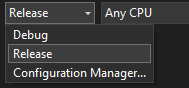
The project type for WinForm and WPF applications should be set to include (.NET Framework) and target .NET Framework 4.6.1 or greater.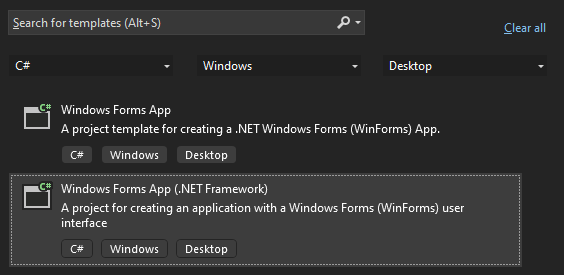 See the correct project type for WinForm above that is listed as Windows Forms App (.NET Framework) while Windows Forms App would not be the correct project type.
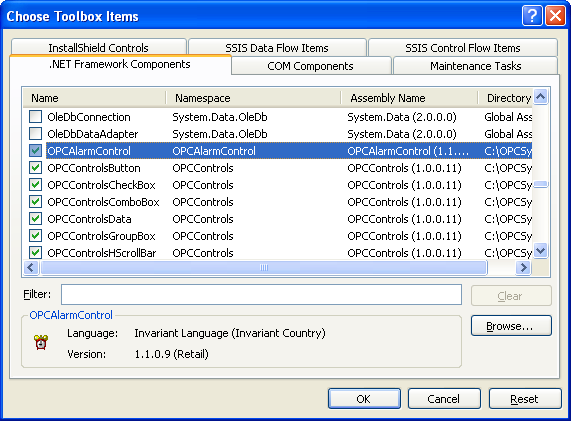
Assembly References
Visual Studio on some operating systems will assign a legacy assembly to the project causing an incompatibility due to an older version of the reference assembly. A common assembly that can be incorrect is Newtonsoft.Json that has been registered in the GAC by another software product. Select Newtonsoft.Json under the Project References to verify the correct path and version as 13.0.0.0.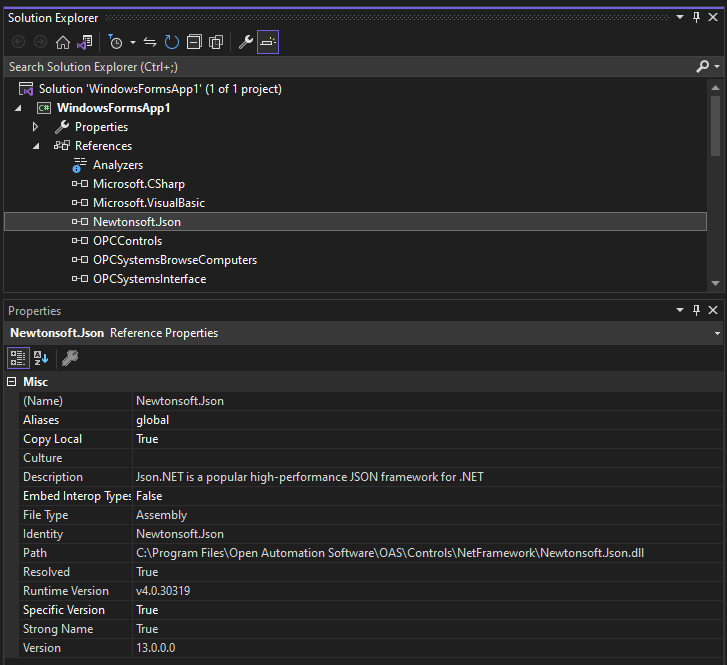 If the Path does not reference the OAS installation directory remove the reference and select to Add Reference and browse for dll from the respective directory for the specific product feature. For .NET Framework applications include the .dlls located in C:\Program Files\Open Automation Software\OAS\Controls\NetFramework\. The Target Framework set for the VS project must be .NET Framework 4.6.1 or greater. For .NET Standard supporting the following targets include the. dlls located in C:\Program Files\Open Automation Software\OAS\Controls\NetStandard\.
See a list of locations for the correct type in the troubleshooting type After updating to OAS Version 17 the project no longer compiles for a list of correct project reference paths for each type of Visual Studio Project.
If the Path does not reference the OAS installation directory remove the reference and select to Add Reference and browse for dll from the respective directory for the specific product feature. For .NET Framework applications include the .dlls located in C:\Program Files\Open Automation Software\OAS\Controls\NetFramework\. The Target Framework set for the VS project must be .NET Framework 4.6.1 or greater. For .NET Standard supporting the following targets include the. dlls located in C:\Program Files\Open Automation Software\OAS\Controls\NetStandard\.
See a list of locations for the correct type in the troubleshooting type After updating to OAS Version 17 the project no longer compiles for a list of correct project reference paths for each type of Visual Studio Project.
.NET Assembly is Blocked
If you have copied an application or project to another computer you may need to Unblock one or more the .dll files. Right click on the .dll file that you have downloaded. Check the Unblock checkbox for security as shown in the example below, then click Apply or OK.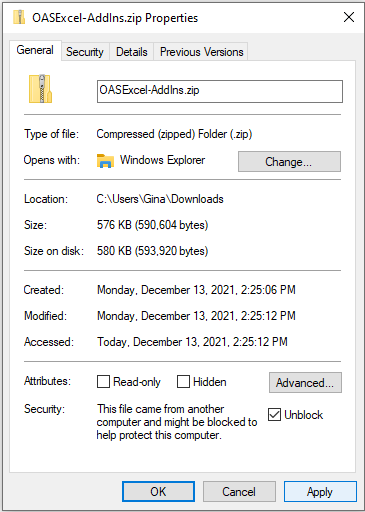
Legacy .NET Application with OAS Version 17
OAS version 17 implements an improved network interface which requires some additional assemblies.
All dependent .dlls are located in the relative subdirectory of the Controls directory of the OAS installation directory, typically C:\Program Files\Open Automation Software\OAS\Controls\.
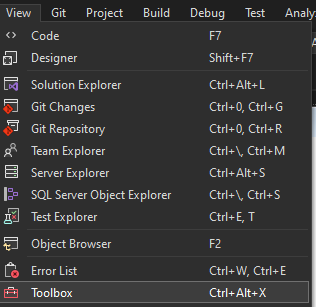
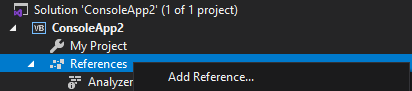
To add a reference to a Visual Studio project right click on References in the Solution Explorer.
Select Browse to browse the directory for each application feature.
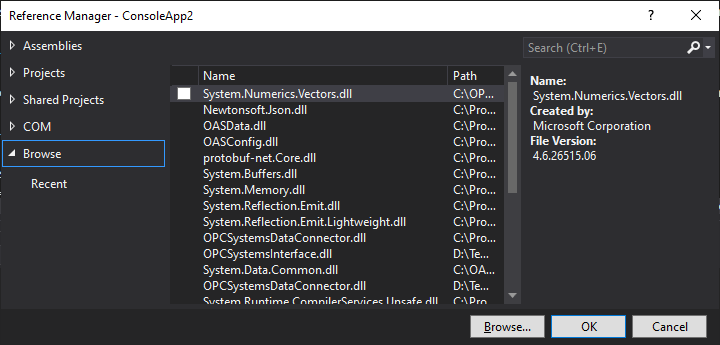
Include all .dlls files in the respective directory for the specific product feature.
For .NET Framework applications include the .dlls located in C:\Program Files\Open Automation Software\OAS\Controls\NetFramework\.
The Target Framework set for the VS project must be .NET Framework 4.6.1 or greater.
For .NET Standard supporting the following targets include the. dlls located in C:\Program Files\Open Automation Software\OAS\Controls\NetStandard\.
- .NET 5 or greater
- .NET Core 2.0 or greater
- .NET Framework 4.61 or greater
- Xamarin.iOS 10.14 or greater
- Xamarin.Android 8.0 or greater
- UWP 1.0.0.16299 or greater
WPF HMI Assemblies
- C:\Program Files\Open Automation Software\OAS\Controls\NetFramework\OPCWPFDashboard\
WinForm HMI Assemblies
- C:\Program Files\Open Automation Software\OAS\Controls\NetFramework\OPCControls\
Alarm .NET Assemblies
- C:\Program Files\Open Automation Software\OAS\Controls\NetFramework\OPCAlarmControl\
- C:\Program Files\Open Automation Software\OAS\Controls\NetFramework\OPCAlarmDataOnly\
- C:\Program Files\Open Automation Software\OAS\Controls\NetStandard\OASAlarms\
Trend .NET Assemblies
- C:\Program Files\Open Automation Software\OAS\Controls\NetFramework\OPCTrendControl\
- C:\Program Files\Open Automation Software\OAS\Controls\NetFramework\OPCTrendDataOnly\
- C:\Program Files\Open Automation Software\OAS\Controls\NetStandard\OASTrends\
.NET Data Connector Assemblies
- C:\Program Files\Open Automation Software\OAS\Controls\NetFramework\OPCSystemsDataConnector\
- C:\Program Files\Open Automation Software\OAS\Controls\NetStandard\OASData\
Server Configuration Assemblies
- C:\Program Files\Open Automation Software\OAS\Controls\NetFramework\OPCSystems\
- C:\Program Files\Open Automation Software\OAS\Controls\NetStandard\OASConfig\
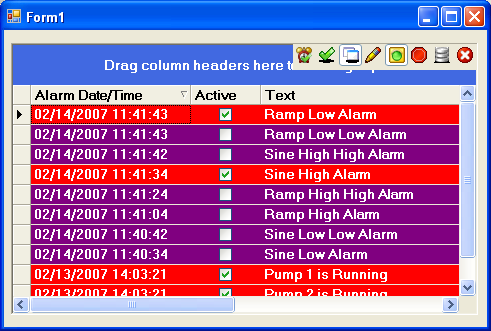
DataTable myDataTable;
            myDataTable = opcAlarmControl1.GetAlarmDataTable();
- C1.Win.C1FlexGrid2.dll
- OPCAlarmControl.dll
- OPCSystemsInterface.dll