The Alarm Notification feature is used to summarize alarm totals and send e-mails based on specified filter criteria of alarm conditions.
In order to utilize alarm notification you must first define the Tag Alarm Limits as described in Configure Tags of this Quick Start section. For a complete list of all Alarm Notification properties refer to the OAS Configuration – Alarm Notification section in this help file.
Step 1
 Start Configure OAS application.
Load the DemoTags Tag configuration or use the new Tag configuration you have created.
Step 2
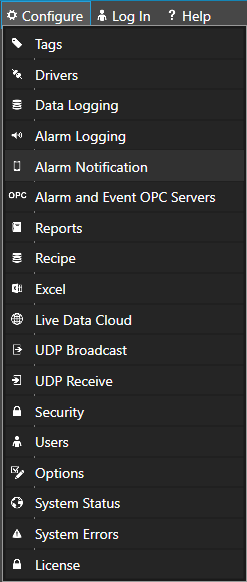
Select Configure-Alarm Notification.
Step 3
Select the Local OAS Service by selecting the Select button next to the Network Node drop down.

Step 4
Enter the Notification Group Name of Simulation in the field in the upper right.

Step 5
Check Notification Active in the Common Properties Tab.

Step 6
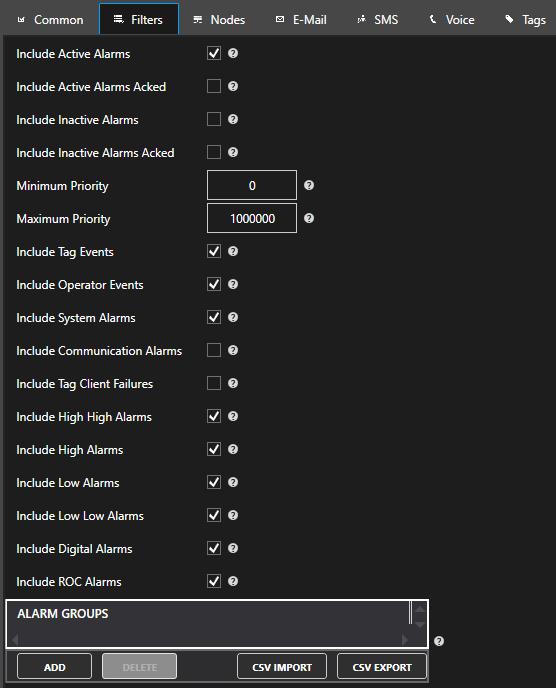
Select the Filters Tab.

Notice how you can define filtering based on Alarm Priority, Alarm Groups, and Alarm Types.
Step 7
Select the notification type your would like to set up – Email, SMS or Voice. To use SMS or Voice as a notification type you will need to use the Twilio service.
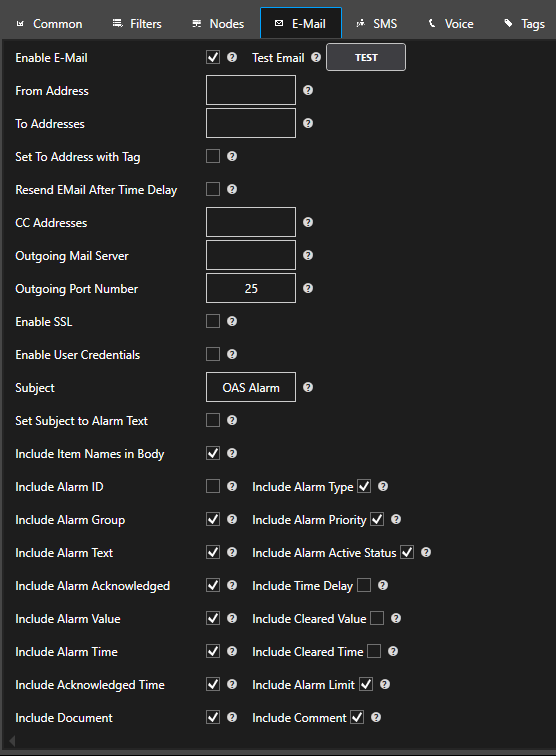
7.1 For Email notifications select the Email tab

You can define to send alarms that meet the filter criteria to an e-mail account. Use a semicolon to separate multiple e-mail addresses.
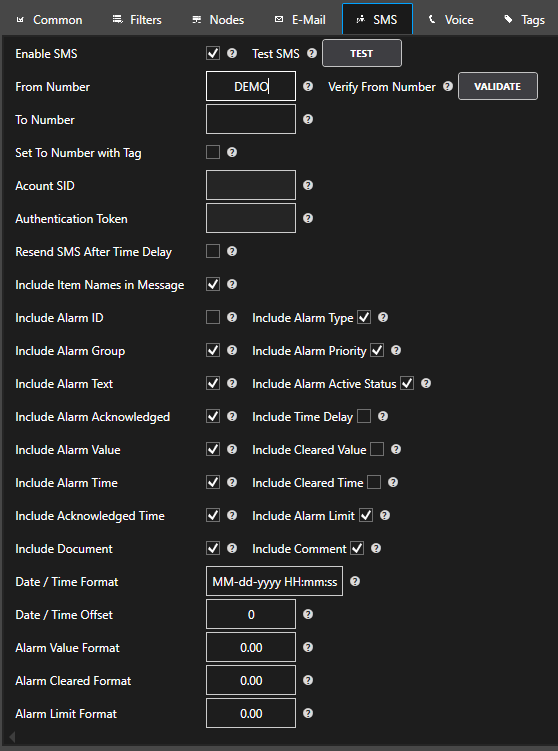
7.2 For SMS notifications select the SMS tab

To trial the functionality you can use the demo mode to send 10 notifications. To use SMS as a notification type you will need to use the Twilio service.
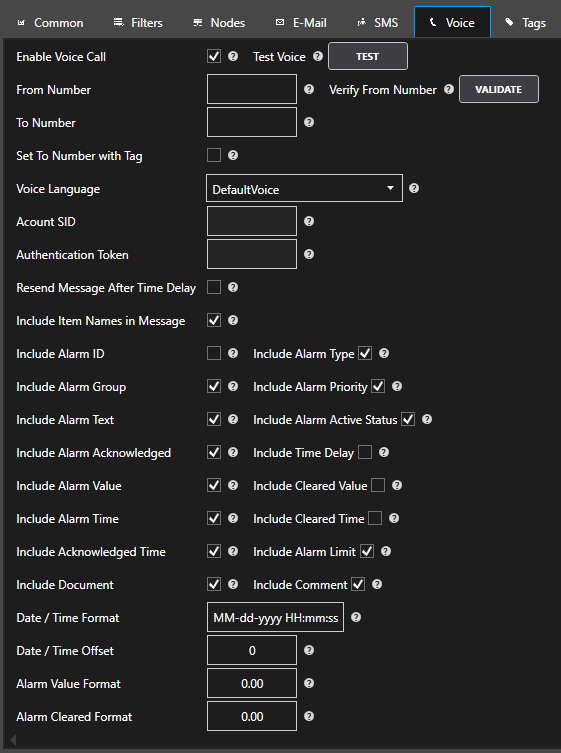
7.3 For Voice notifications select the Voice tab

To trial the functionality you can use the demo mode to send 10 notifications. To use Voice as a notification type you will need to use the Twilio service.
Step 8
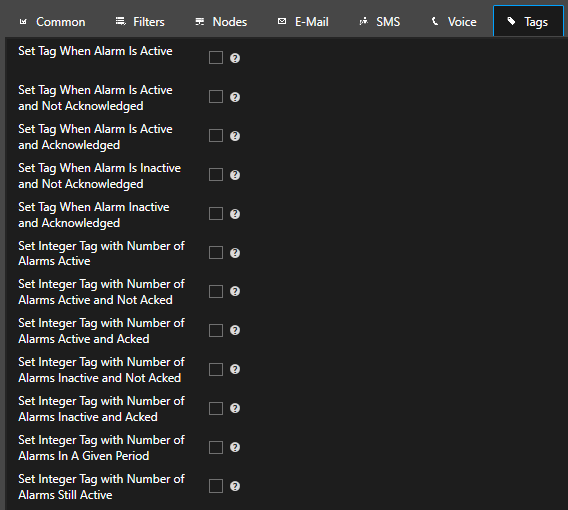
Select the Tags Tab

With the Tags properties you can assign to automatically write alarm statistics to Open Automation Software Tags. Useful to drive an external alarm horn through a PLC or display how many alarms are currently active.
Step 9
Select Configure-Tags and add a Boolean Tag with the name Alarm Is Active.
Add an Integer Tag with the name Number Of Alarms Active.
Add an Integer Tag with the name Number Of Alarms In Last 24 Hours.
Step 10
Return to Configure-Alarm Notification:
- Enable the property to Set Tag When Alarm Active
Assign the Tag name Alarm Is Active.Value
- Enable the property to Set Integer Tag with Alarm Active Count
Assign the Tag name Number Of Alarms Active.
- Enable the property to Set Integer Tag with Number Of Alarms In A Given Period
Assign the Tag name Number Of Alarms In Last 24 Hours
Step 11
Select the Add Group button at the top of the left pane to add the Alarm Notification group.

Step 12
Select the Save button on the toolbar at the top.

Step 13
Save the file DemoAlarmNotification.AlarmNotification in the directory C:OPCSystemsDemo.
You can specify for this configuration to load automatically when the Service starts using Configure-Options which is described also in this Training Guide.
Step 14
Return to Configure-Tags and select each tag and note that the current number of alarms and active state are updated automatically to the appropriate tag.