You can update your version of Open Automation Software to the latest version provided your system is under a current maintenance plan.
Before updating your software save all configurations to files.
Am I eligible for an update?
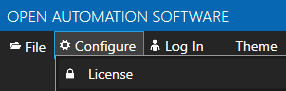
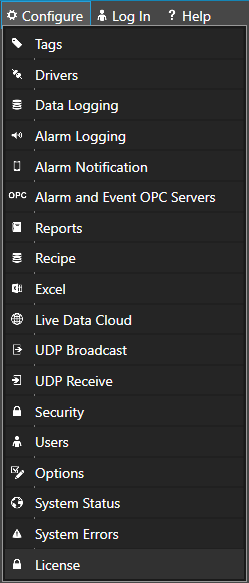
To check if you can update to the latest version of OAS us the Configure OAS application and select Configure-License and select the OAS Engine to check.
Review the Maintenance Expiration date under the License Key field.
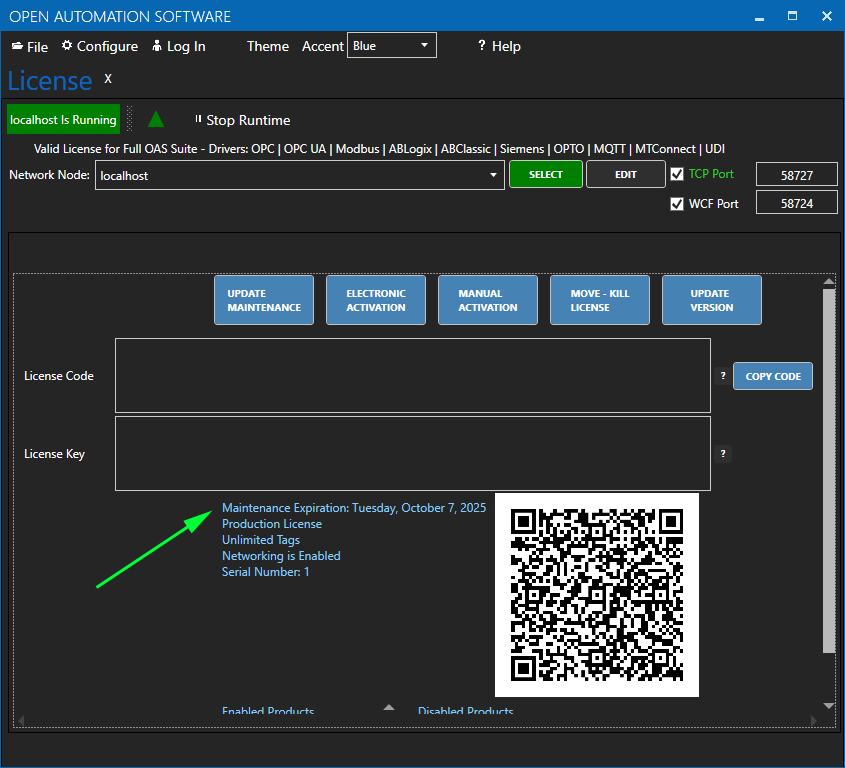
If it is current you can proceed with the update. If the maintenance is expired click on the UPDATE MAINTENANCE button and check the Maintenance Expiration again. If expired copy the License Code found under Configure-License and email to support@oasiot.com to receive an updated License Key.
Once the maintenance is up to date you can proceed with either Automated Update or Manual Update.
Automated Update
The automated update process has the advantage of remote system update without the need to login to the remote operating system. The update process is available for local and remote Windows systems and remote Linux systems.
The downtime will be minimal as the OAS Engine will be left running during the download process.
OAS Configuration App Version
The OAS Configuration.exe file must be version 16.00.0087 or greater in order to access the OAS file server. If your local OAS version is older than 16.00.0087 use the following special download.
- Download https://filedownloads.openautomationsoftware.com/config-oas/V16.00.0087/config-oas.zip.
- Right click on the zip file that you have downloaded and select Properties. Check the Unblock checkbox for security and click Apply.
- Extract files to any new directory (not OAS installation directory) and run OAS Configuration.exe in Administrator mode.
- Select-Configure-License and select the local or remote system to update.
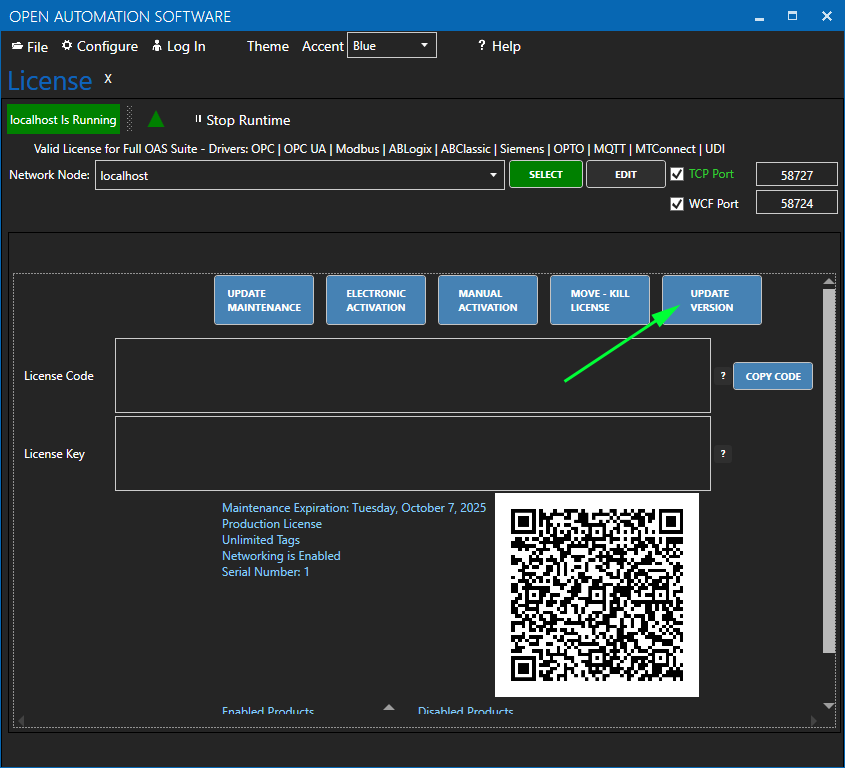
- Select the UPDATE VERSION button and follow the suggested prompts.
Requirements
- OAS service version 15.00.0014 or greater support automated update. To check your current version of the OAS Engine select Configure-System Status.
- OAS Configuration application must be version 16.00.0087 or greater. If older see special step above for OAS Configuration.
- The system where the Configure OAS application is running must have an Internet connection. If updating a remote OAS Engine the remote system does not need an Internet connection.
- The Configure OAS application must be running in Administrative mode.
- If the OAS Engine default security has Update OAS Version disabled login is required with a user that has the privilege for updating.
Save all configuration files, the OAS Engine will be stopped in the update process.
Right click on the Configure OAS shortcut and select to Run-As-Administrator.

Select-Configure-License and select the local or remote system to update.
Select the UPDATE VERSION button and follow the suggested prompts.
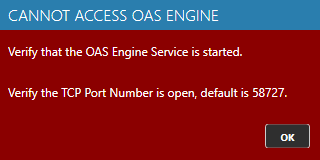
Note: If you receive the error message Could not access download server from Internet follow the steps above for OAS Configuration App Version.
Do not stop the OAS Engine or Configure application during the update process, the latest version files will be first downloaded before the OAS Engine is automatically stopped. If updating the local system on Windows the Configure application and other OAS applications will closed automatically so they also can be updated.
If there is a failure during the update process the cause of the error will appear under Configure-System Errors of the Configure OAS application.
Once the update is completed the OAS Engine will automatically be restarted.
Manual Update
To update OAS manually first download the latest version of OAS.
Windows
Save all configuration files, the OAS Engine will be stopped in the update process.
Use Add / Remove Programs to uninstall Open Automation Software.
Run the downloaded setup.exe file.
Start the OAS Services when prompted at the finish of installation.
Linux or Win-Core
Stop the OASEngine app. Extract the contents from oas-linux.zip or oas-win.zip and copy the contents over the existing deployment directory. Leave the ConfigFile subdirectory and its contents.
Start the OASEngine app.
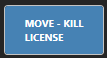
 Start Configure OAS application from the program group Open Automation Software on the system where the license currently resides (old computer).