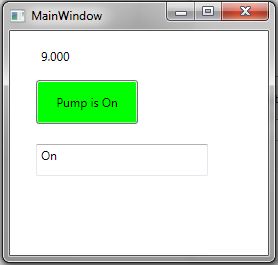
WPF HMI
Create Windows Presentation Foundation Windows desktop applications with real-time visualization.
WPF HMI .NET
How to use build a Visual Studio WPF .NET application using the OAS WPF HMI .NET product to visualize tag data.

- 00:00 – Introduction
- 00:14 – OAS Download
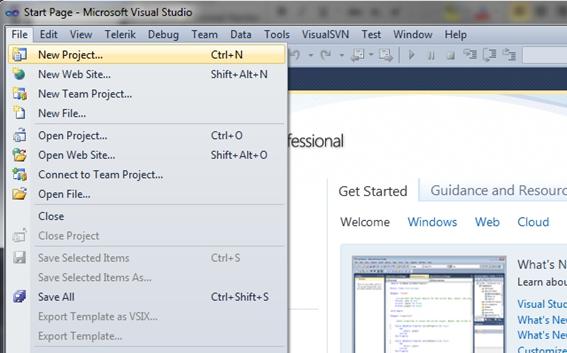
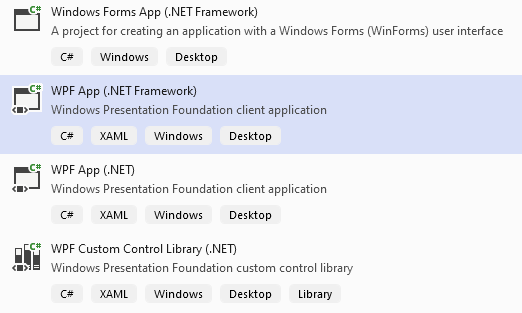
- 00:40 – Build a visual studio app
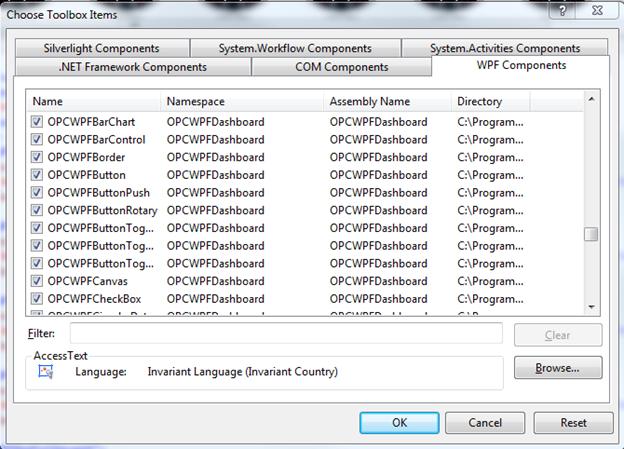
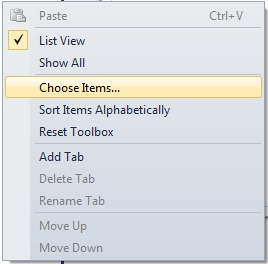
- 01:11 – Install OAS
- 01:54 – View Box
- 02:48 – Properties Window
- 03:07 – Demo Tag Configuration
- 03:28 – Tag Refencing Examples
- 03:39 – Value Property
- 03:53 – Add a Button to the window
- 04:05 – Set content tag in the properties window
- 04:34 – Change the color of the button
- 05:06 – Radio gauge
- 05:46 – Control Visualization
- 06:15 – More Information
Expression Blend for WPF
How to use Expression Blend, and review the advantages for creating graphic applications compatible with Visual Studio.
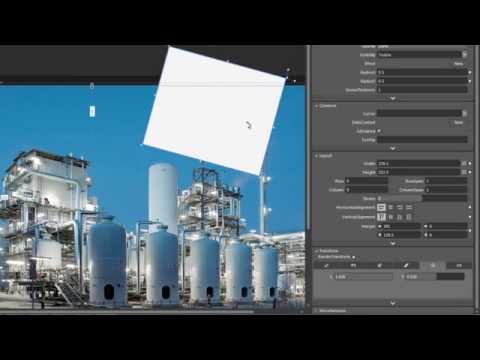
WPF HMI Graphics
How to create graphic operator interface applications with OPCWPFHMI.NET and Expression Blend.
- 00:00 – WPF HMI Introduction
- 00:16 – Microsoft Expressions Blend
- 00:22 – Advantages to using Blend
- 02:56 – Adding Images
- 07:11 – Adding Linear Gauges
- 12:45 – More Information
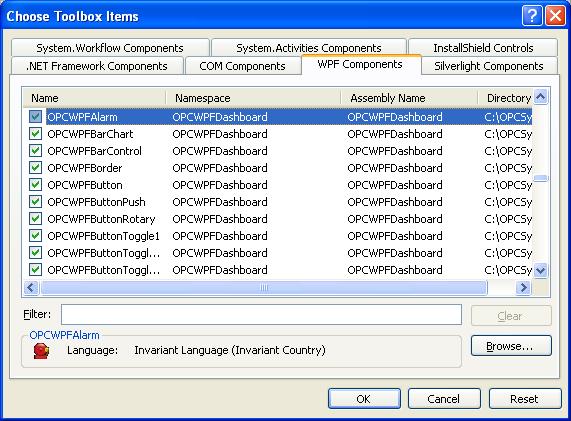
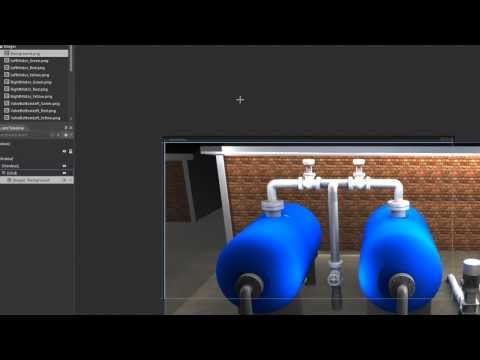
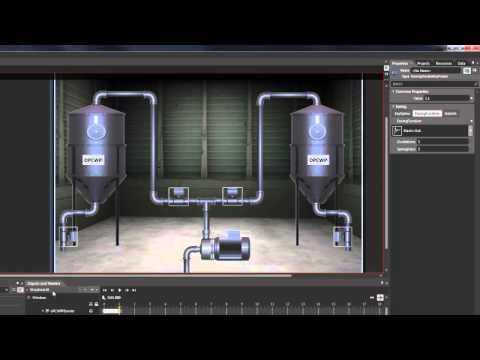
WPF HMI Symbols
How to use symbol library in WPF HMI application.
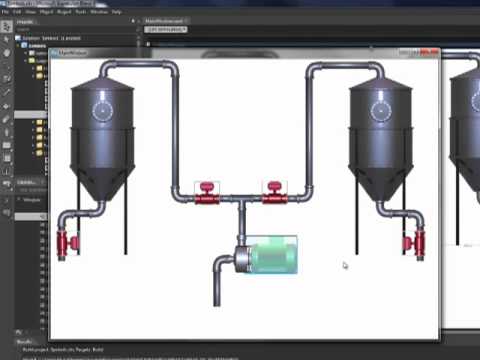
- 00:00 – HMI Symbols
- 00:11 – Symbols Library
- 01:22 – Build a Sample Application
- 01:41 – Add References
- 02:05 – Add Folders for Graphics
- 02:33 – Add Graphics to Folders
- 02:54 – Change Window Resolution
- 03:10 – Change LayoutRoot
- 03:45 – Add a Grid to LayoutRoot
- 04:09 – Add Image Item
- 08:46 – Adding Images using Button
- 11:08 – Add Images to Buttons
- 14:14 – Change template to Avoid Flashing
- 15:52 – Set Images for the Animation
- 16:39 – Set the Source Tag
- 18:02 – Application Review
- 18:32 – Add a level to the Tanks
- 20:07 – Animate the Tanks
- 21:34 – WPF Border Control
- 24:26 – Background using Blender 3D
- 25:19 – Set Layout Appearance
- 26:25 – More Information
WPF Animation
How to add animation to a WPF HMI application.
- 00:00 – Storyboard Control for WPF 4.0
- 01:14 – Create a Storyboard Animation
- 01:49 – Properties Windows
- 02:02 – Add Easing to the Storyboard
- 02:51 – Triggers Tab
- 02:57 – Objects and Timelines
- 03:09 – Assests Library
- 03:32 – Common Properties
- 04:07 – Run the Application
- 04:41 – Edit Storyboard
- 05:40 – More Information
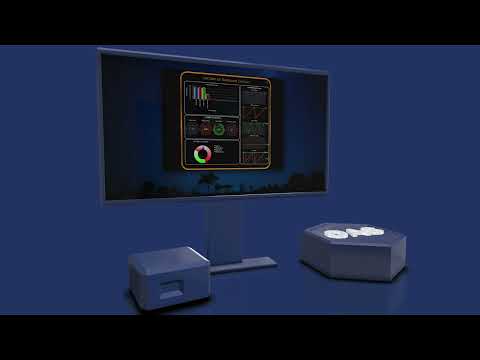
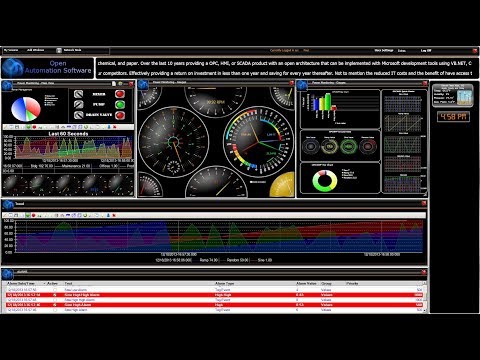
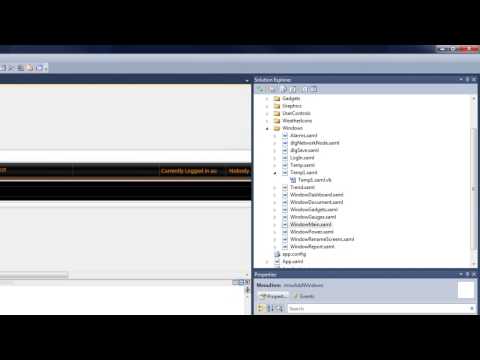
Live Data Dashboard Overview
How to create a WPF Dashboard application using the Live Data Dashboard template. User controlled windows that persist on server for remote recall.
- 00:00 – Introduction
- 00:06 – Dashboard HMI Template
- 01:23 – Install a Template
- 01:39 – Create a Project
- 01:58 – Solution Explorer
- 02:37 – Application Demo
- 02:53 – User Login
- 03:05 – Menu System
- 03:16 – Add Windows
- 03:26 – Network Node Control
- 03:41 – User Settings
- 03:58 – Weather and Clock Gadgets
- 04:03 – Adding Screens and Windows
- 05:58 – More Information
Live Data Dashboard Adding Window
How to add a Window to the Live Data Dashboard.
- 00:00 – Introduction
- 00:16 – Add additional Screens to existing Dashboard Application
- 02:03 – Run the Application
- 02:11 – Add Window
- 03:29 – More Information
Live Data Dashboard Reports and Documents
How to add report and document interface options to Live Data Dashboard.

- 00:00 – Introduction
- 00:25 – Visual Studio / Power Window
- 00:40 – Reports and Documents
- 01:10 – Power Window
- 02:16 – XPS File
- 02:34 – Run the Application
- 03:19 – Create reports and documents
- 03:27 – More Information
Live Data Dashboard Gadgets
How to add gadgets to the Live Data Dashboard.

- 00:00 – Intro (OPC Systems HMI Dashboard Template)
- 00:31 – Weather Gadget
- 01:05 – Gadgets Controls
- 01:12 – References / Gadget Library
- 01:37 – Gadget Weather Control Visualization
- 02:42 – Weather Icons
- 02:53 – More Information
WPF Page Navigation
How to add page navigation to a WPF application with easy to use OPC WPF HMI Page Navigation controls.

Radial Gauge Demo
Demonstration of WPF Radial Gauge controls in action.

WPF Radial Gauge
How to integrate the radial gauge control into a WPF dashboard application.

WPF Linear Gauge
How to integrate the linear gauge control into a WPF dashboard application.
- 00:00 – OPC WPF Linear Gauge Control
- 00:11 – Linear Gauge Control Use to Create Applications
- 00:26 – Linear Gauge 3 different styles
- 00:43 – Visual Studio/Create a New WPF Project
- 01:48 – Value Format
- 02:07 – More Information
WPF Bar Graph
How to integrate a bar graph into a WPF dashboard application.

WPF Pie Chart
How to integrate live pie chart into a WPF dashboard application.

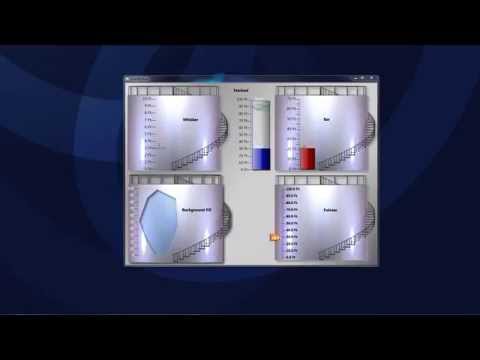
WPF Circular Data
How to integrate circular data control into a WPF dashboard application.

- 00:00 – Introduction
- 00:08 – WPF Circular Data Control for WPF 4.0
- 00:35 – Properties that can be controlled by Live Data
- 00:47 – Build an Application with OPC WPF Circular Data Control
- 01:09 – Set Up Background
- 01:20 – Set the Content
- 01:37 – Run the Application
- 01:50 – Other Properties of OPC WPF Circular Data Control
- 03:47 – Run the Application
- 03:56 – More Information
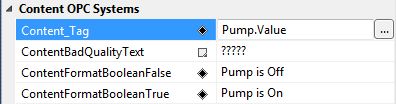
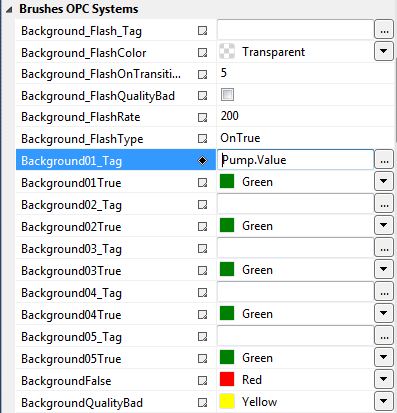
WPF Quick Chart
How to add a quick chart into a WPF dashboard application.

- 00:00 – Introduction
- 00:08 – OPC WPF Quick Chart for WPF 4.0
- 01:12 – Create a WPF Application using OPC WPF Quick Chart
- 01:39 – Common Properties
- 02:12 – Appearance OPC Systems
- 02:22 – Brushes OPC Systems
- 02:46 – Content OPC Systems
- 03:01 – Transform OPC Systems
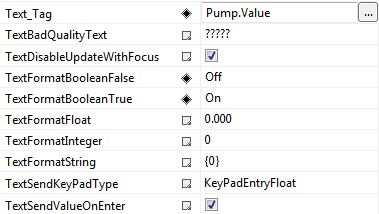
- 03:29 – Text
- 03:40 – Run the Application
- 04:19 – Change the Point Count
- 04:35 – More Information
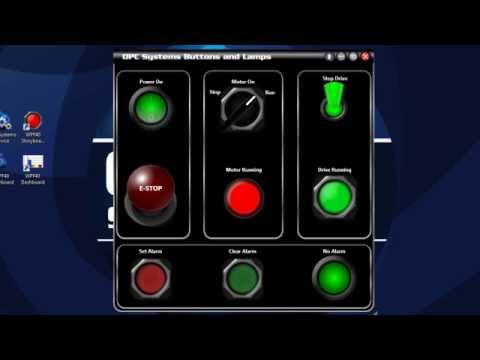
WPF Lamps and Switches
How to integrate lamps and switches into a WPF dashboard application.
- 00:00 – Introduction
- 00:06 – OPC WPF Lamps and Switch Controls
- 01:07 – Switches
- 01:33 – OPC Properties of the OPC Button
- 02:49 – Content OPC Systems
- 03:10 – Layout Properties
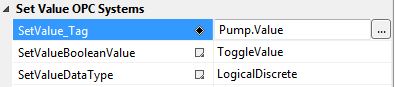
- 03:32 – Set Value OPC Systems Properties
- 04:49 – Lamp Controls
- 05:00 – Background and Border Brush and Foreground
- 05:36 – Content
- 06:01 – Brushes
- 07:05 – Button Control
- 08:41 – Run the Application
- 10:41 – More Information