How to Install OAS in Linux (Manual)
This article covers how to manually install OAS in Linux.
For a simplified installation that handles account creation and daemon configuration, please refer to the Installer Script documentation.
1 - Download OAS
In this section you will download the OAS platform for Linux and extract it.
Download the Linux version of OAS for the platform that is relevant to you.
Fully functional trial versions of the software are available for Windows, Windows IoT Core, Linux, Raspberry Pi and Docker on our downloads page.
Change directory into your user's home directory. For example:
cd /home/oasExtract the
oas-linux.zipfile to the current directory. This will create a new folder calledoas-linux.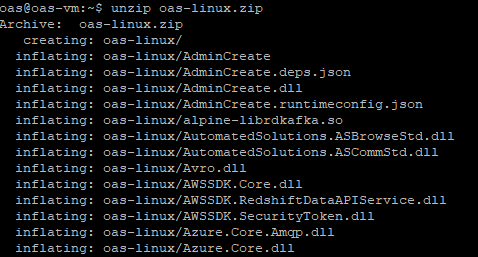
Tips
To unzip a
zipfile you might need to install the unzip utilities. In a Debain based Linux system you can do this using the following command:sudo apt-get install unzipMove into the
oas-linuxfolder.cd oas-linuxGive the
OASEnginebinary the execute permission.chmod +x OASEngine
2 - Create OAS Engine Service
You will now set up a new user service called oas-engine to run the OAS Engine as a service. You will also enable it to start automatically on reboot.
Create a new folder for
systemduser services.mkdir -p /home/oas/.config/systemd/user/Create a new service definition file
oas-engine.service.touch /home/oas/.config/systemd/user/oas-engine.serviceEdit the service definition using your favorite text editor.
nano /home/oas/.config/systemd/user/oas-engine.servicePaste the following definition into the
oas-engine.servicefile.[Unit] Description=Open Automation Software Engine [Service] ExecStart=/home/oas/oas-linux/OASEngine WorkingDirectory=/home/oas/oas-linux SyslogIdentifier=oas-engine PrivateTmp=false KillMode=process [Install] WantedBy=default.targetEnable the service so that it starts automatically.
systemctl --user enable oas-engineStart the service.
systemctl --user start oas-engineCheck that the service is running.
systemctl --user status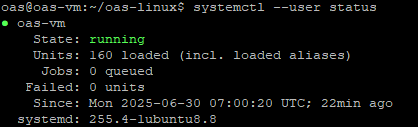
3 - Create Admin Account
When you want to start using OAS for the first time you will need to create a set of admin account credentials.
This account typically uses the username admin.
Important
Whilst this is an advanced topic, it is recommended that the user account (in this case oas) used to host the OAS Engine service is not a user account that can be used to login interactively or directly via SSH. The files created by OAS should be protected such that they are only accessible to the oas user.
In your OAS installation directory (for example:
/home/oas/oas-linux) run the following command to give the AdminCreate utility the execute permission.chmod +x AdminCreateRun the utility to create a new account.
./AdminCreateYou will be prompted for a username and then a password.
For security clear the screen.
clearThen update the permissions of the AdminCreate utility so that no one can run this utility be default.
chmod 400 AdminCreateTips
For greater security you can also delete the following files and prevent any user from being able to create or update the admin account for OAS. However, if account recovery is needed then these files would have to be restored.
- AdminCreate
- AdminCreate.dll
4 - Next Steps
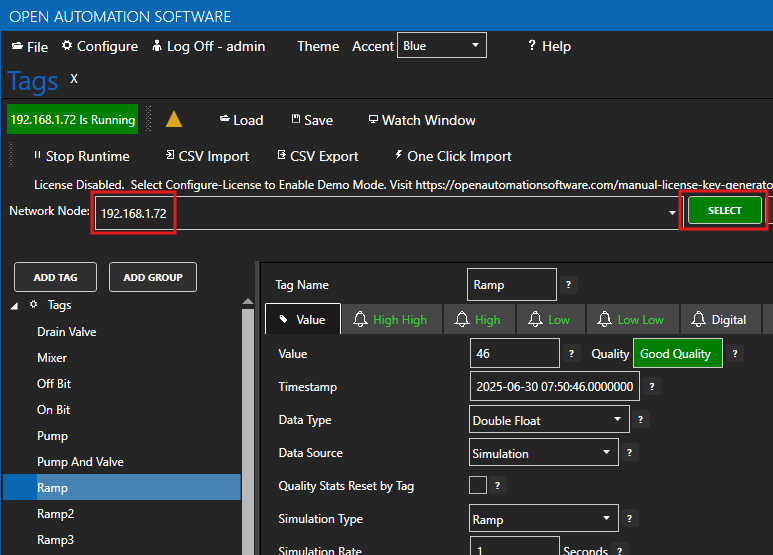
Now that you've successfully started the OAS Engine for Linux you can try connecting to it using the Configure OAS application from your favorite desktop environment.
In the Configure OAS application simply set the Network Node to the Linux OAS Engine server IP address or host name when logging in or selecting a node.