If you do not have a copy of Visual Studio you can download a free version of Visual Studio Community (formerly Visual Basic Express or C# Express) from visualstudio.microsoft.com/vs/community. You can choose whether to use Visual Basic or C#, but if you have no experience with either language, Visual Basic is easier for new developers. No programming is required to use .NET Trend for WPF and WinForm applications.
Step 1
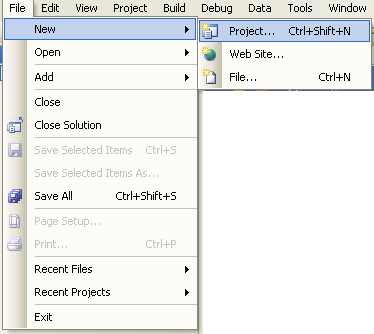
Start Visual Studio and select File->New->Project to create a new C#, C++, or VB.
WPF: If you are using WPF choose the OPCWPFDashboard assembly then use the OPCWPFTrend control.
WinForm: If you are using WinForm choose OPCTrendControl assembly.
Step 2
Select Windows Application or WPF Application as the project type.
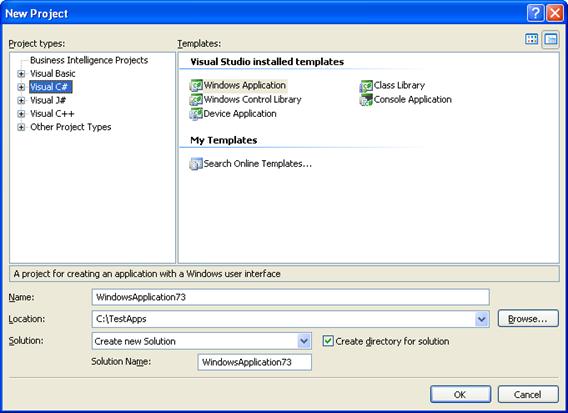
** Note: When using Visual Studio 2010 set the Target Framework to the full Framework. The Client Profile does not have the components needed for trending in your application.
View the following video on how to set the Target Framework for you Visual Basic or C# application:
Step 3
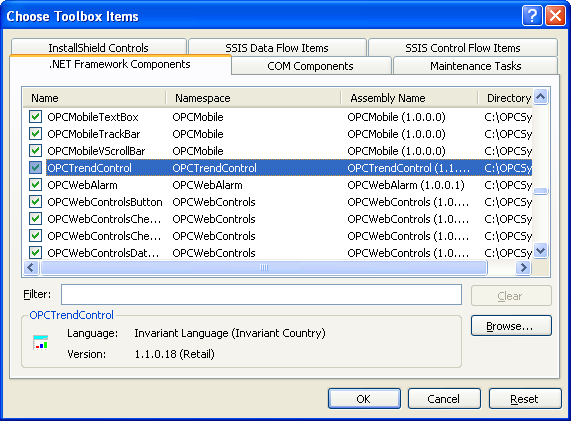
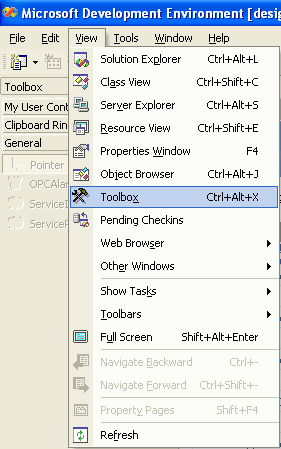
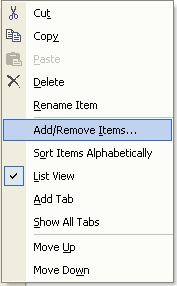
For WinForm applications from the Toolbox if OPCTrendControl is not available right click in the Toolbox and select Choose Items.
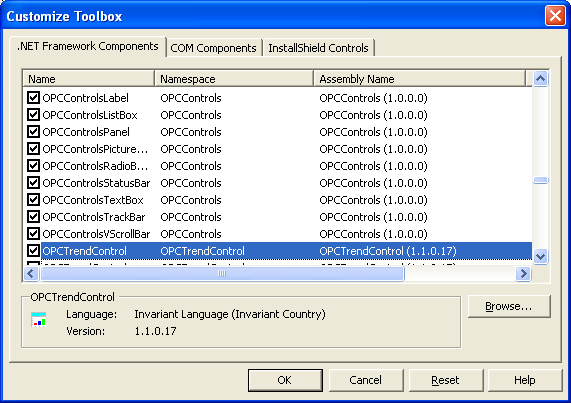
From the .NET Framework Components select OPCTrendControl and then select OK.
For WPF applications from the Toolbox right click to select all OPCWPFDashboard assembly controls including the OPCWPFTrend control.
Note: If you have installed Visual Studio after Open Automation Software you can either Browse and include the OPCWPFDashboard.dll assembly from C:\Program Files\Open Automation Software\OAS\ or uninstall Open Automation Software and reinstall to register the OPCWPFDashboard.dll assembly with Visual Studio.
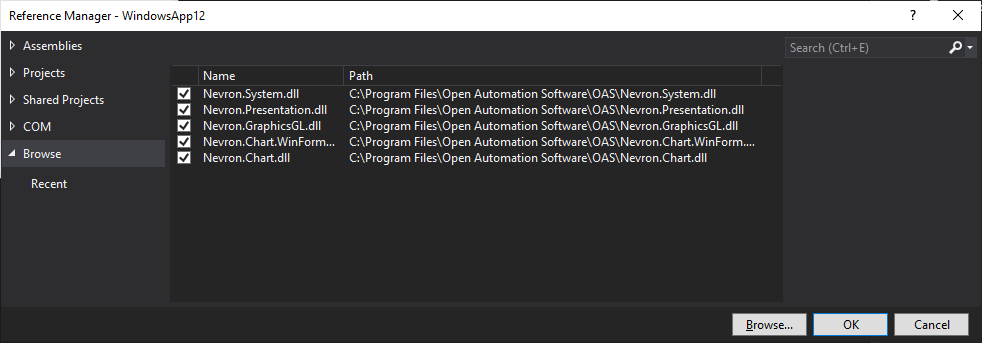
Use Add Reference and browse C:\Program Files\Open Automation Software\OAS\ to add the 5 following Nevron assemblies.
Step 4
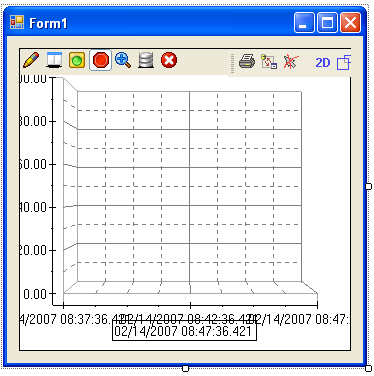
Add the OPCTrendControl or OPCWPFTrend component onto the Form or Window.

Resize both the form and trend window to the desired size.
Step 5
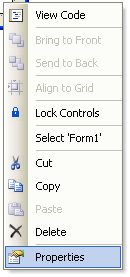
Right click on the trend window and select Properties.
Step 6
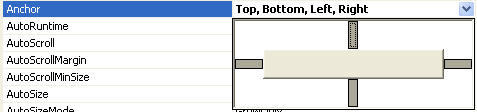
Set the Anchor property to Top, Bottom, Left, Right.
Step 7
Expand the ChartRates property and set the TimeFrame to 60 seconds.

Step 8
Select the Pens property and click on the small grey square with the 3 dots at the right.

Step 9
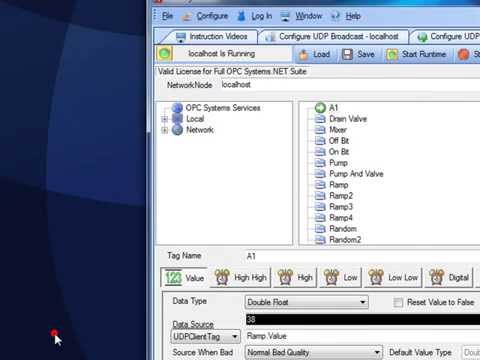
Select the Local OAS Service to display a list of available Tags to
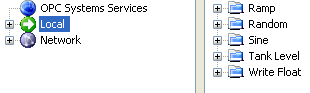
Important: If you do not see the desired Tag in this list go back to Configure-Tags and enable the Trend Point property for the Tags you wish to trend. You can also use the Tag CSV Export and Import with the column Value – Is Trend Point to enable multiple tags for trending in one step.
Note: If you wish to run this application on remote PCs make sure to include the Network Node or IP Address of the OAS Engine. Select your Network Node or IP Address in the Browse Tags window.
Local Tag
myGroup.myTag.Value
Basic Networking
\\192.168.0.1\myGroup.myTag.Value
Live Data Cloud Networking from local OAS Engine
RemoteSCADAHosting.myLiveDataCloudNode.myGroup.myTag.Value
Live Data Cloud Networking though remote OAS Engine
\\192.168.0.1\RemoteSCADAHosting.myLiveDataCloudNode.myGroup.myTag.Value
Step 10
Expand the Ramp Tag and select Value.
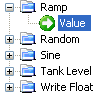
Select the Add Pen button or right click on Value and select Add Pen.

Step 11
The pen Ramp.Value will appear in the lower left list of pens. You can select the pen to change of the pen properties that appear to the right. The YAxisRangeHigh and YAxisRangeLow properties are important when the trend windows YAxis.ScaleMode property is set to PercentOfPenRanges.
Step 12
Select OK from the Pens dialog.
Step 13
Expand the Views property and set the trend window Lighting and PerspectiveView to the desired settings.

Step 14
If you desire for the operator’s changes to the trend window during runtime to remain set the ConfigurationFile property to a valid file path. Make sure each system the application will run on that the directory path is valid.

Note: If you set this property to a file make sure you deploy the file with the application in the directory you specify.
Leave this property blank if you wish to have the default properties set during configuration remain on the application restarting.
Step 15
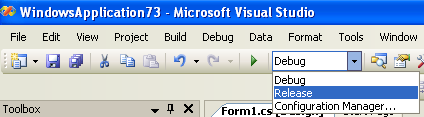
Set the compile mode on the Visual Studio toolbar to Release.
Step 16
Select Build from the VS menu and select to Build the application.

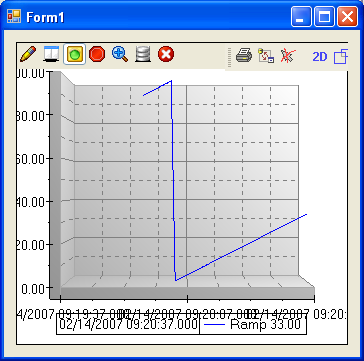
Step 17
Use Windows Explorer to browse for the application located in the binRelease directory and run the application.
Step 18
To deploy the application to remote nodes first make sure the Pen selection as described in Step 9 is set to a Network Node or IP Address. Then simply copy the files in the binRelease directory to the target systems or follow the Smart Client deployment section in this help file to deploy your application using Click Once Deployment.
View the following video on Smart Client Deployment:


 ServerIPAddress=xxx.xxx.xxx.xxx
DataBaseName=The database name of interest inside mySQL
MYSQLUserName = The MySQL username provided above
MYSQLUserNamePassword = The Password to the database for the username provided
No spaces between elements.
ServerIPAddress=xxx.xxx.xxx.xxx
DataBaseName=The database name of interest inside mySQL
MYSQLUserName = The MySQL username provided above
MYSQLUserNamePassword = The Password to the database for the username provided
No spaces between elements.
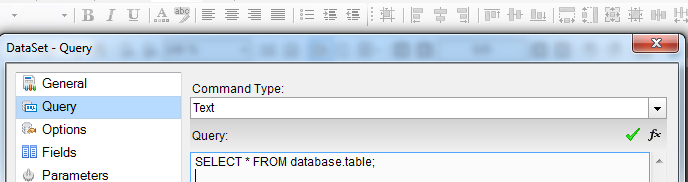 Database = DatatBaseName
Table = a table within the database.
Dataset should now show table elements.
Database = DatatBaseName
Table = a table within the database.
Dataset should now show table elements.